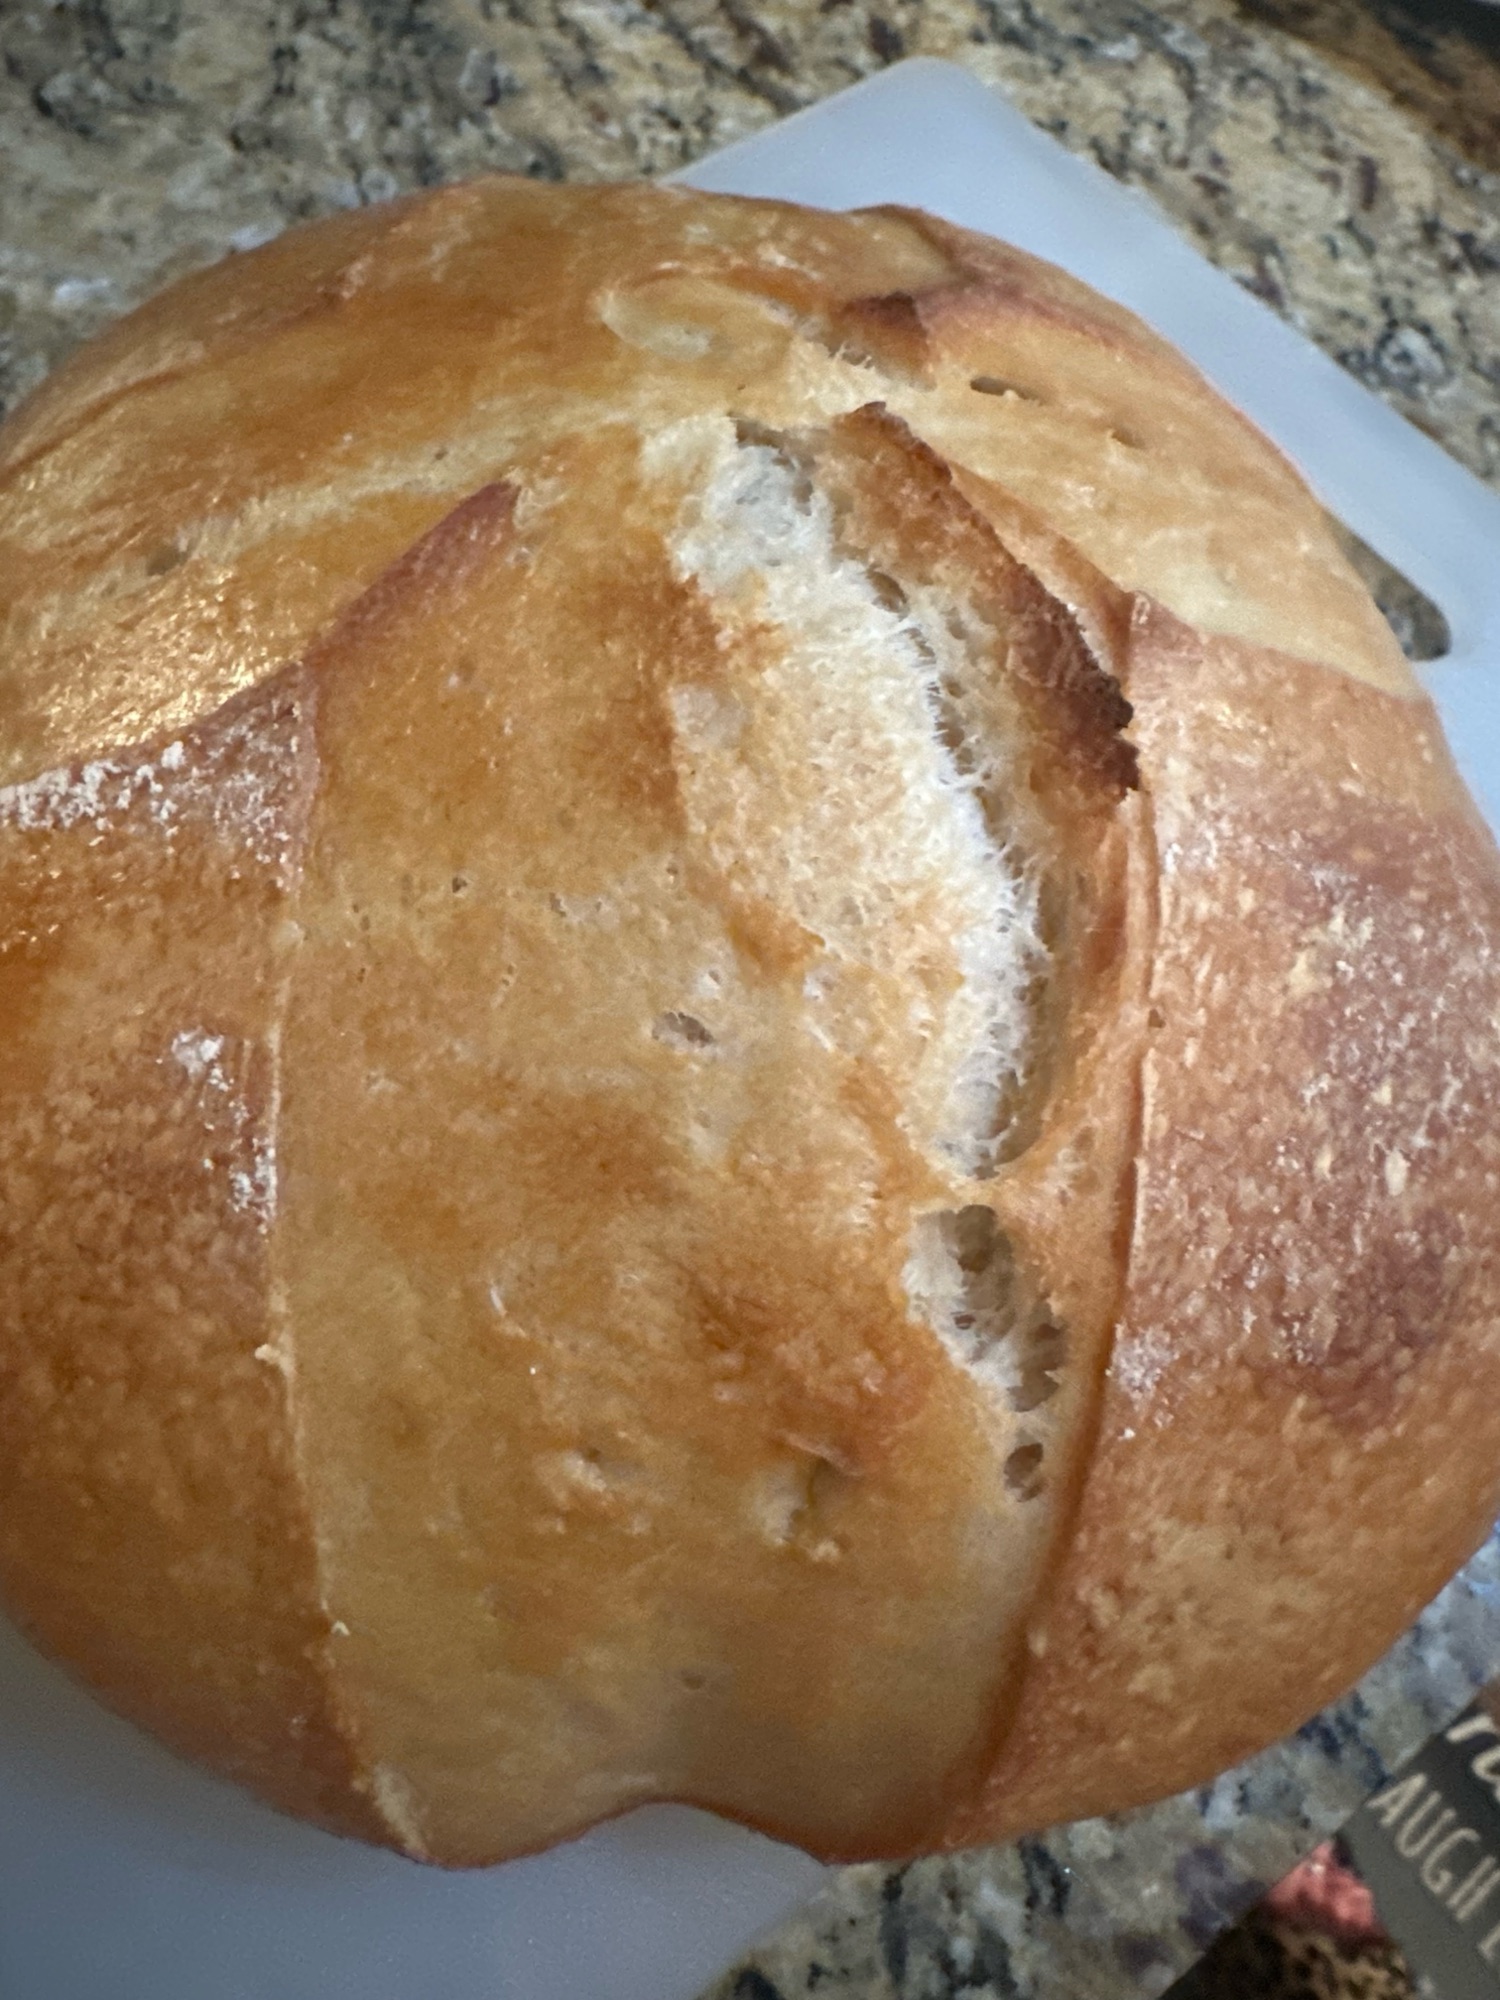
I am a tad late to the sourdough frenzy but now that I am all in, it’s been so fun. I have never been a big sandwich or bread eater so it’s more of a hobby than a homestead mission, though that could easily happen. My loaves may not be the perfection instagram bread making people get, but they taste delicious and work for my family.
Why bake/eat sourdough?
More digestive benefits than you could ever imagine! Here are my top 20!
- Prebiotics: Sourdough fermentation increases the availability of prebiotic fibers, which promote healthy gut bacteria and aid digestion.
- Reduced Gluten Content: Fermentation breaks down some gluten proteins, making them easier to digest for individuals with mild gluten sensitivities.
- Enzyme Activity: The fermentation process activates enzymes in the sourdough, which help break down complex carbohydrates and proteins, aiding digestion.
- Phytic Acid Reduction: Sourdough fermentation reduces phytic acid, a compound that can impair mineral absorption and cause digestive discomfort.
- Improved Nutrient Absorption: Sourdough fermentation enhances the body’s ability to absorb important nutrients like iron, zinc, and magnesium.
- Lower Glycemic Index: Sourdough bread has a lower glycemic index than regular bread, resulting in more stable blood sugar levels and sustained energy.
- Acetic Acid: The acetic acid produced during sourdough fermentation can improve digestion by supporting the production of digestive enzymes.
- Lactic Acid Production: Lactic acid produced in sourdough fermentation supports healthy gut bacteria and aids digestion.
- Alleviation of Digestive Disorders: Some individuals with digestive disorders, such as irritable bowel syndrome (IBS), report improved symptoms when consuming sourdough bread.
- Increased Mineral Bioavailability: Sourdough fermentation increases the bioavailability of minerals present in the bread, making them easier for the body to absorb and utilize.
- Reduced FODMAPs: The fermentation process of sourdough helps break down fermentable carbohydrates, reducing their presence in the final bread product and making it more tolerable for individuals with FODMAP sensitivities.
- Reduced Antinutrients: Sourdough fermentation reduces antinutrients like phytates and lectins, which can interfere with digestion and nutrient absorption.
- Balanced Acid-Base Ratio: Sourdough bread has a more balanced acid-base ratio, reducing the risk of acid reflux and indigestion.
- Improved B-vitamin Production: Sourdough fermentation increases the production of B-vitamins, which play a crucial role in digestion and overall health.
- Enhanced Flavor: The complex flavors developed during sourdough fermentation can stimulate the production of saliva and digestive enzymes, aiding digestion.
- Extended Fermentation: Longer fermentation times commonly used in sourdough baking allow more thorough breakdown of proteins and starches, making the bread easier to digest. 48 hours is optimal for cold retarding in the fridge.
- Natural Preservatives: Sourdough contains naturally occurring preservatives like acetic and lactic acids, which help prevent spoilage and promote digestive stability.
- Reduced Additives: Sourdough bread often uses fewer additives and preservatives compared to commercially produced bread, making it easier on the digestive system.
- Milder Wheat Allergy Symptoms: Some individuals with wheat allergies report milder symptoms when consuming sourdough bread due to the fermentation process altering the proteins.
- Personal Digestive Tolerance: While these reasons generally suggest that sourdough bread is easier to digest, individual tolerance can still vary based on specific digestive issues and personal sensitivity
Credit to Dr Dawn M. O’Brien Taylor
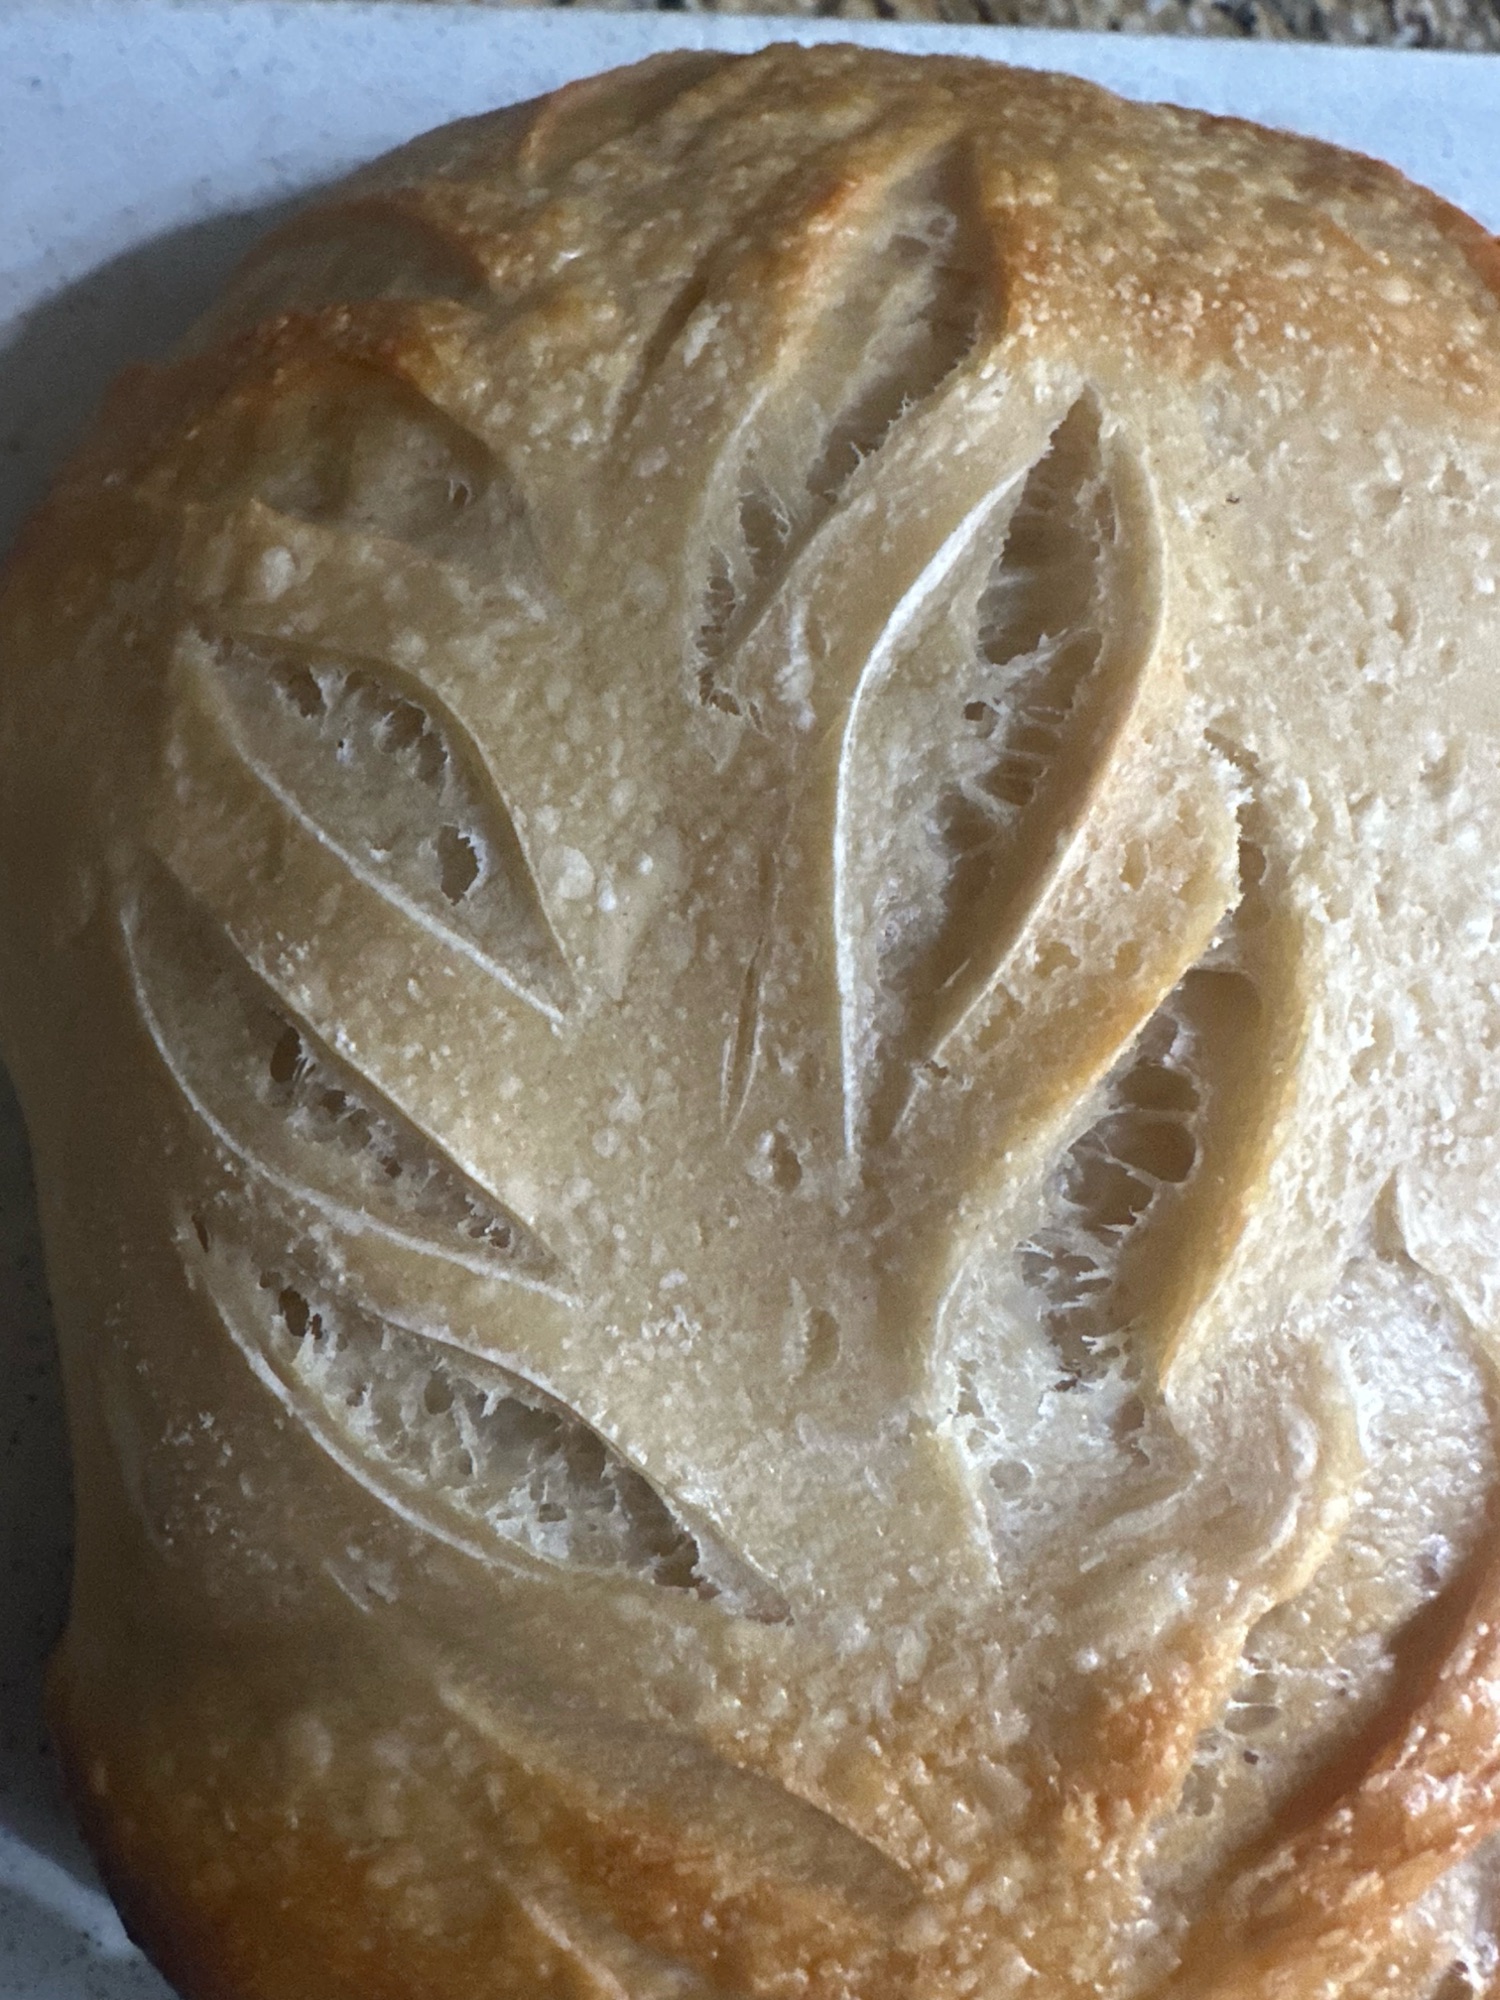
I have tried many sourdough recipes but have found this simple one to be my fave:
- 100g of “starter” *tons of how to make out there. It takes patience or a friend who has a healthy starter.
- 300g of all purpose flour
- 500g water
- 10g salt
I feed my little starter and wait for it to double (usually 3-4 hours). When it has I add it to the mixing bowl, add the water flour and salt, and mix with a danish wisk until shaggy or 30 minutes. Then every 30 minutes I stretch and fold the dough (this is where the magic happens). I do four sets of folds. Then I plop it back into the oven on the proofing setting for about 2-3 hours. If your oven doesn’t have that setting, place bowl on the counter covered up and it will take more like 5-6 hours of bulk proofing. Once it is doubled in size, then remove it from the bowl to a floured surface. Fold the dough like an envelope and then roll the entire envelope into a log shape, then to make it a circle begin dragging it along counter to seal the seams and create a perfect round. Toss into a banneton basket and close seam by pinching. Place into your refrigerator covered for up to 3 days! This method I have found in my busy life works the best because I can let it cold ferment in fridge until I am ready then bake. I usually mix on Friday and bake on Sunday.
Follow me for more goodness!

