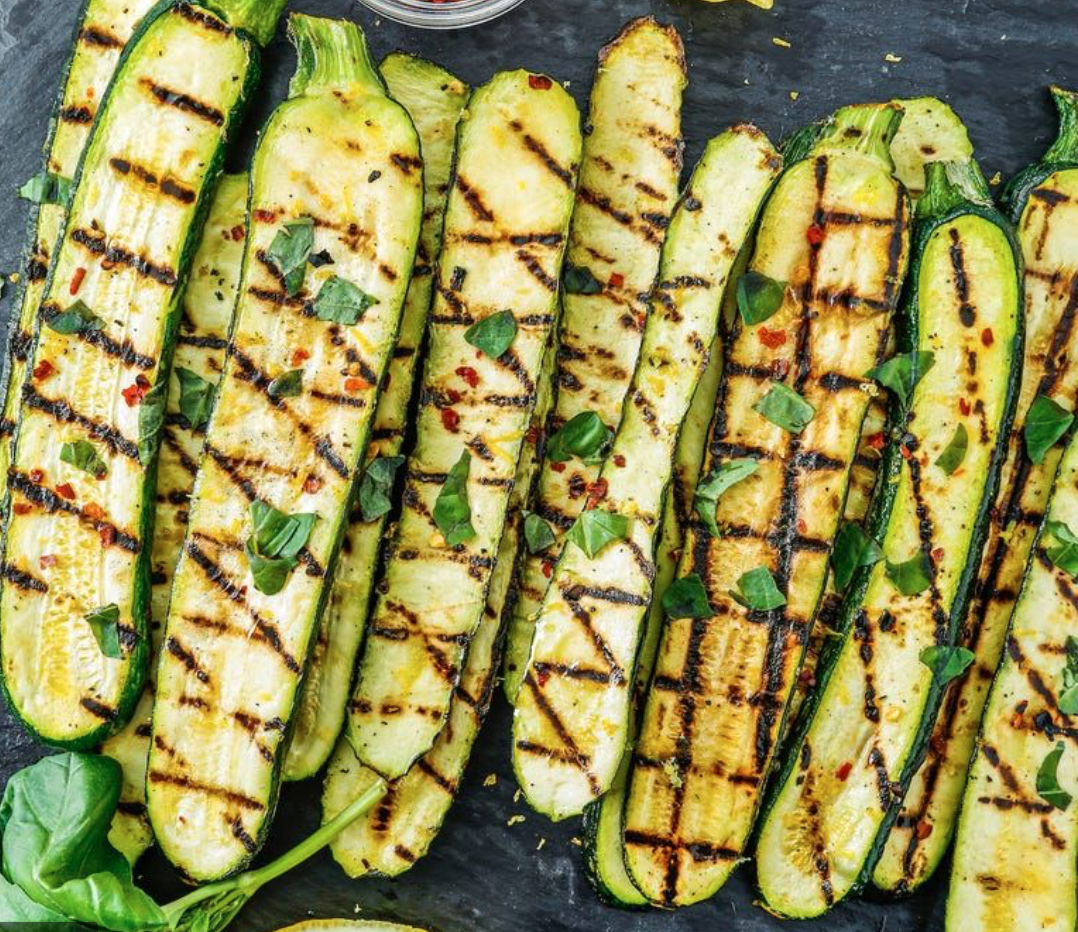
Grilled Garden Veggies

I honestly can’t wait until this time of year despite my often endless complaints about the heat. I balance out my intolerance for long summer days of high temperatures with plenty of time to play in my garden and marvel at the bounty of goodness that comes with a little time and patience.

Usually by this time of year I am also getting a little bored with variations of salads so it is always a thrill to find the first few summer squashes or yellow crook neck zucchini’s because one of my favorite summer foods is grilled vegetables. I also love to grill peaches, drizzle with honey and top with fresh ice cream!

I usually pair grilled vegetables with a juicy steak or a grilled chicken breast but these are also delicious just on their own. Simple, fresh and super tasty.

Here is how easy it is:

Preheat an outdoor grill to high heat. (I have also been known to use my indoor grill if I am in a hurry or it is the middle of winter and I am craving some summer flavors). Cut three zucchini or crook neck into thin lengthwise planks. Brush with one tablespoon olive oil and season with salt and pepper. I also love to use garlic salt instead of plain salt. Arrange on the grate with plenty of space between. Grill until tender, lightly charred or about 3-4 minutes per side (unless you’re using an indoor grill that closes it would be just 3-4 minutes total). Transfer to a plate. In a bowl mix together cherry tomatoes and one tablespoon olive oil, apple cider or balsamic vinegar and I love to add some fresh chopped mint or rosemary. Stir up the tomatoes, smash a few for a splash of juice and pour over the grilled veggies.

Delicious!
Follow me for more goodness!

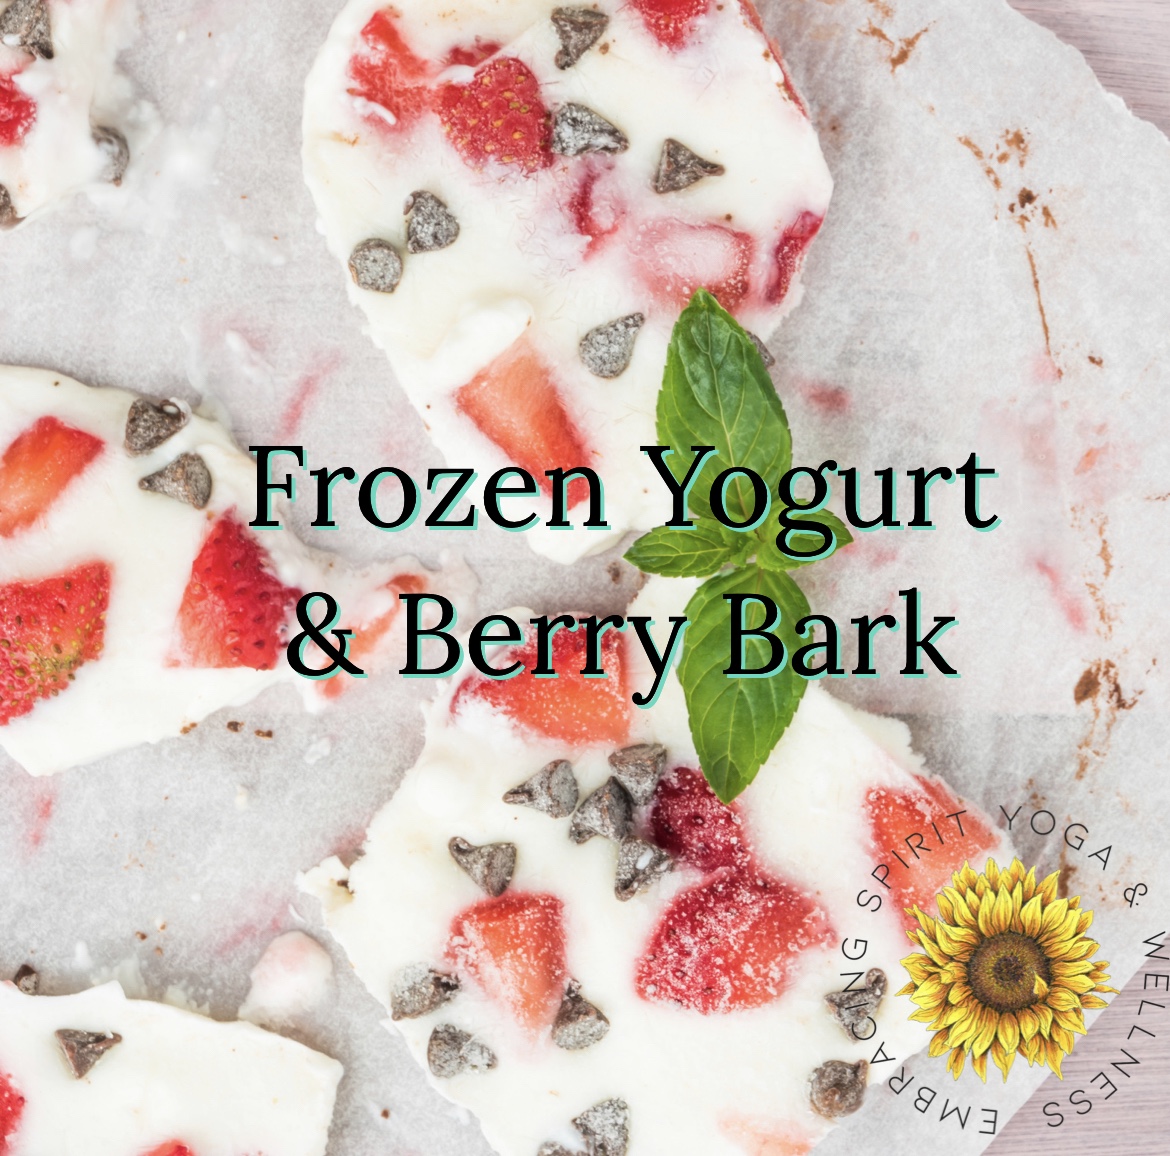
Frozen Yogurt & Berry Bark

Summer time is in full swing and not only is it hot out there, but all the great berries and produce are in full abundance! It’s so fun to eat fresh, sweet and amazing fruits and veggies.

I love summer, but the heat is not my friend. I get easily cranky on hot days and am always looking for a healthy way to cool down. This little snack is a go to for me…I can swipe a piece mid afternoon or as a dessert and not feel guilty at all.

It’s simple to make and tastes amazing. You’ll see I add a few drops of lemon essential oil. Be sure the brand you choose to use in recipes is safe to ingest. Most aren’t and you have to be safe. The lemon oil gives a pop of summertime flavor but is also has amazing health benefits. Peek at this gorgeous ebook to learn more.

HERE IS WHAT YOU’LL NEED:

• Yogurt: Use a full fat yogurt for the best texture and flavor. Vanilla yogurt is a great base to use, but you can use any flavor you like.

• Fruit: Fresh strawberries and blueberries add a great pop of color and it’s a tasty way to get some fruit into your family’s diet. You can make this bark with other fresh fruits like mango, raspberries or kiwi fruit.

HOW TO MAKE YOGURT BARK


1. Before you spread the yogurt evenly over a lined baking sheet, add two drops of lemon essential oil and stir.
2. Top with chopped strawberries.
3. Top with blueberries or any other fruits. I love kiwi!
4. Option to finish with granola and freeze until firm. I usually skip the granola but it does give it a great crunch.
5. Once it is fully frozen, slam on counter and remove pieces. You can also cut into bark shapes if it doesn’t make its own by slamming it. I store in a Tupperware up to three months, but it also never lasts that long.

TIPS FOR MAKING FROZEN BARK


1. Use full fat yogurt. Using yogurt with full fat means that the texture will less likely get icy when frozen. It will also have a better taste that’s more creamy. I have used Greek Style Coconut milk yogurt too and it’s fabulous for the dairy free people.
2. Chop everything small. Small fruits like blueberries work very well here and chopping larger fruits to be about the size of blueberries helps with cutting the bark. Make sure the fruits are not too bulky either so the bark looks flat.
3. Line your baking sheet. This will help to remove the bark easily from the tray, if you don’t line it, the yogurt will freeze to it and it will be really tough to remove. Use parchment or wax paper to line the entire surface of your sheet pan.
4. Allow time for the bark to set. It will take around 3 hours for the bark to fully set in the freezer. Make it the night before to enjoy the next day.

Enjoy!

Follow me for more goodness for the mind, body and spirit.

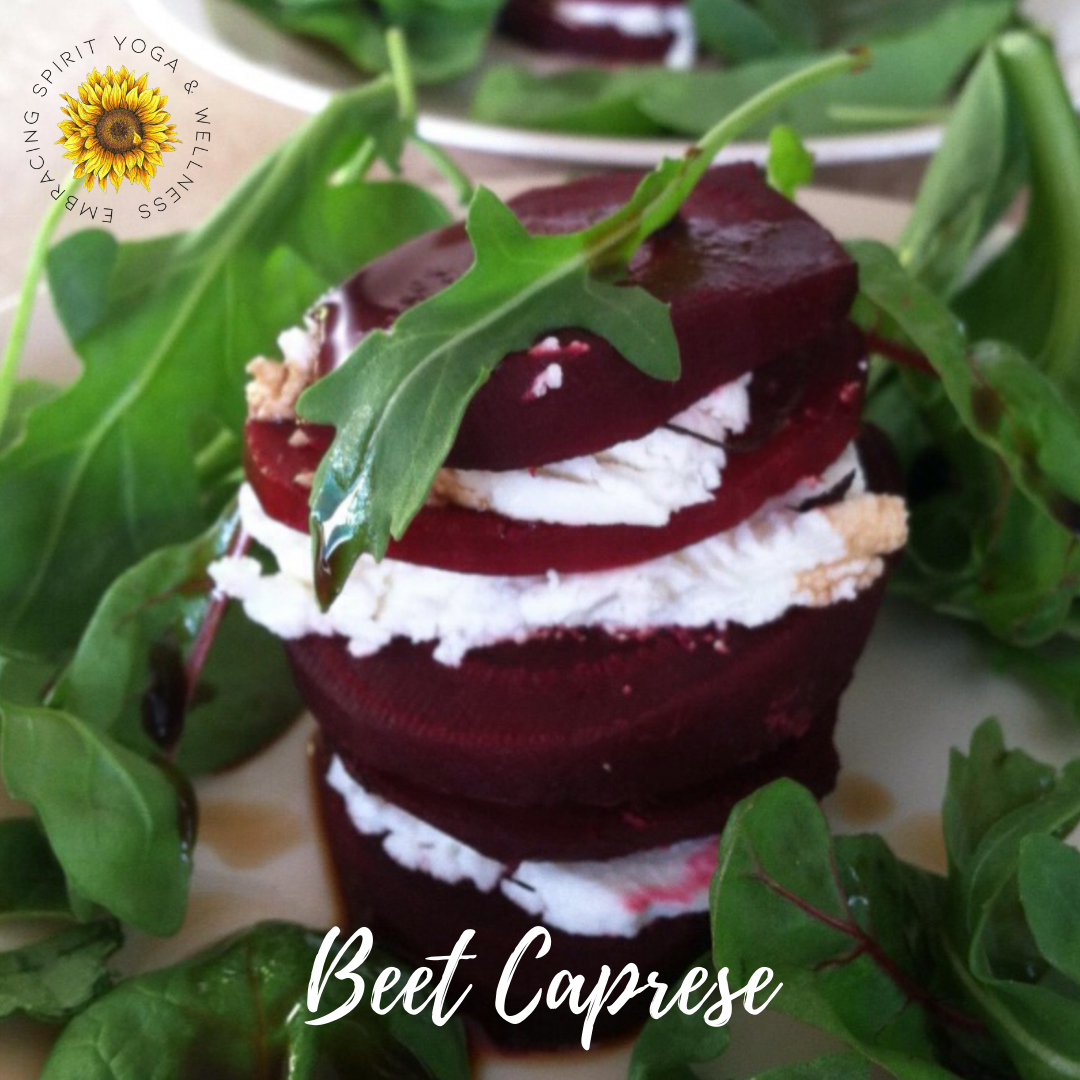
Garden Beet Caprese

You either love beets or you do not. Either way, the non-beet lovers just may convert over this one. Nothing tastes more earthy than a fresh from the garden beet.

These powerful little roots are packed with tons of nutrition. Beets are rich in folate (vitamin B9) which helps cells grow and function. Folate plays a key role in controlling damage to blood vessels, which can reduce the risk of heart disease and stroke. Beets are naturally high in nitrates, which are turned into nitric oxide in the body. Plus, they may help reduce inflammation in the body. Because these amazing roots are “cool”, in the Ayurveda world they are an excellent choice for reducing the overly hot Pitta that often accumulates in many this time of year. You can check out this post to learn more about Pitta balancing.

Beets come in the traditional deep reddishish purple, but they also come in orange and yellow. Beets contain fiber, antioxidants, and vitamins, and are low in calories making it a perfect choice for an elegant appetizer.

Beet Caprese

  • Oven roast the beets until they become soft, about an hour depending on size. Cool the beets and then peel and slice the beets into hefty size coins.
  • Layer softened goat cheese with beet coins making stacks.
  • Simmer one cup balsamic vinegar in a sauce pan until it reduces into a sticky goodness.
  • Drizzle beet stacks with balsamic glaze, top with baby arugula and enjoy!