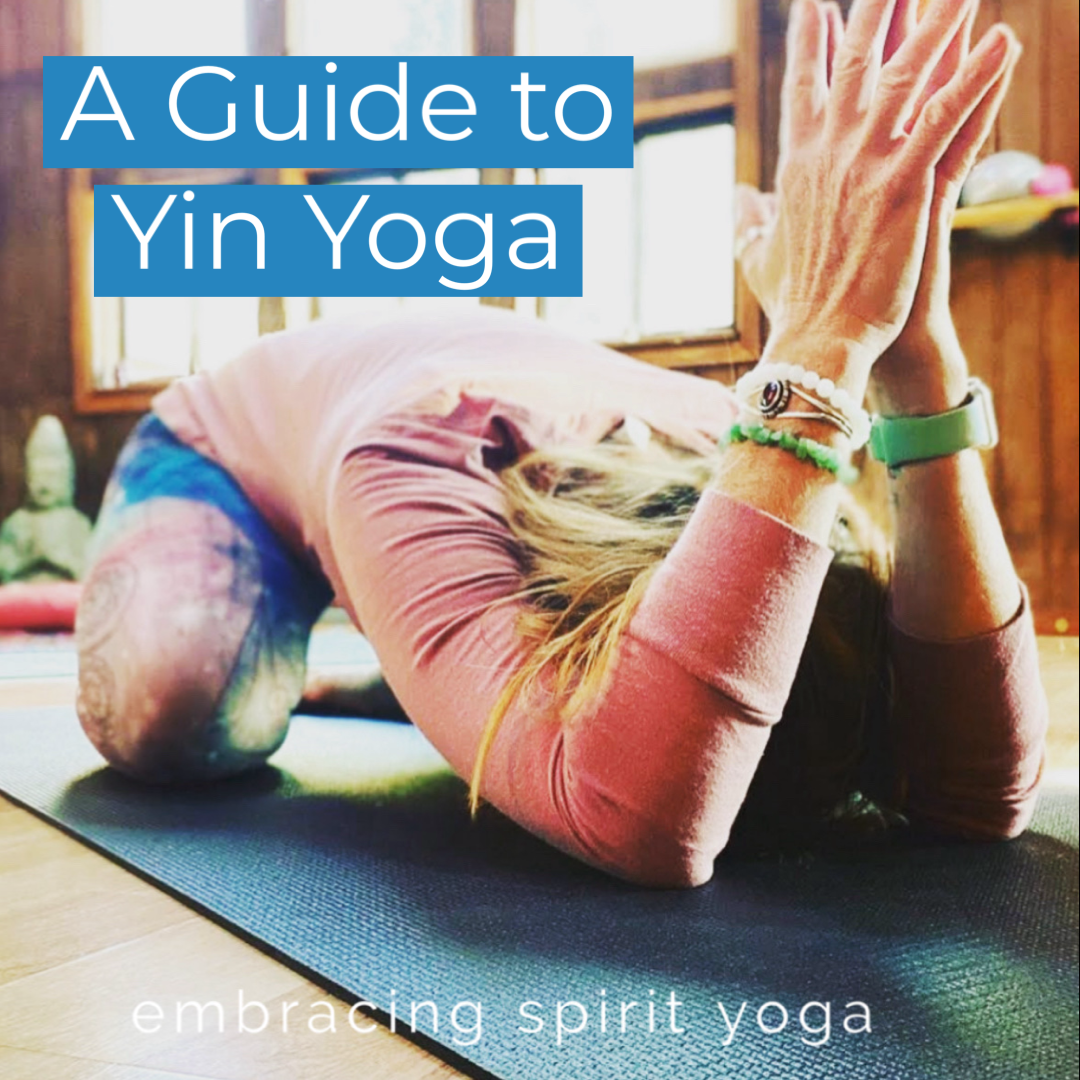
As we look to create space for ourselves, discovering Yin style yoga can be a huge awakening. For many of us our constantly committed schedules leaves very little space for anything else. It is also a practice that encourages a person to get comfortable with the uncomfortable.
I am personally devoted to changing this in my life starting this year. I am seeking the fine balance between effort and ease. To do this, I am being deliberate either my choices and incorporating Yin yoga into my practice and teachings.
Yin Yoga is a style of yoga that involves long holds in various seated and reclined poses to access deeper layers of fascia and to quiet the mind. Yin yoga also requires conscious and controlled breathing, often emphasized by relaxed belly breathing. This intimate practice encourages one to connect with their physical self, emotions, and sensations. It’s a simple practice with profound therapeutic benefits for longevity, vitality, flexibility, emotional resilience and much more.
There are three main tenets of Yin Yoga:
- find your edge where you can feel the stretch, but without straining
- remain still
- allow yourself to stay here for some time—typically three to five minutes.
Three to five minutes seems easy, right?
My top five Yin style postures are:
- Butterfly: From a seated position, draw the soles of the feet together and slide them away from you creating a “diamond-like” shape of the legs. Fold forward, allowing the spine to round and the head to drop towards the heels. Rest the hands on the floor or on your feet. Hold for 3-6 minutes. TARGET AREA: Inner thighs and groins, outer hips, spine. TIP: sit on the edge of a blanket to elevate the hips and potentially increase the sensation in the hips and/or assist with the flexion of the pelvis. Having the hips higher than the knees can be helpful in the event of sciatica.
- Melting Heart: Start on your hands and knees, and walk the hands forward, allowing the chest and head to drop towards the floor, keeping the thighs more or less vertical. Hold for 3-4 minutes. TARGET AREA: Chest, spine, arms and shoulders. TIP: pad the knees with a blanket; experiment with the angle of the arms if shoulder flexion is compromised.
- Lizard lunge: From hands and knees, place your right hand to the center of your mat and step your right foot outside the right hand. Keeping the back knee down, slide it behind the line of the hip, or back far enough to potentially observe sensation in the front of the thigh. Back toes may be untucked or tucked. Hold for 2-3 minutes. TARGET AREA: Hip flexors, quadriceps of back leg, inner groin, hamstrings and outer hip of front leg. TIP: pad the knees with a blanket; remember to play the edge appropriately – this can be a powerful pose!
- Bananasana: From your back, bend your knees and plant the feet to the floor. Pick up the hips and move them to the right side of your mat, keeping the sacrum in contact with the floor. Straighten the legs toward the left corner of the mat, and shift the upper body toward the left, creating a “banana-like” shape with the body. Raise the arms overhead, elbows bent or straight, with option of clasping wrists or forearms. Hold for 3-6 minutes (repeat other side). TARGET AREA: Side body, especially the side waist. TIP: explore crossing the ankles – inner ankle over outer or outer ankle over inner – and determine which, if any, is preferred based on what you feel in the target area.
- Spinal Twist: Lying on your back, draw your knees into your chest and roll to your right side. Peel the left arm open, allowing the upper body to rest toward the floor, arm extended to the left. Hold for 3-6 minutes (repeat other side). TARGET AREA: Spine, Chest/Arms. TIP: Explore variations of the arms, and turn of the head to influence other potential target areas of the upper body.
Ready to join me in slowing down and getting comfortable with the uncomfortable? Try this practice at home.

