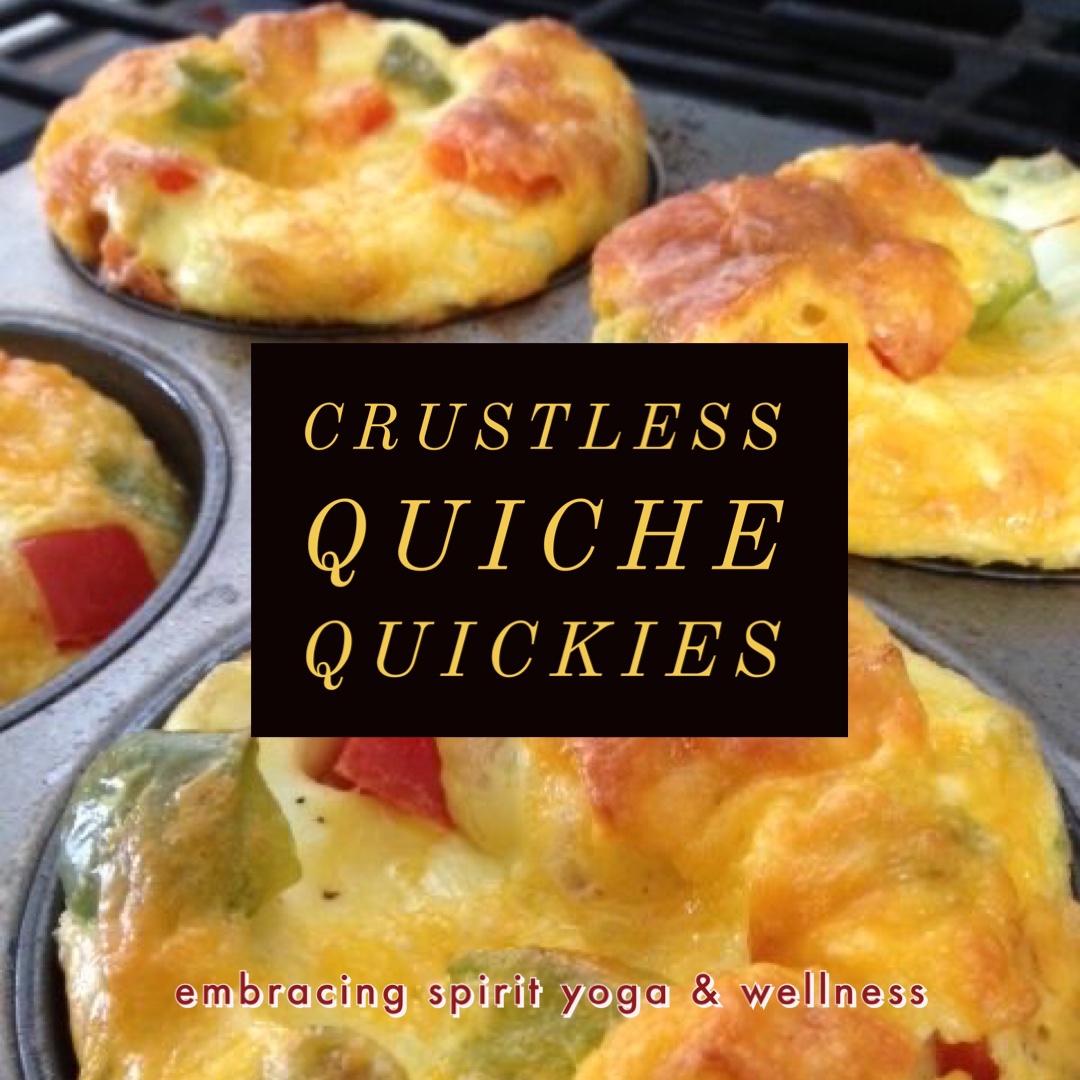
Crustless Quiche

I am SO not a morning eater. Or a midday eater for that matter. I get busy doing my life and skip eating more times than not. I am trying to get a handle on upping my intake and specifically my protein since I work out and walk so much. I prefer to eat my meals so smoothies are a no go for me.

I have made these many times and always tweak them a little each time depending on my mood. Sometimes I add ham or bacon and sometimes I go with all veggie.

These are so easy and keep nice in the fridge for the week. Whip them up on a Sunday and you’re good for the week!

BASE:
  • 12 large eggs
  • ½ cup milk
  • 2 TBSP fresh parsley, chopped
  • 2 TBSP fresh basil, chopped (or other herb)
  • ¼ tsp. salt
  • ¼ tsp. pepper

Veggies*:

  • 1 cup broccoli, cut into teeny tiny florets
  • 1 cup fresh spinach, roughly chopped
  • 1 red bell pepper, chopped small
  • ¼-1/2 cup onion, diced fine
  • 1 jalapeno pepper, seeds and veins removed, diced fine (optional)

Add-ins (optional):

  • 1½ cups cheddar, gruyere, mozzarella, or other cheese, divided
  • 1 lb. bacon, sausage, or other meat, fully cooked
INSTRUCTIONS:
  1. If using meat (bacon, sausage, etc.), cook it fully first. Set it aside to cool, then cut into small pieces.
  2. Preheat oven to 375 degrees F., and thoroughly grease (butter, coconut oil, or non-stick spray) a muffin tin. (NOTE: I recommend using a non stick muffin pan or silicone mold even easier removal.)
  3. In a large bowl, whisk together the eggs, cream, milk, parsley, basil, salt, and pepper. Set aside.
  4. Get all your veggies diced up and ready to go. Optionally, you can saute your onion with a bit of olive oil to soften it up and take away some of its bite. Set aside and allow to cool.
  5. Add all the veggies to the bowl with the egg mixture, and stir to combine. Stir in half of the cheese, and all of the meat, if using.
  6. Using an ice-cream scoop or ¼ cup measure, scoop the mixture into the prepared muffin pan. Fill to about ¼ inch from the top, then sprinkle a small amount of reserved cheese over each. Place in the oven, and bake for 20-25 minutes, or until the egg is fully set and the cheese has just started to turn golden on top.
  7. Remove from the oven and let cool for 5-10 minutes before running a butterknife around each muffin, and gently removing from the pan. Enjoy while warm, or let cool completely before storing in an airtight container in the fridge. Leftovers can be reheated for several seconds in the microwave (time will vary depending on your microwave), or a few minutes in a preheated oven or toaster oven.

Yum!
Follow me for more goodness!
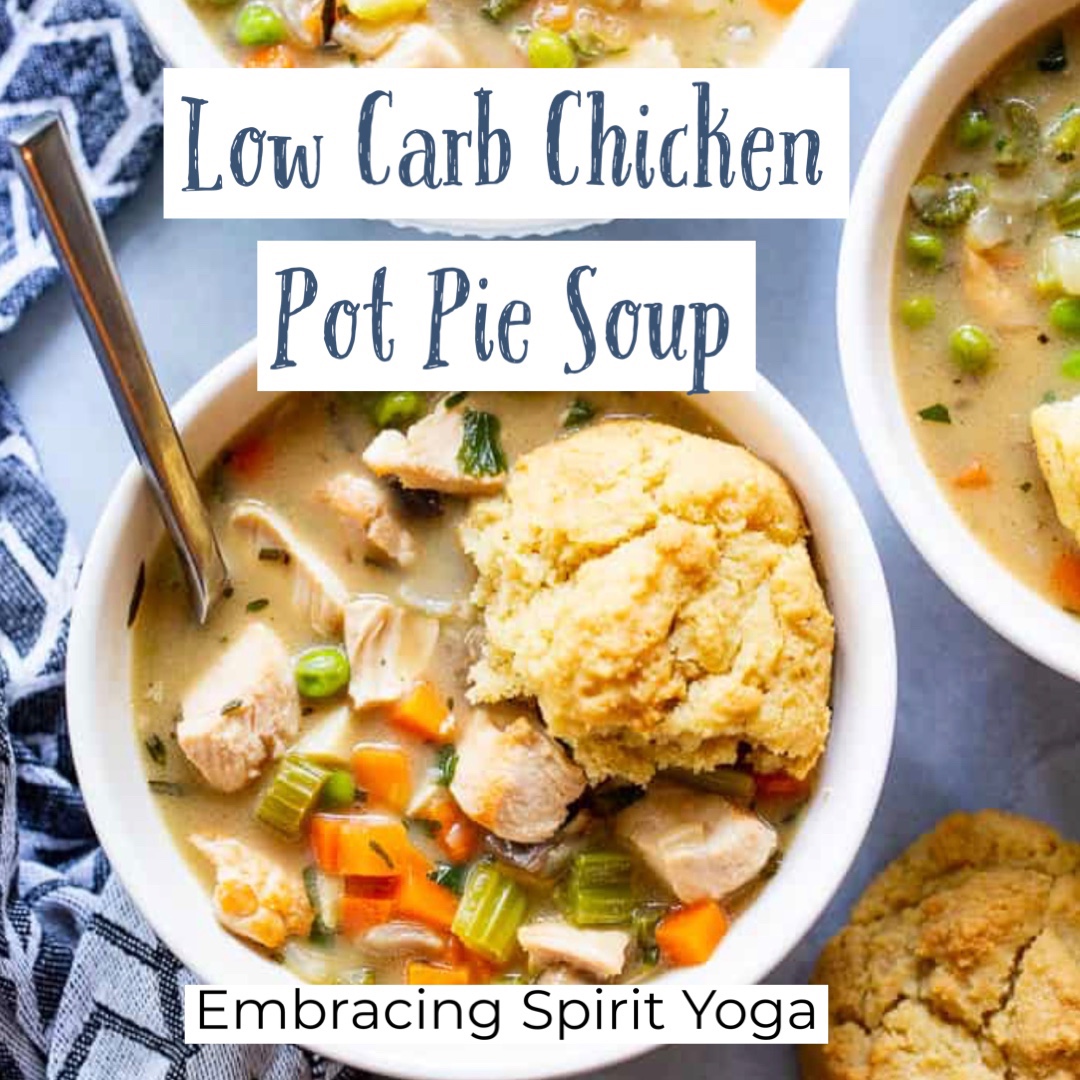
Low Carb Chicken Pot Pie Soup

This creamy, cozy and delicious chicken pot pie soup has it all! A dairy-free chicken pot pie filling with loads of veggies and savory herbs and the yummiest paleo + low carb biscuits! The whole family will love this healthy, hearty soup on cold winter night

Here is Colorado it is sooooooo cold. We usually have a few days of cold and then back to sunny skies and tolerable temperatures. Not this month. We have been frozen all month. So frozen I have had to cancel studio Yoga classes all month. Since I can’t teach tonight, I am making this hearty soup.

Chicken Pot Pie Soup

This soup can be made Whole 30 compliant or Paleo but since I am loving living with a tad bit of moderation and good flavors, I am going for the yummy biscuits! The biscuits are crazy simple – just a few ingredients that you mix up all in one bowl! They’re low carb too, without any starch or sweeteners used.

Here’s what you need for the low carb biscuits:

Ingredients

One- bowl Low Carb Biscuits:

  • 1 1/2 cup blanched almond flour
  • 1/4 cup coconut flour
  • 1 1/2 tsp baking powder **
  • 1/2 tsp sea salt
  • 1/4 tsp black pepper
  • 6 Tbsp ghee or grass fed butter, melted
  • 6 Tbsp coconut milk full fat
  • 2 large eggs whisked

Chicken Pot Pie Soup:

  • 1/4 cup ghee or coconut oil, or grass fed butter, divided
  • 1 lb boneless skinless chicken breasts cut into 1/2” cubes
  • Sea salt and pepper to taste
  • 3 celery stalks chopped
  • 1 medium onion chopped
  • 1 cup mushrooms chopped
  • 4 cloves garlic minced
  • 1 tsp Fresh rosemary minced
  • 1 tsp Fresh sage minced
  • 1 tsp Fresh thyme minced
  • 3 Tbsp arrowroot starch
  • 2 3/4 cups chicken bone broth
  • 1 16 oz bag frozen peas and carrots*
  • 1 cup coconut milk full fat, blended before added, if necessary
  • Sea salt and black pepper to taste
  • Fresh parsley for garnish
  • I love to add one drop of thyme or rosemary essential oil

Instructions

  1. Preheat your oven to 350° and line a large baking sheet with parchment paper. In a large mixing bowl, stir together all the dry ingredients. Make a well in the center of the dry mixture and add in the butter, coconut milk and eggs. Stir until well combined and smooth. Chill the mixture in the refrigerator for 10-15 minutes.
  2. Using an ice cream scoop, scoop 1/4 cups of batter on the prepared baking sheet at least 2” apart. I made 8 biscuits. Bake in the preheated oven for 15-18 minutes or until light golden brown. Serve right away with the soup
  3. Meanwhile, heat a large stock pot over medium high heat and add 2 Tbsp ghee. Add the chicken cubes and sprinkle with sea sat and pepper. Cook, stirring occasionally for about 3 minutes until golden on the outside. Remove to a plate and set aside.
  4. Lower the heat to medium and add the remaining 2 Tbsp of ghee. Add the celery, onions, and mushrooms and sprinkle with a bit of sea salt. Cook for one minute, then add the garlic and fresh herbs. Continue to cook another 2-3 minutes or until veggies are soft and fragrant.
  5. Whisk the tapioca flour into the veggies, then add in the broth and stir. Bring to a boil, then lower the heat to a strong simmer and simmer about 5 minutes. Add in the peas and carrots, coconut milk, and chicken. Bring back to a boil, then simmer for 3-5 more minutes. Season the soup with salt and pepper to taste.
  6. To serve, garnish with soup with parsley and serve with a biscuit. Enjoy!

Heck yes!

Follow me for more goodness!

Purpose

I didn’t follow the traditional path when it comes to becoming a yoga teacher. I knew early on that my path would lead me to sharing yoga with those who are unable to easily access a traditional setting. I got many small certifications and began teaching before I even thought about getting a 200 hour accreditation. And to be really honest, I still cringe when someone asks me “where did you do your 200 hour?” I cringe because so many times our culture puts a focus on a title or a perceived standard. As my favorite poem the Invitation says—“it doesn’t interest me where or what or with who you studied, I want to know what sustains you on the inside when all else falls away”.

My path to becoming a yoga teacher was the same old monkey on my back that I carried because I didn’t take the common path and go to college. Instead, I got married and became a mom. I didn’t take a college class until I was 43 years old! Until I was able to see my own success I always felt less than others because I chose a different way.

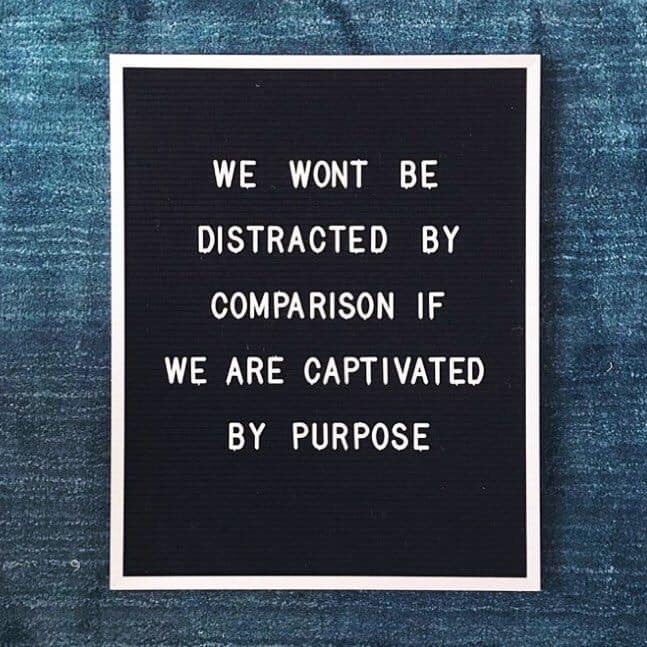
What I have come to learn is that the path we take is OURS. There is no space for comparison when you are fully engaged with your purpose. I knew I was supposed to be a young mom and I also knew that I was supposed to teach yoga a certain way. I knew then and I know now that the paper certificate or who I studied with is irrelevant—it is how I show up on the world that matters. And that is with divine PURPOSE.

Let go of the distraction to compare and compete and instead step into who you really are. You’ll find a treasure within yourself that will change the world in many ways.

Wellness Wednesday

Wellness Wednesday!

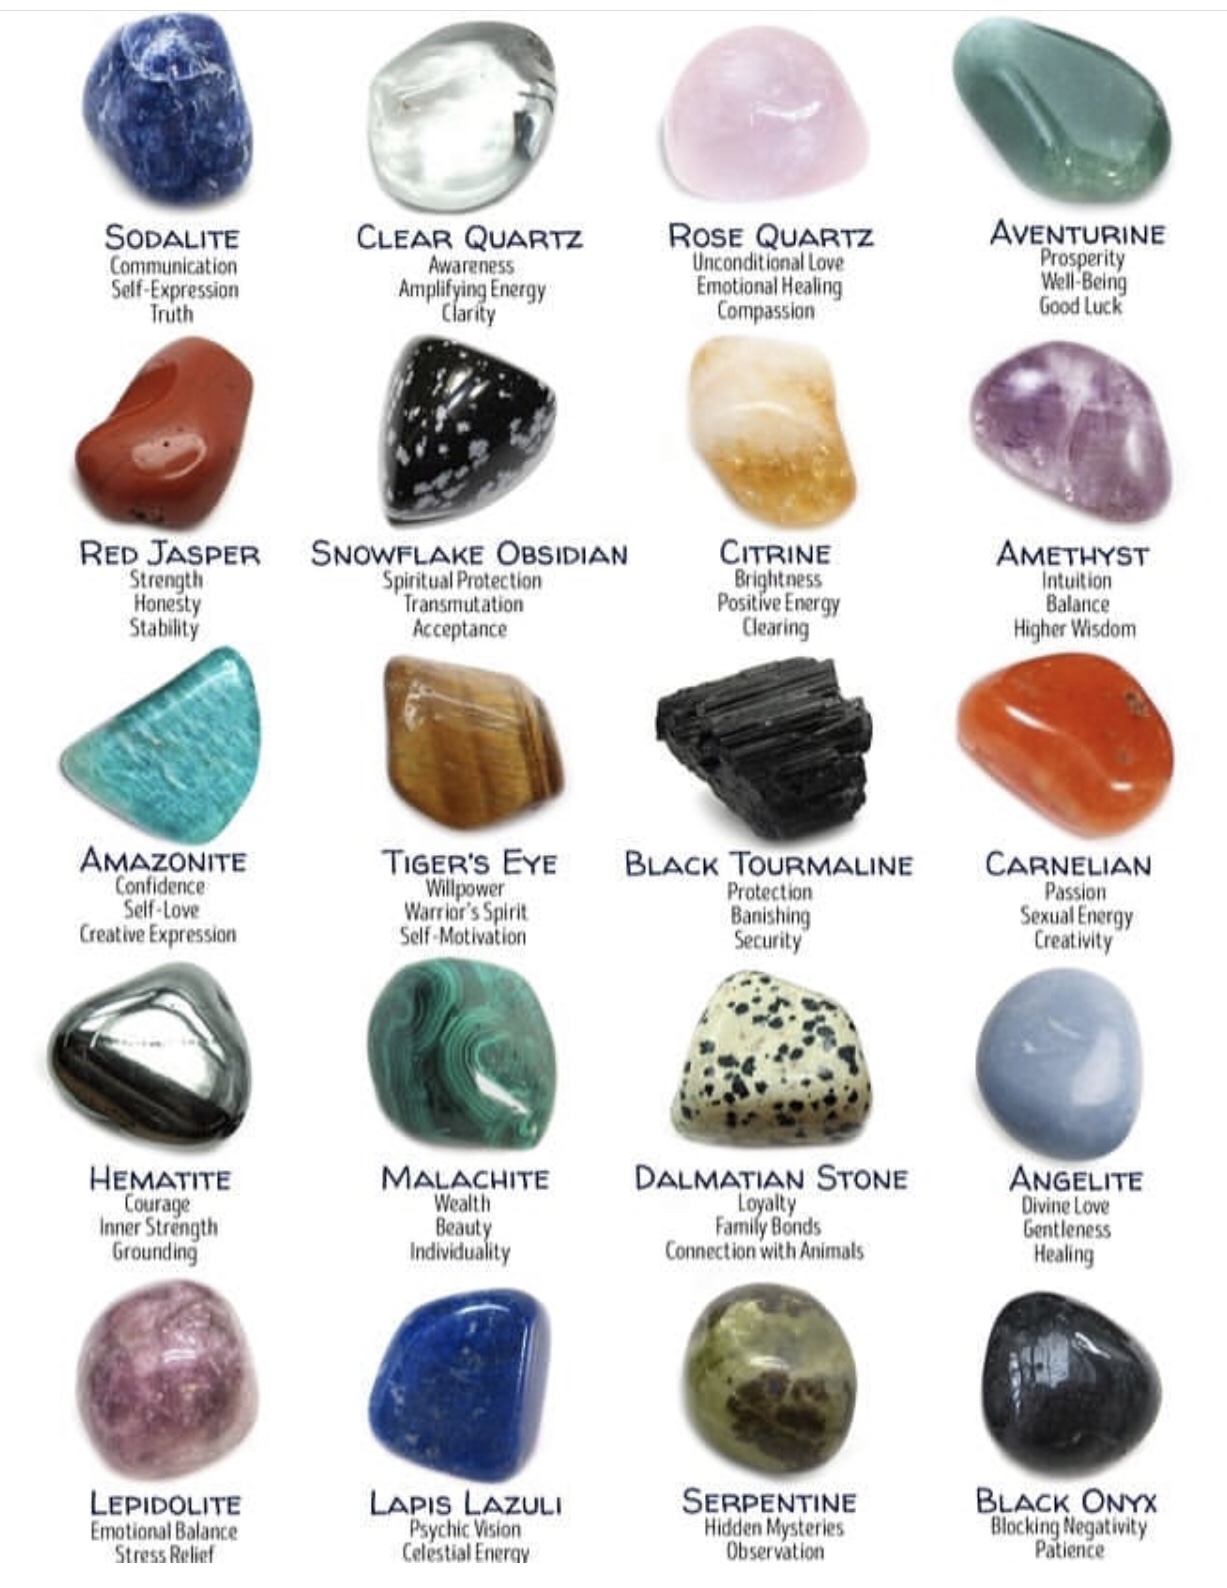
I remember about 15 years ago I stumbled into a gemstone store and was drawn to have my first of many little goodies. I chose a carnelian—a gemstone that I still love and have many of them.

People tell me when they come into my house, it feels so peaceful. I believe having crystals and gemstones around have so much to do with that. They have become powerful tools in my life. I have them lining my windows, on my body, in my car, used during meditation and I add them to essential oil blends. When I choose one to work with, I set the intention of what I am needing or wanting to achieve (a state or peace, cleansing, energy etc). And I let it do the work.

When choosing a crystal either go to a local metaphysical shop or browse a crystal website online. Scan the shop (or the page) and see what catches your eye. What crystal stands out to you? Which one are you drawn to? Then, read the meaning and properties of that crystal. Nine times out of 10 you will find that the meaning of that crystal correlates to your life in some way, shape, or form. And at this time, that is the crystal for you!

The reason that crystals are so effective in energy work, is the same reason that cleansing them is essential—crystals pick up energy. Cleansing your crystals resets their energy, so that every time you work with them, you are starting from an energetically clean slate. If you never clean your crystals, they will continue to store energy they’ve picked up from their environment or people they’ve come into contact with. Think of it like this: A towel can wipe a mess clean, but if you never wash the towel, it will begin to add to the mess. Crystals are similar.

There are a few different ways that you can set about purifying the energy of your crystals:

Moonlight Spa: Let your crystals bathe outside in light of full moon (or sun) for at least 4 hours.

Couple Your Crystal With Selenite or Quartz: Act as a crystal matchmaker and pair your crystal with either a selenite or quartz crystal! Both of these crystals have the ability to charge and purify other crystals, without ever losing any of their own energy. Lay your crystal on a piece of quartz or selenite for six hours.

Smoke It Out: Not only will burning sage and palo santo clear the energy of your space, they’ll also have your crystals feeling great. Immerse your crystal with the sacred smoke until you feel its energy and vibrancy return.

Return to Nature: We could all use the energetic reset that comes with a return to nature. To give your crystal that revitalizing pleasure, place it on the Earth or in the branches/soil of a healthy houseplant for 24 hours.

My Daily Regimen

What is your daily oil routine?

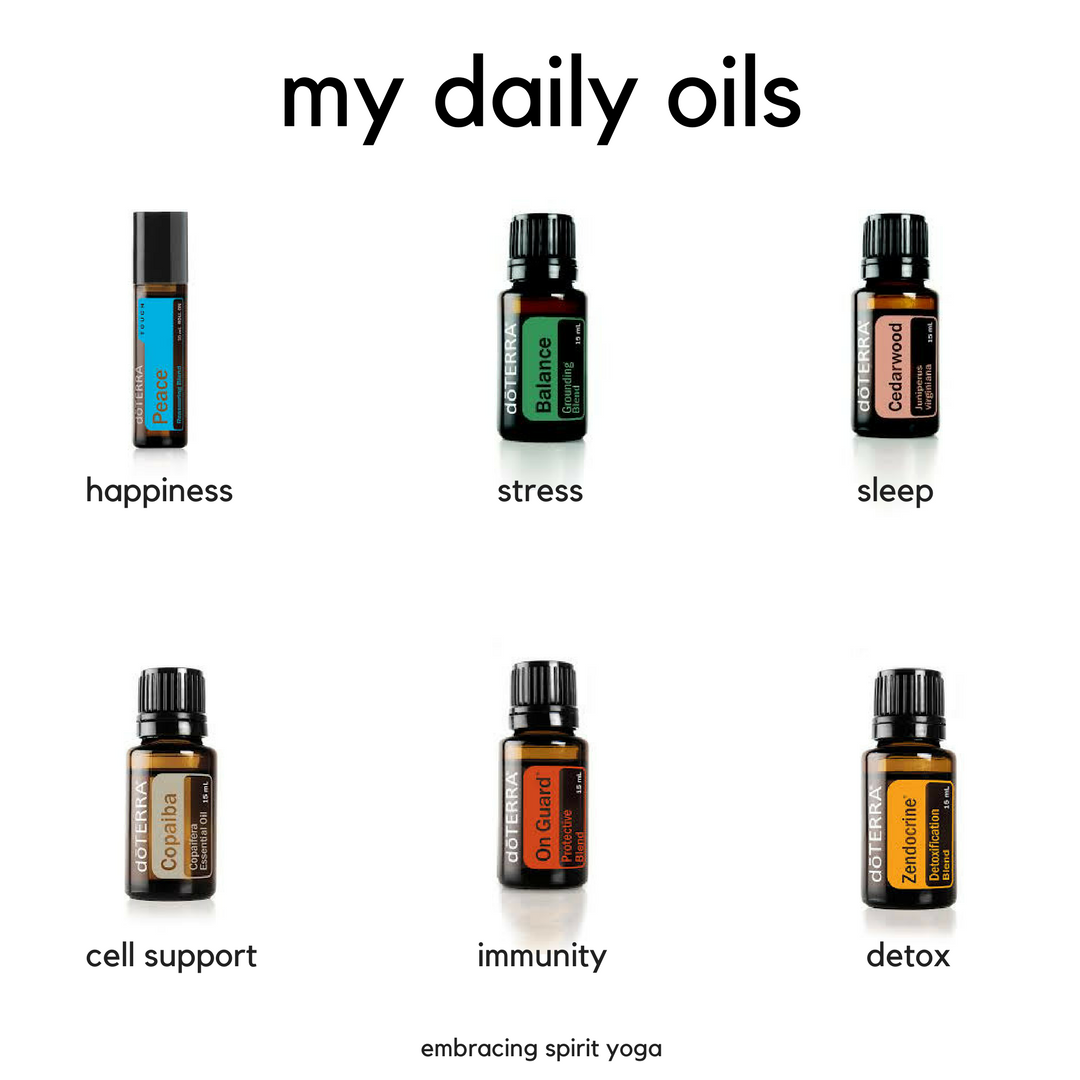
These are some of my most common—though I have added tumeric and pink pepper to my morning regimen.

?Peace Reassuring Blend is my go-to for a daily swipe up my arms. It keeps me level, steady and calm.

?Balance Grounding Blend is the oil I add to my lotion each day and apply along my shoulders and neck. It’s earthiness keeps me super grounded during hectic days.

?cedarwood is my favorite nighttime diffusing oil. I love the aroma and I sleep super sound.

?Copiaba is one I take internally 2x a day. The list of benefits is long but for me I am looking for cellular support and overall well-being.

?On Guard Protective Blend goes along my neck and lymph nodes to keep my body healthy. I also diffuse this one in my car and use it as a natural hand sanitizer.

?Zendocrine is in a 10ml roller (25 drops) and I apply this to my liver every morning. The oils in this blend help support a healthy liver and provides a natural detox to your body.

Tell me your regimen—I would love to know!

If you are brand new to essential oils, check out this handy guide that can introduce you to the world of natural solutions.

Lifestyle Changes

Time for some Monday motivation?

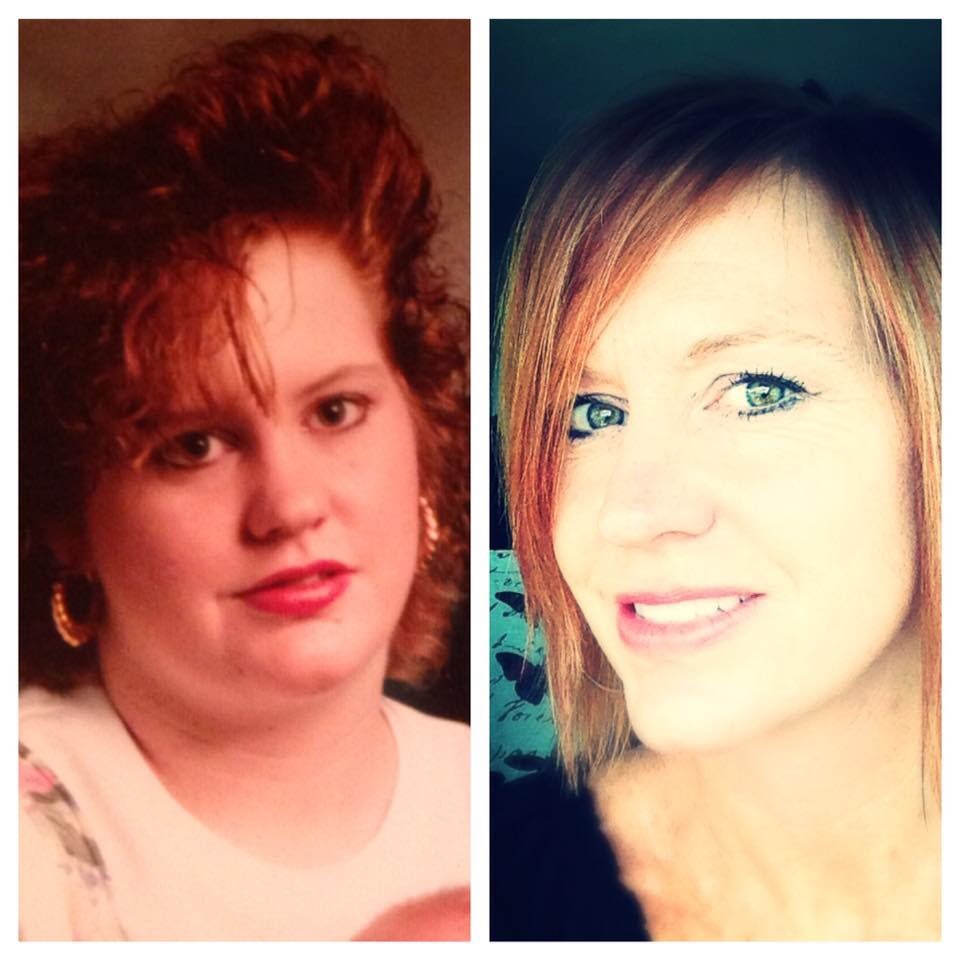
The new year is around the corner and that is when many people look to making lifestyle changes. As a wellness coach I have walked the path and am grateful that at one point in my life I was burdened by weight.

For me, it wasn’t just the physical weight I was carrying that I wanted to shed. There was so much inner work that I did and as a result my radiant self emerged.

The first picture was taken six months after my first son was born—I was terrified and overwhelmed. A young 20 year old mom with a kid and a mortgage was a little daunting. I dove into motherhood and completely forgot about myself. I soon had two more kids and a bigger mortgage. It wasn’t until I was in my 30’s that I began to see myself as important and in need of self-care.

I started with walking daily (which I continue to this day) and I started making choices around food. I also started to really do the inner work that was required. I often say “I woke up”. And in that awakening, I truly began to emerge from the outer shell that I had placed around me.

As I began to shine my life began to change dramatically. There is a vibrancy to my essence that was not able to be felt when I was burdened by the heaviness physically and emotionally.

I’d love to walk along side you in your emerging and be there to guide you when it gets hard. My services include more than just yoga. I also offer wellness coaching and a holistic approach to health. It is never just about the weight and I would love to partner with you to reveal the inner parts of yourself that can be found with a solid plan.

Let’s do this!

Essential Oils Internally

Are you unsure about taking oils internally? I was, too in the beginning.

When you start using essential oils, it’s so important to educate yourself and ask questions! There are lots of great resources out there and I can recommend some of my favorite books and other resources if you need some help.

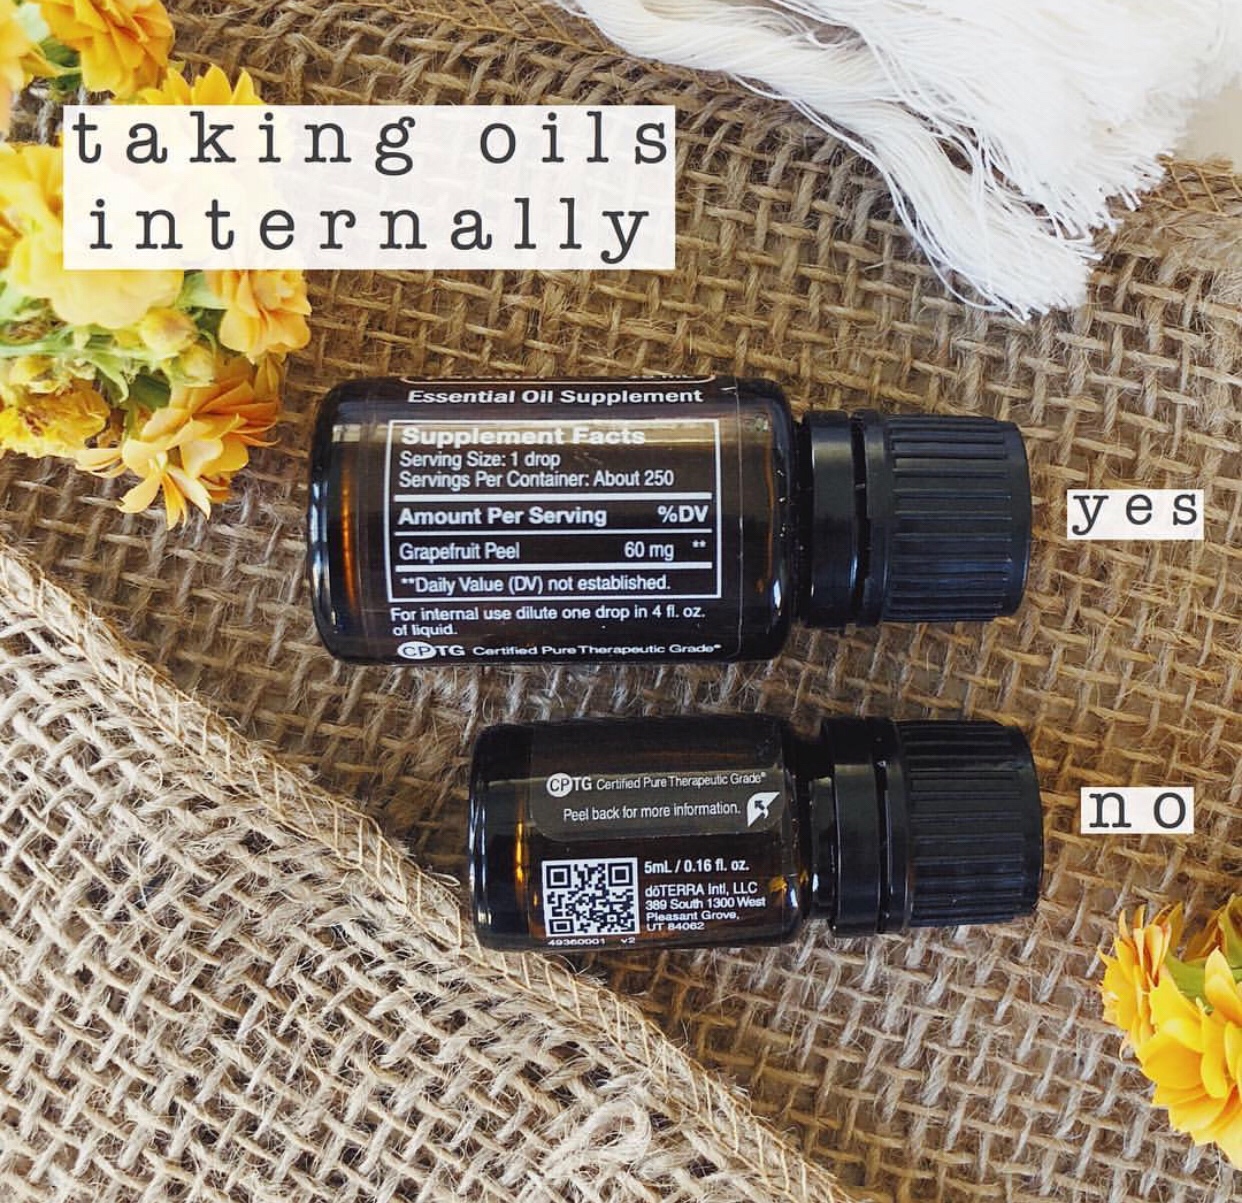
Here is my best tip for internal use—read the labels!

Even though some store bought oils ? say 100% pure, they also say on the bottle “not for internal use”.

When you first start using oils internally ALWAYS check the bottle for the supplements fact label. If it does not have it, then it is not safe for internally use. Easy peasy. In time you will know which ones are and aren’t, but I still double check if it’s one I am not familiar with.

Oh, and D?TERRA oils are different—they actually ARE pure. (You can look at the testing of each bottle by entering in the code on the bottom of your bottle to www.sourcetoyou.com).

If you don’t have a wholesale account, it’s super easy to get! You get wholesale pricing for one year! You get either pay the $35 for the account (like Costco) and choose your oils, or if you grab a starter kit that comes with your membership!

1) Go to my.doterra.com/staciewyatt

2) Click Join & Save

3) Fill in your personal information (If needed, my enroller/sponsor id is 1200119)

4) Choose a Starter Kit or select the Wholesale Membership Fee option

5) Add oils and products

6) Complete payment & process

7) Message me and I will get your welcome gift in the mail

Starter kits—https://www.doterra.com/US/en/pl/enrollment-kits