Christmas Jam

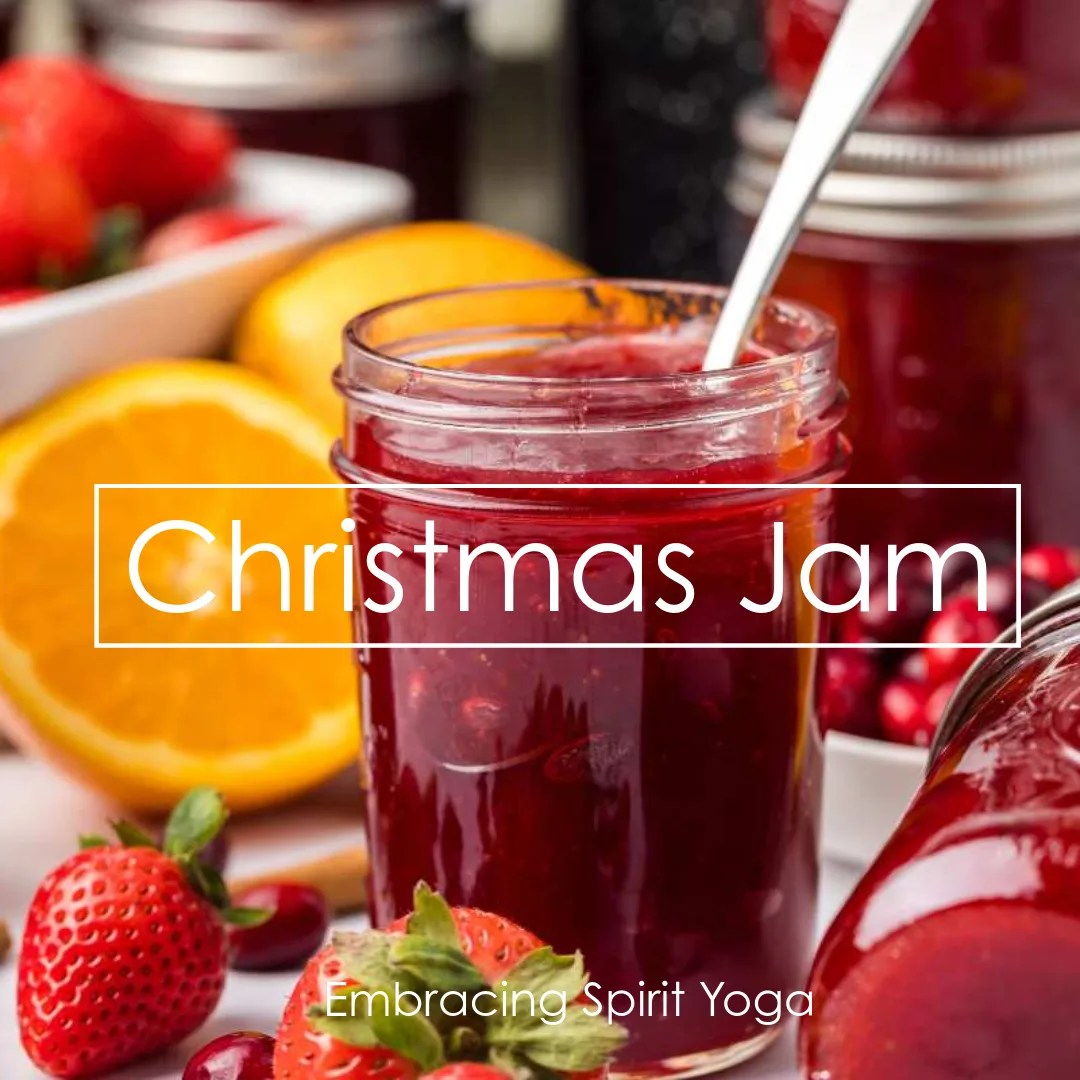
Strawberry and Cranberry Christmas Jam combines the sweetness of strawberries with the tartness of cranberries, creating a bright and flavorful preserve with a perfect balance of sweet and tangy notes. This jam is enhanced with warming spices, making it an ideal spread for the holiday season.

The jam can be spread on toast, served with cheeses, or used as a topping for desserts like cakes and ice cream. It’s often packaged as a thoughtful gift during the holiday season, making it a popular homemade treat for Christmas celebrations.

Strawberry and Cranberry Christmas Jam Recipe

Ingredients:

  • 6 cups fresh or frozen strawberries
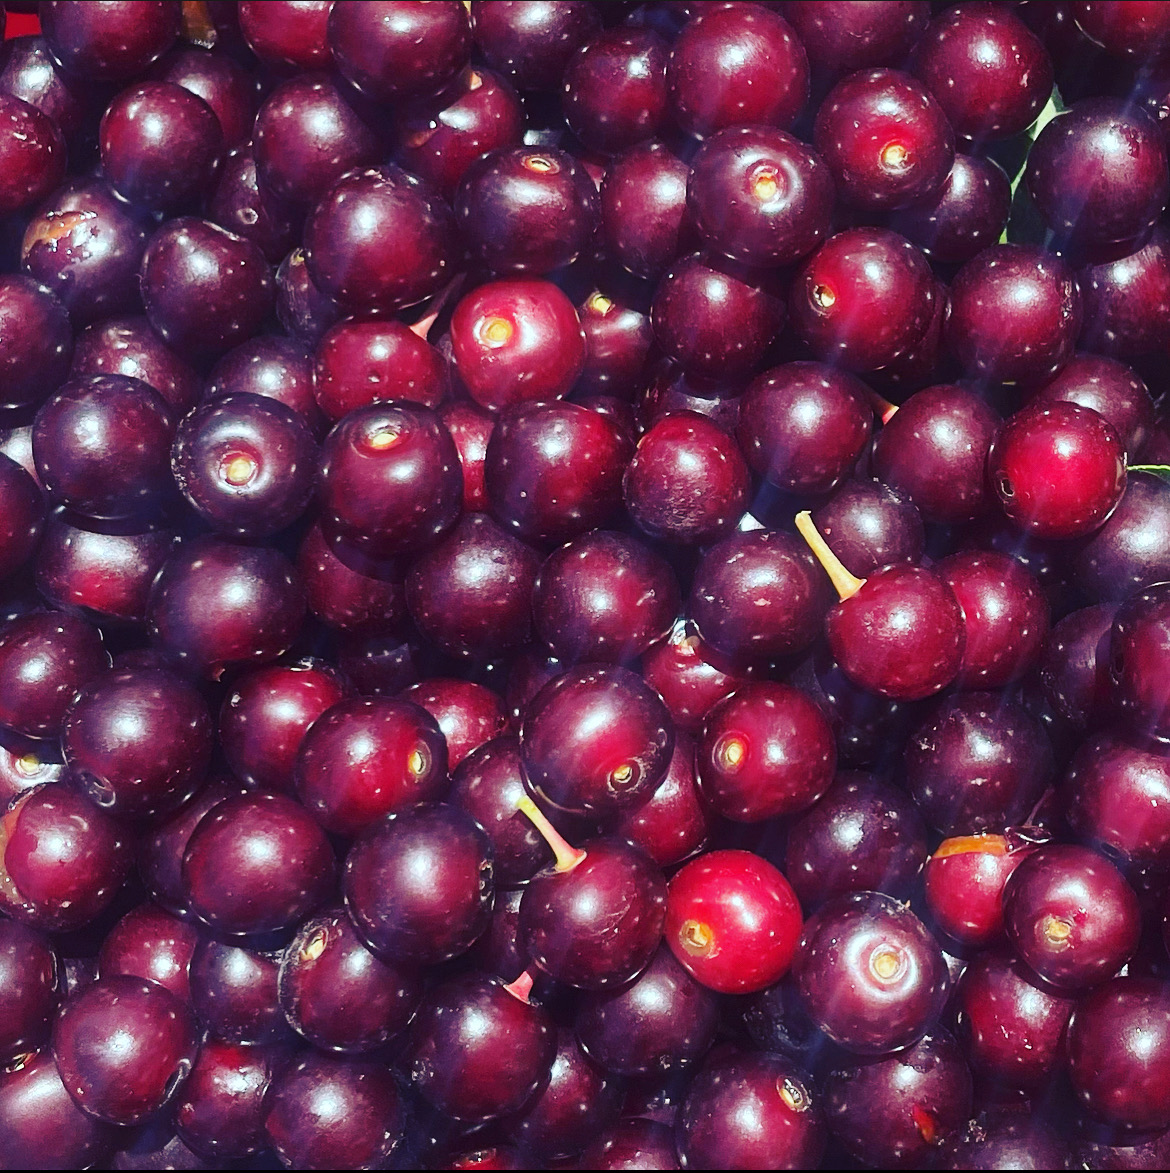
  • 2 cups fresh or frozen cranberries
  • 5 cups granulated sugar (adjust based on your sweetness preference)
  • 1 tablespoon fresh lemon juice (helps balance the tartness)
  • 1 teaspoon ground cinnamon
  • ½ teaspoon ground ginger
  • ¼ teaspoon ground cloves
  • ¼ teaspoon ground nutmeg
  • 1 tablespoon orange zest (optional, for extra citrusy depth)
  • 1 teaspoon vanilla extract (optional, for added warmth)

Instructions:

  1. Prepare the fruit:
    • Thaw the frozen strawberries.
    • Rinse the cranberries
    • Puree the strawberries with the cranberries using a food processor. I found added both fruit helped the cranberries puree a little easier.
  2. Cook the fruit:
    • In a large saucepan, combine the strawberries and cranberries. Add the sugar. Cook over medium heat and bring to a boil.
    • Once the mixture starts to simmer, add the spices.
  3. Add the sugar and spices:
    • Stir in the , cinnamon, ginger, cloves, nutmeg, and orange zest (if using). Continue cooking over medium heat, stirring constantly to prevent burning. The mixture will start to thicken as it cooks down.
    • Remove from the heat and add the fruit pectin.
  4. Cook the jam:
    • Let the jam return to a boil for another minute, stirring constantly. .
  5. Add vanilla extract (optional):
    • Once the jam has boiled, stir in the vanilla extract for a warm, aromatic flavor boost.
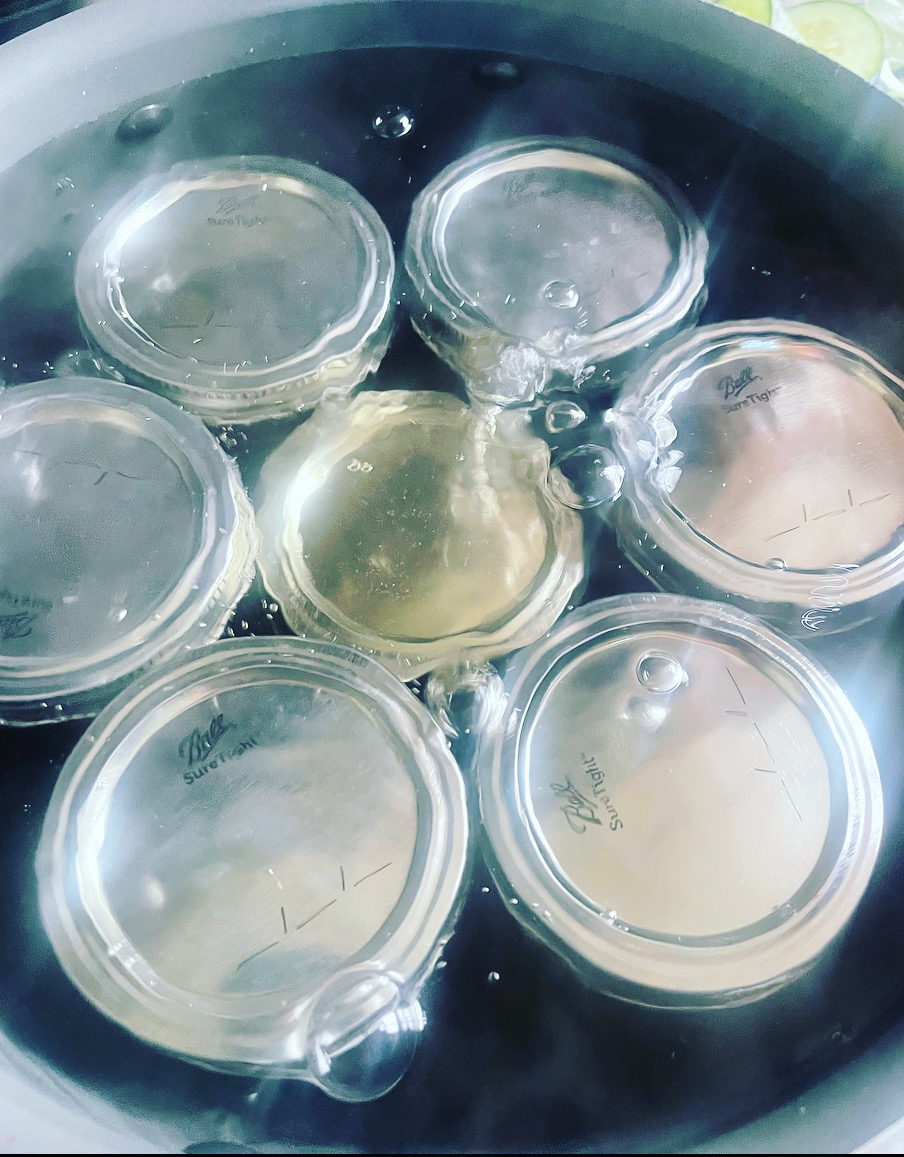
  6. Jar the jam:
    • Sterilize your jars by boiling them in water for 10 minutes, or by running them through a dishwasher cycle.
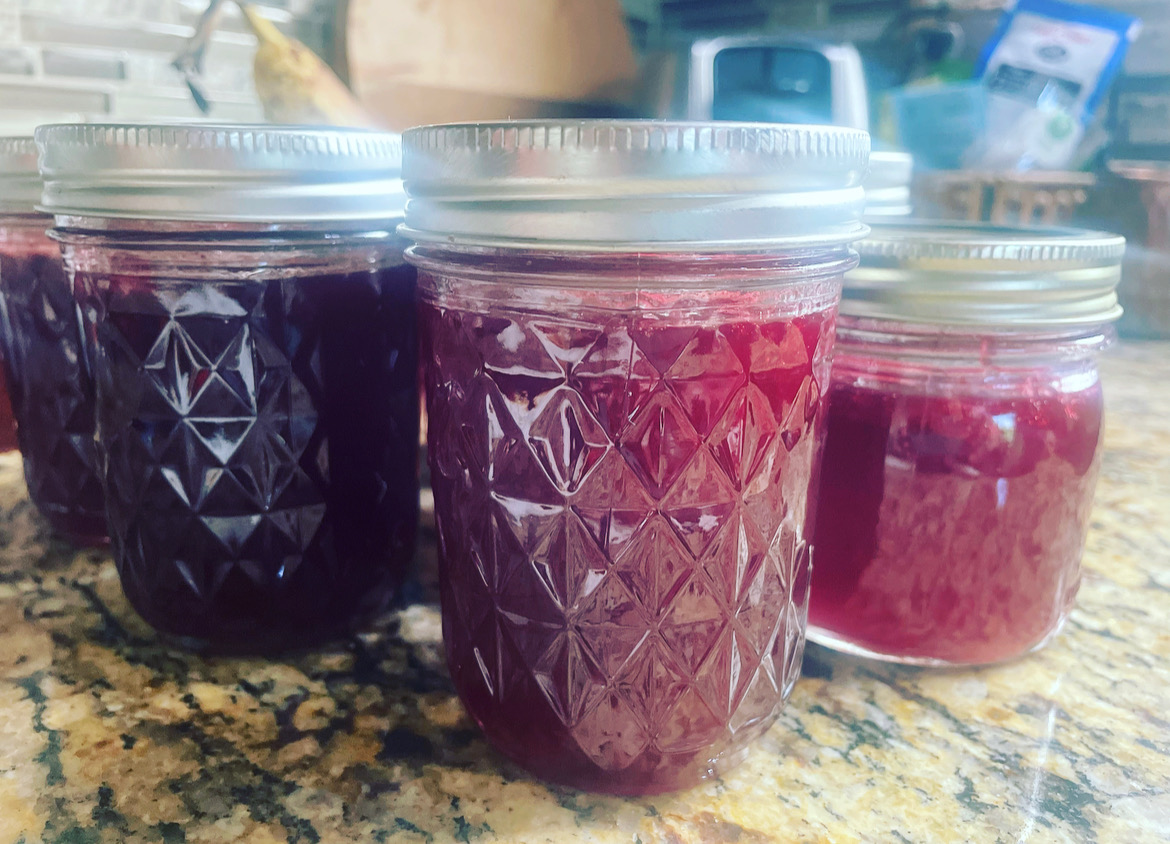
    • Carefully spoon the hot jam into the sterilized jars, leaving about ¼ inch of space at the top. Wipe the rims clean with a damp cloth before sealing the jars with lids.
  7. Seal and cool:
    • If you want to preserve the jam long-term, you can process the jars in a water bath canner for 10 minutes to ensure they seal properly. Alternatively, you can store the jam in the fridge for up to 3-4 weeks or freeze it for longer storage.

Serving Suggestions:

  • Spread on toast or scones for a festive breakfast or brunch.
  • Use as a topping for cream cheese or goat cheese on crackers for a holiday appetizer.
  • Spoon over vanilla ice cream or cheesecake for a delicious dessert.

This Strawberry and Cranberry Christmas Jam is a perfect homemade gift, too. It captures the flavors of the season and adds a personal, heartfelt touch to your holiday celebrations. Enjoy!

Easy and Fun Chokecherry Jelly

Ever since I started gardening a few years ago I have gotten a huge thrill out of watching something grow from a tiny seeds into something that sustains me. Nothing beats fresh produce right out of your own garden. I love the constant growth and it is such a good reminder to me of having patience, providing loving presence and attention to something and enjoying the abundance that always comes.

Trying new things has always been one of my strengths. I rarely shy away from learning new skills and when it comes to trying FUN new things, I am all in. I have two really large chokecherry bushes along my back fence and for the last three or four years I have muttered to myself that I should try making chokecherry jelly. Somehow each year that thought remained just a thought.

Until this year. Last night I grabbed a bowl and off I went to pick. A great memory I have is my sweet grandmother talking about making chokecherry jelly. While I was picking I felt her spirit as my hands got sticky and red. I had no idea how many cherries I needed to pick to get enough for jelly, but I kept picking. I ended up picking three pint size mason jars and told myself that if it was easy and fun to make jelly, I can always pick more.

Making the jelly was easy and fun. So much so that as soon as my batch was cooling, I took off with a bigger bowl to pick more!

The first thing you do is make the juice. After rinsing and discarding leaves and big stems (don’t worry about the little ones attached to the cherries) cover your cherries with water and boil for 30-35 minutes. You can use this right away for the jelly, or you can freeze it for later. To make the jelly, just follow this simple recipe!

Chokecherry Jelly

Ingredients:

  • 3.5 cups chokecherry juice
  • 1/2 cup fresh lemon juice
  • 1 teaspoon butter or margarine
  • 1 pkg dry pectin 1.75 oz
  • 4 1/2 cups of sugar
  • Optional—I added two drops of wild orange essential oil! Bam!

Instructions:

  1. Pour juices in kettle.
  2. Add pectin, stir.
  3. Bring to a boil, add sugar.
  4. Boil and stir for 2 minutes.
  5. Remove from heat, skim.
  6. Ladle into jars leaving 1/2 inch space. Add the top and the ring, twist just finger tight (not super tight).
  7. Process in hot water bath for 10 minutes. A hot water bath is when you add filled jars to pot of simmering water that covers the jars.
  8. Remove from bath and cool undisturbed for 24 hours.

Besides being fun and easy it is also gorgeous to look at! I cannot wait for a little toast and jelly with my coffee while sitting on the patio tomorrow morning. There is something SO satisfying about making your own food…and even more fun actually picking the ingredients to feed your people. Plus, how amazing will these little jars be for neighbor gifts come holiday time?

** update to original post. After making this two years in a row, I have some measurements that may help. You’ll need approximately 10 cups of berries to yield 4 cups juice. This recipe that calls for 3.5 cups juice yields 7 jars of jelly.

You can find some of my favorite DIY supplies and follow me for more inspiration below!