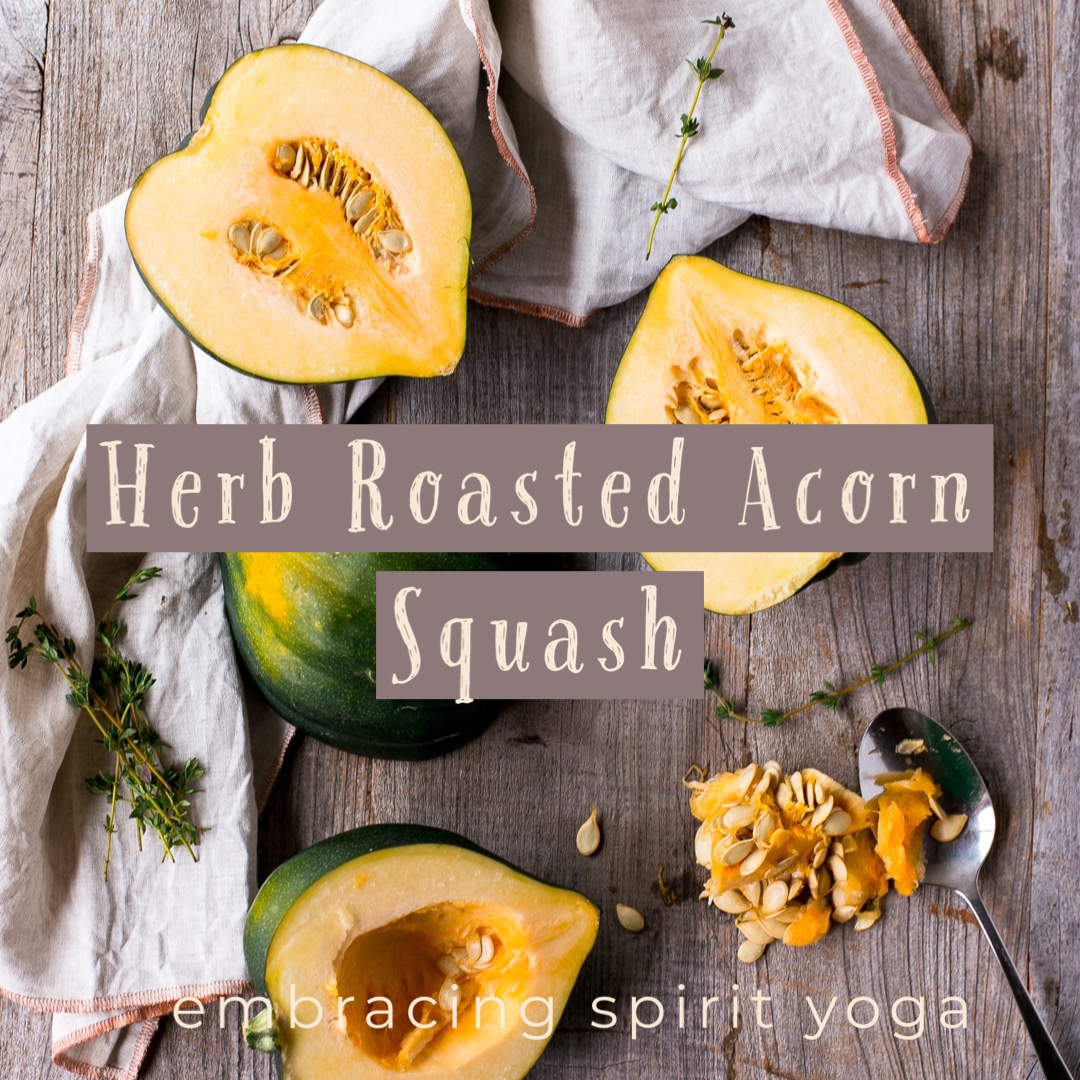
Herb Roasted Acorn Squash

My garden is bursting with some really good size acorn squash this year and one of my favorite ways to prepare it is simply roasted. This easy Roasted Acorn Squash recipe is a flavorful, colorful, and nutritious side that goes with everything! You’ll love how easy it is to make this! Acorn squash is not just super flavorful but it is also packed with nutrition.

Health Benefits of Acorn Squash:

Acorn squash is high in antioxidants that help fight free radical damage. They contain carotenoids, beta-carotene, Vitamin C, potassium, manganese, thiamine, magnesium, Vitamin B6 and other key nutrients. Acorn squash is in usually available year-round, with peak season from early October to December. A ripe Acorn Squash will feel heavy for its size and has smooth, dull skin, and no soft spots. Look for one that has a good mix between green and orange coloring.
The Ingredients

This easy, basic recipe is essentially just acorn squash, butter, and seasonings! You’ll love how simple it is to pull together roasted acorn squash on the fly.

  • Squash: Cut one squash in half lengthwise, and scoop out the seeds.
  • Butter: Melt the butter, or substitute your favorite oil.
  • Oregano and Thyme: Dried oregano and thyme are perfect with the natural sweetness of squash.
  • Garlic Powder: Garlic powder is an easy way to add intensity of flavor to this dish.
  • Paprika: Made from dried ground peppers, paprika is earthy and mild (not spicy!) and lends a beautiful color to the squash as it roasts.
  • Salt and Pepper: To taste.
  • Fresh Parsley: Chopped fresh parsley is an appetizing optional garnish.

How to Make Roasted Acorn Squash the Easy Way

  1. Preheat the Oven and Cut the Squash. Before you start, make sure to preheat the oven to 400°F. Next, cut the acorn squash in half, lengthwise, stem end to pointed end. (For the easiest way to cut through squash rind see the “Tips” section below.) Then slice each squash half into ½ inch-thick slices.
  2. Season the Squash. Arrange the squash slices on a baking sheet. Make the seasoned butter mixture by melting the butter and stirring in the herbs, garlic powder, paprika, salt, and pepper. Brush the squash slices with the butter mixture.
  3. Roast. Roast the seasoned squash for 20 minutes or so, until the squash is tender.
  4. Enjoy! Remove the baking sheet from the oven, and garnish the squash with parsley before serving warm.
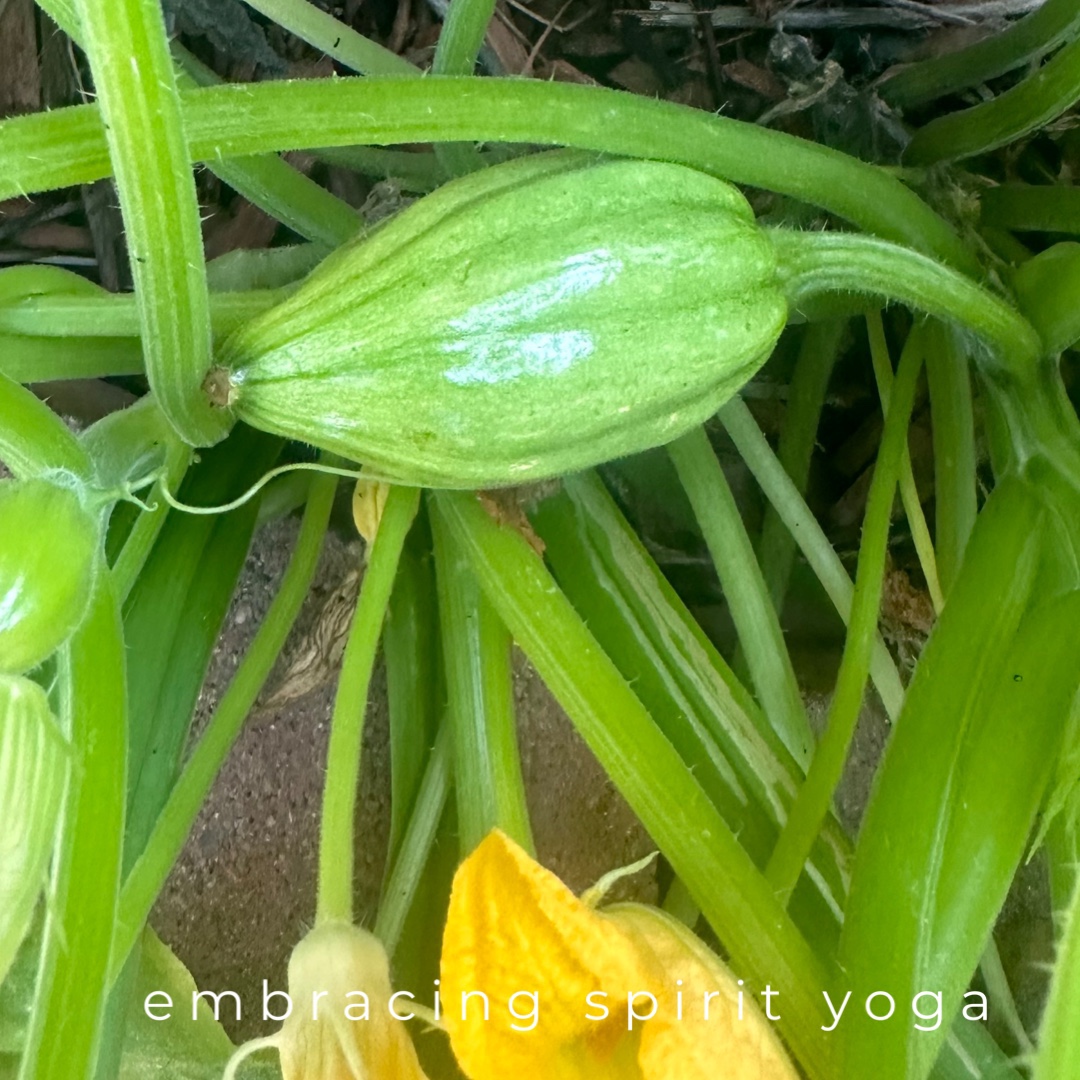
My little baby acorn is growing

So, that’s it! Perfect roasted acorn squash, pretty enough for a holiday menu, but easy enough to make any time. I am so excited for my acorn squash babies to fully grow so that I can make some great dishes like this one.

Follow me for more goodness!

With over sixteen years experience, Stacie Wyatt is a E-500 hour Registered Yoga Teacher with Yoga Alliance, Certified Brain Injury Specialist, Wellness Coach, Senior YogaFit Instructor, Mind/Body Personal trainer, Stress Reduction and Meditation Instructor, Pilates Instructor, and Barre Instructor. Stacie is also certified in Integrative Movement Therapy™and is also a believer in the power and application of essential oils for health and wellness and proudly shares doTERRA essential oils.

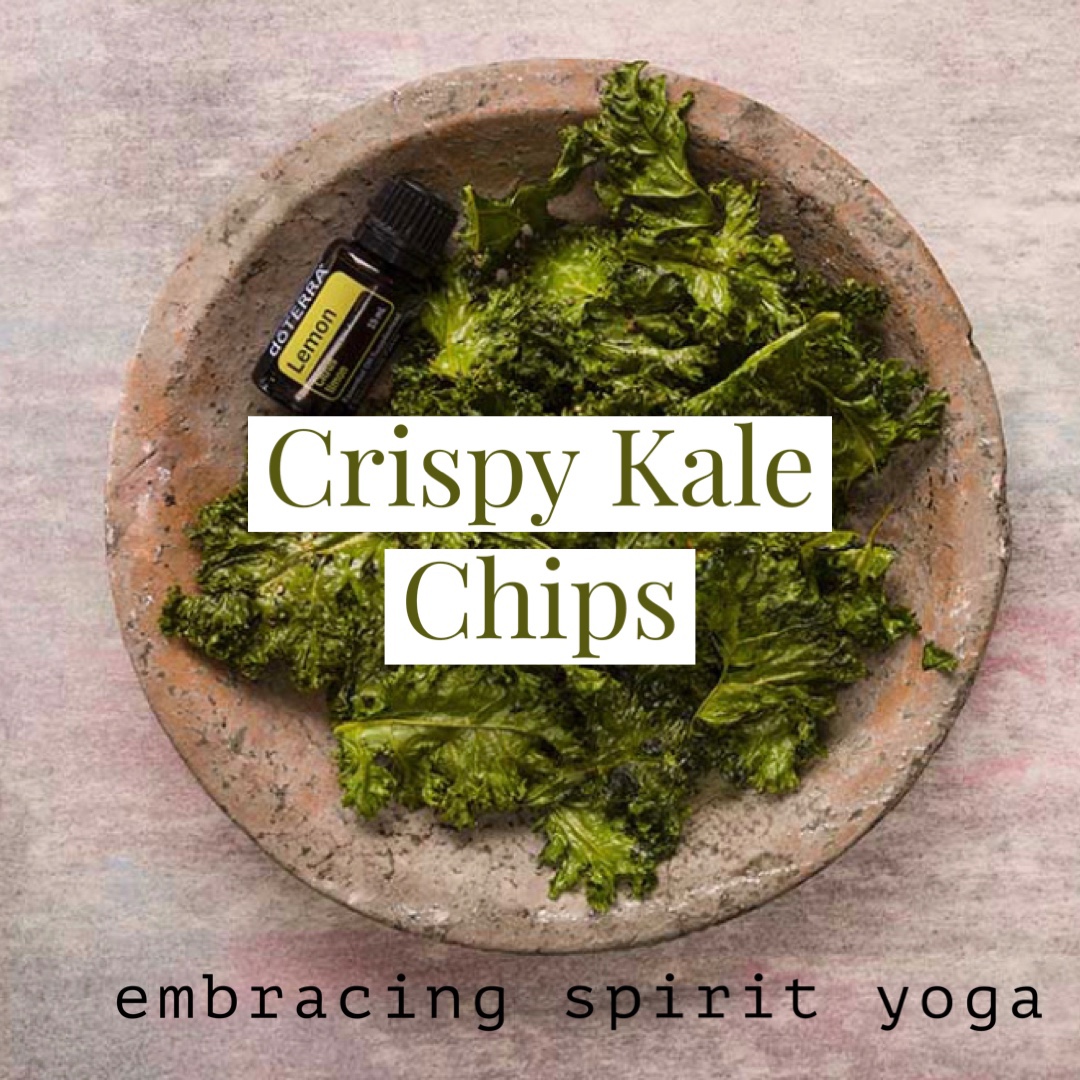
Crispy Kale Chips

I admit it. I was once a kale hater. Then I found a few ways to make it and now it’s a regular item in my house. Kale is one of the most nutrient-dense foods you can eat. Just one cooked cup has 36 calories and provides a whopping 1,180% of your daily-recommended intake (DRI) of vitamin K. That’s more than any other food on the planet. Crazy!?

One of the ways I love to make kale is seared with shallots, garlic, chicken stock and red pepper flakes. Once it’s cooked I drizzle it with balsamic vinegar and goodness, is it ever amazing.

I also love to have kale chips on hand when I am wanting a little snacky crunch.

Kale chips are a delicious, easy, and inexpensive way to get more greens into your diet. Try this recipe for original flavored kale chips or spice them up with other herbs and essential oils for more options. I like garlic powder, Parmesan cheese, and Lemon oil for an Italian twist, or cumin and Lime oil for Mexican-style chips.

Ingredients

1 large bunch kale, washed and torn into bite-size pieces
2 tablespoons olive oil
2 drops Lemon Essential Oil
Salt & pepper

Instructions

  1. Preheat oven to 200° F.
  2. Wash and dry kale thoroughly.
  3. Combine olive oil and Lemon oil in large mixing bowl.
  4. Add kale and toss. Make sure kale is well coated with oils.
  5. Once coated, place on baking sheet in single layer.
  6. Sprinkle with salt and pepper.
  7. Bake on the center rack for 45–50 minutes or until crispy.

Besides cooking with pure essential oils, you can also support your health, your mood and bring non-toxic cleaning into your house. This gorgeous ebook walks you through the versatility of essential oils. And when you choose to get started, I load you up with goodies, mentoring and education, and a free wellness consultation!

I hope you’ll learn to love eating kale like I did. It’s truly one of the greatest foods you can eat and once you find a few ways to make it, you’ll be hooked!

Follow me for more goodness!

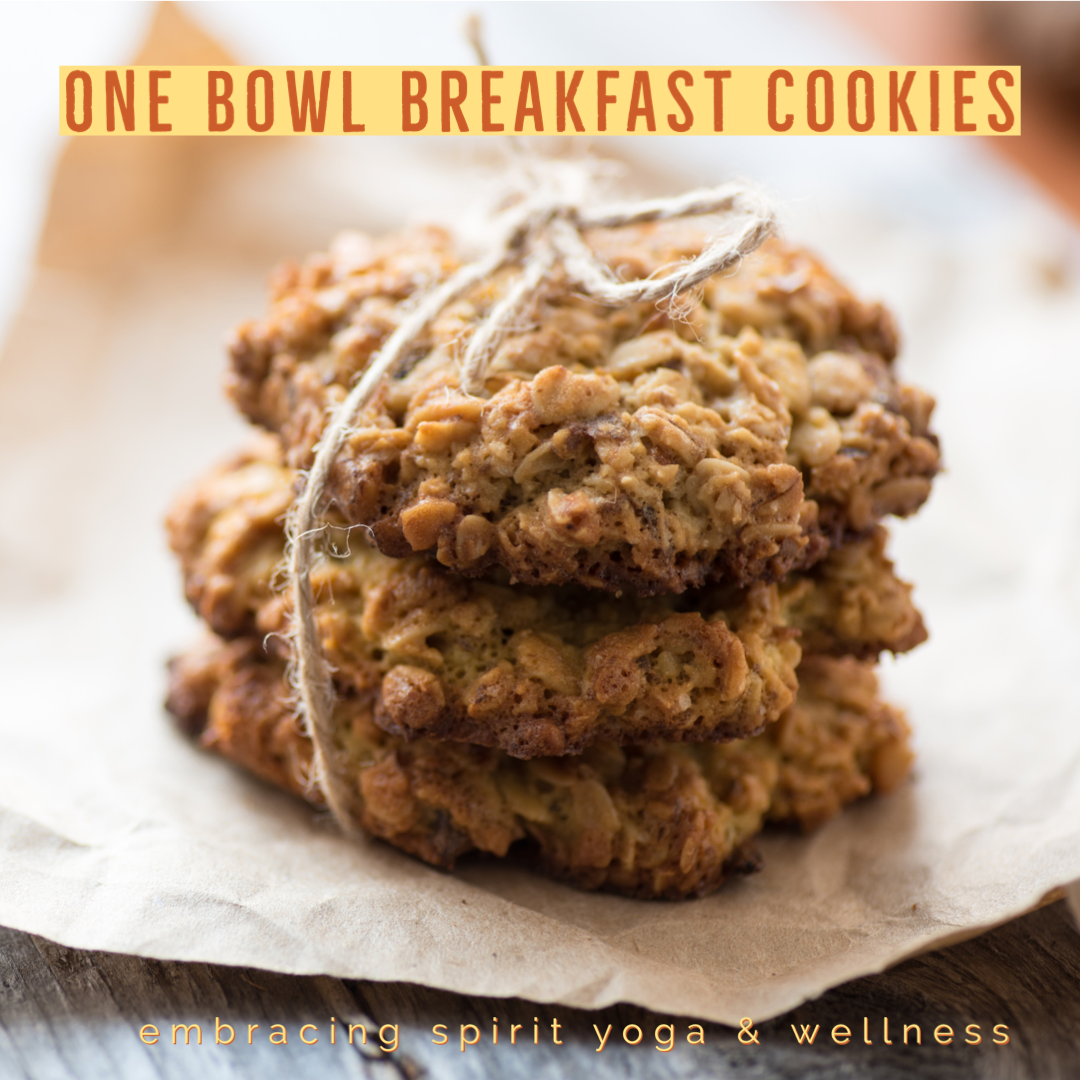
One Bowl Breakfast Cookies

I admit it. I cannot keep cookies in the house without eating at least one per day. I recently solved my guilt by making some healthy versions of cookies. Since I am also not a big breakfast eater I wanted to try to make something that is healthy and something that I would actually want to eat. And, does anyone ever really eat all the bananas before they go brown??? This recipe is great for those forgotten bananas.

These One Bowl Breakfast Cookies are so quick and easy to make–it’s as simple as mixing together wholesome ingredients in one bowl and baking them into the best morning meal. These nourishing banana oat breakfast cookies are the perfect way to start your day, because cookies taste even better for breakfast! Plus, you can play around with different mix-ins so you will never get bored. Who could get bored with a cookie anyway??? My latest favorite thing to toss in is shredded coconut and my favorite chocolate protein powder …… soooo good. And the protein gives you a little more to keep you feeling full.

INGREDIENTS

  • 2 cup quick oats (I choose gluten free oats)
  •  ½ tsp ground cinnamon
  •  ¼ tsp salt
  •  ½ cup natural creamy peanut butter
  •  ½ tsp vanilla extract
  •  2 large ripe bananas mashed (about 1 ½ cups)
  •  ¼ cup dark chocolate chips

SUBSTITUTIONS AND ADDITIONS

  • Mix-Ins: Feel free to add your favorite mix-ins for extra texture and taste. Some ideas include dried cranberries, raisins, pumpkin seeds, chia seeds, unsweetened shredded coconut, and chopped nuts. 
  • Nut Butter: You can substitute the peanut butter with almond butter or cashew butter. To keep it nut-free, try sunflower seed butter or even smooth tahini can be used. 
  • Something Sweeter: The bananas add natural sweetness to these cookies. However, if you want them sweeter, add 2-4 tablespoons of maple syrup, honey (note that honey is not vegan-friendly), or agave nectar.

LETS MAKE SOME COOKIES

Combine all ingredients in a large bowl and mix until combined. Drop 2 tablespoon scoops onto the baking sheet.
I recommend baking your cookies on a parchment-lined baking sheet to avoid the cookies sticking. Flatten into the shape of a cookie. The cookies will not spread, so they will come out of the oven in the same shape that they go in. You can use a cookie cutter to help form perfect circles or use the bottom of a juice class to smush the dough down. Bake at 350°F for 14-17 minutes, or until the edges begin to brown. Remove from the oven, cool and serve. I like to store these in an airtight container in the refrigerator up to a week (mine never last that long though).

Enjoy!

Follow me for more goodness!

Crustless Quiche

I am SO not a morning eater. Or a midday eater for that matter. I get busy doing my life and skip eating more times than not. I am trying to get a handle on upping my intake and specifically my protein since I work out and walk so much. I prefer to eat my meals so smoothies are a no go for me.

I have made these many times and always tweak them a little each time depending on my mood. Sometimes I add ham or bacon and sometimes I go with all veggie.

These are so easy and keep nice in the fridge for the week. Whip them up on a Sunday and you’re good for the week!

BASE:
  • 12 large eggs
  • ½ cup milk
  • 2 TBSP fresh parsley, chopped
  • 2 TBSP fresh basil, chopped (or other herb)
  • ¼ tsp. salt
  • ¼ tsp. pepper

Veggies*:

  • 1 cup broccoli, cut into teeny tiny florets
  • 1 cup fresh spinach, roughly chopped
  • 1 red bell pepper, chopped small
  • ¼-1/2 cup onion, diced fine
  • 1 jalapeno pepper, seeds and veins removed, diced fine (optional)

Add-ins (optional):

  • 1½ cups cheddar, gruyere, mozzarella, or other cheese, divided
  • 1 lb. bacon, sausage, or other meat, fully cooked
INSTRUCTIONS:
  1. If using meat (bacon, sausage, etc.), cook it fully first. Set it aside to cool, then cut into small pieces.
  2. Preheat oven to 375 degrees F., and thoroughly grease (butter, coconut oil, or non-stick spray) a muffin tin. (NOTE: I recommend using a non stick muffin pan or silicone mold even easier removal.)
  3. In a large bowl, whisk together the eggs, cream, milk, parsley, basil, salt, and pepper. Set aside.
  4. Get all your veggies diced up and ready to go. Optionally, you can saute your onion with a bit of olive oil to soften it up and take away some of its bite. Set aside and allow to cool.
  5. Add all the veggies to the bowl with the egg mixture, and stir to combine. Stir in half of the cheese, and all of the meat, if using.
  6. Using an ice-cream scoop or ¼ cup measure, scoop the mixture into the prepared muffin pan. Fill to about ¼ inch from the top, then sprinkle a small amount of reserved cheese over each. Place in the oven, and bake for 20-25 minutes, or until the egg is fully set and the cheese has just started to turn golden on top.
  7. Remove from the oven and let cool for 5-10 minutes before running a butterknife around each muffin, and gently removing from the pan. Enjoy while warm, or let cool completely before storing in an airtight container in the fridge. Leftovers can be reheated for several seconds in the microwave (time will vary depending on your microwave), or a few minutes in a preheated oven or toaster oven.

Yum!

Follow me for more goodness!

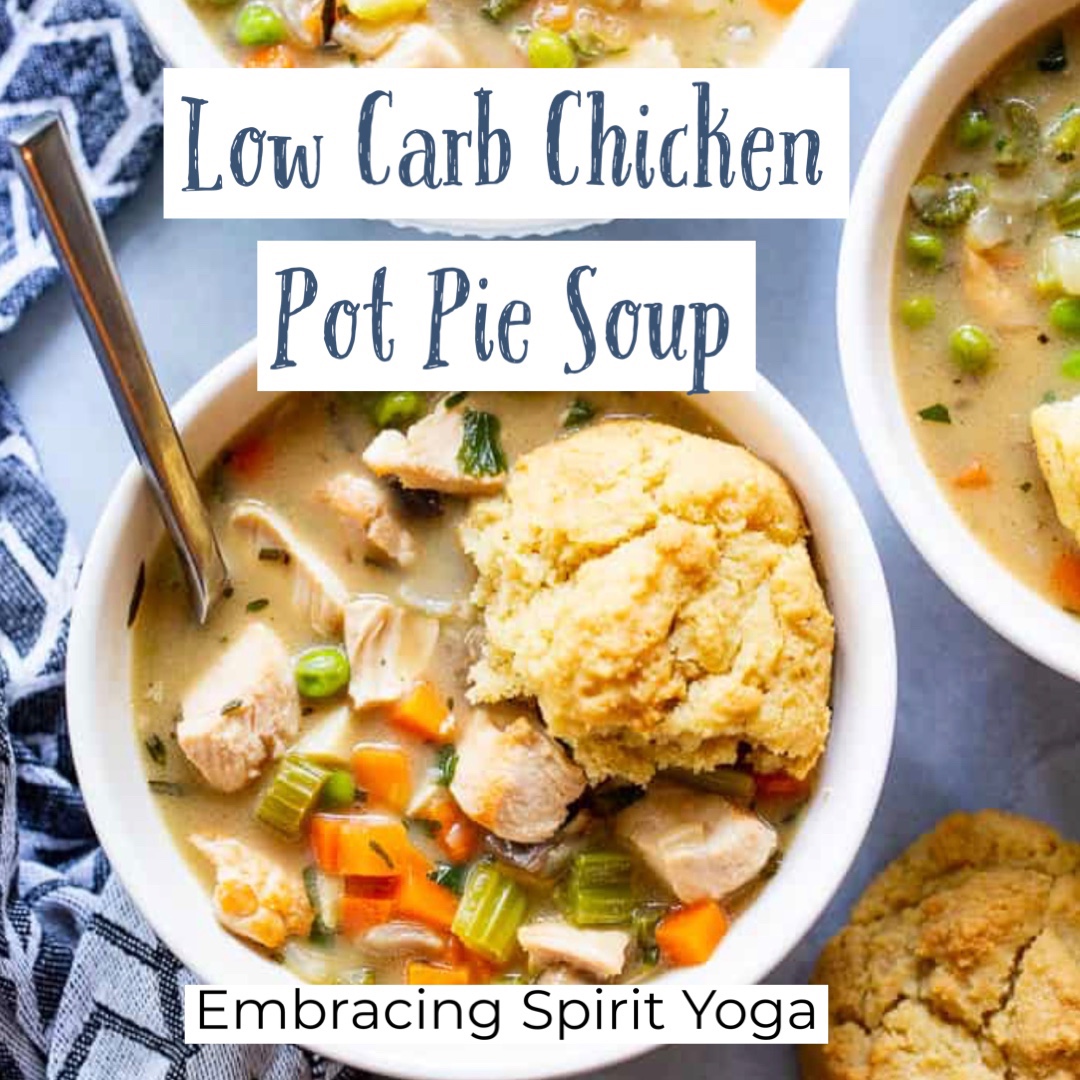
Low Carb Chicken Pot Pie Soup

This creamy, cozy and delicious chicken pot pie soup has it all! A dairy-free chicken pot pie filling with loads of veggies and savory herbs and the yummiest paleo + low carb biscuits! The whole family will love this healthy, hearty soup on cold winter night

Here is Colorado it is sooooooo cold. We usually have a few days of cold and then back to sunny skies and tolerable temperatures. Not this month. We have been frozen all month. So frozen I have had to cancel studio Yoga classes all month. Since I can’t teach tonight, I am making this hearty soup.

Chicken Pot Pie Soup

This soup can be made Whole 30 compliant or Paleo but since I am loving living with a tad bit of moderation and good flavors, I am going for the yummy biscuits! The biscuits are crazy simple – just a few ingredients that you mix up all in one bowl! They’re low carb too, without any starch or sweeteners used.

Here’s what you need for the low carb biscuits:

Ingredients

One- bowl Low Carb Biscuits:

  • 1 1/2 cup blanched almond flour
  • 1/4 cup coconut flour
  • 1 1/2 tsp baking powder **
  • 1/2 tsp sea salt
  • 1/4 tsp black pepper
  • 6 Tbsp ghee or grass fed butter, melted
  • 6 Tbsp coconut milk full fat
  • 2 large eggs whisked

Chicken Pot Pie Soup:

  • 1/4 cup ghee or coconut oil, or grass fed butter, divided
  • 1 lb boneless skinless chicken breasts cut into 1/2” cubes
  • Sea salt and pepper to taste
  • 3 celery stalks chopped
  • 1 medium onion chopped
  • 1 cup mushrooms chopped
  • 4 cloves garlic minced
  • 1 tsp Fresh rosemary minced
  • 1 tsp Fresh sage minced
  • 1 tsp Fresh thyme minced
  • 3 Tbsp arrowroot starch
  • 2 3/4 cups chicken bone broth
  • 1 16 oz bag frozen peas and carrots*
  • 1 cup coconut milk full fat, blended before added, if necessary
  • Sea salt and black pepper to taste
  • Fresh parsley for garnish
  • I love to add one drop of thyme or rosemary essential oil

Instructions

  1. Preheat your oven to 350° and line a large baking sheet with parchment paper. In a large mixing bowl, stir together all the dry ingredients. Make a well in the center of the dry mixture and add in the butter, coconut milk and eggs. Stir until well combined and smooth. Chill the mixture in the refrigerator for 10-15 minutes.
  2. Using an ice cream scoop, scoop 1/4 cups of batter on the prepared baking sheet at least 2” apart. I made 8 biscuits. Bake in the preheated oven for 15-18 minutes or until light golden brown. Serve right away with the soup
  3. Meanwhile, heat a large stock pot over medium high heat and add 2 Tbsp ghee. Add the chicken cubes and sprinkle with sea sat and pepper. Cook, stirring occasionally for about 3 minutes until golden on the outside. Remove to a plate and set aside.
  4. Lower the heat to medium and add the remaining 2 Tbsp of ghee. Add the celery, onions, and mushrooms and sprinkle with a bit of sea salt. Cook for one minute, then add the garlic and fresh herbs. Continue to cook another 2-3 minutes or until veggies are soft and fragrant.
  5. Whisk the tapioca flour into the veggies, then add in the broth and stir. Bring to a boil, then lower the heat to a strong simmer and simmer about 5 minutes. Add in the peas and carrots, coconut milk, and chicken. Bring back to a boil, then simmer for 3-5 more minutes. Season the soup with salt and pepper to taste.
  6. To serve, garnish with soup with parsley and serve with a biscuit. Enjoy!

Heck yes!

Follow me for more goodness!

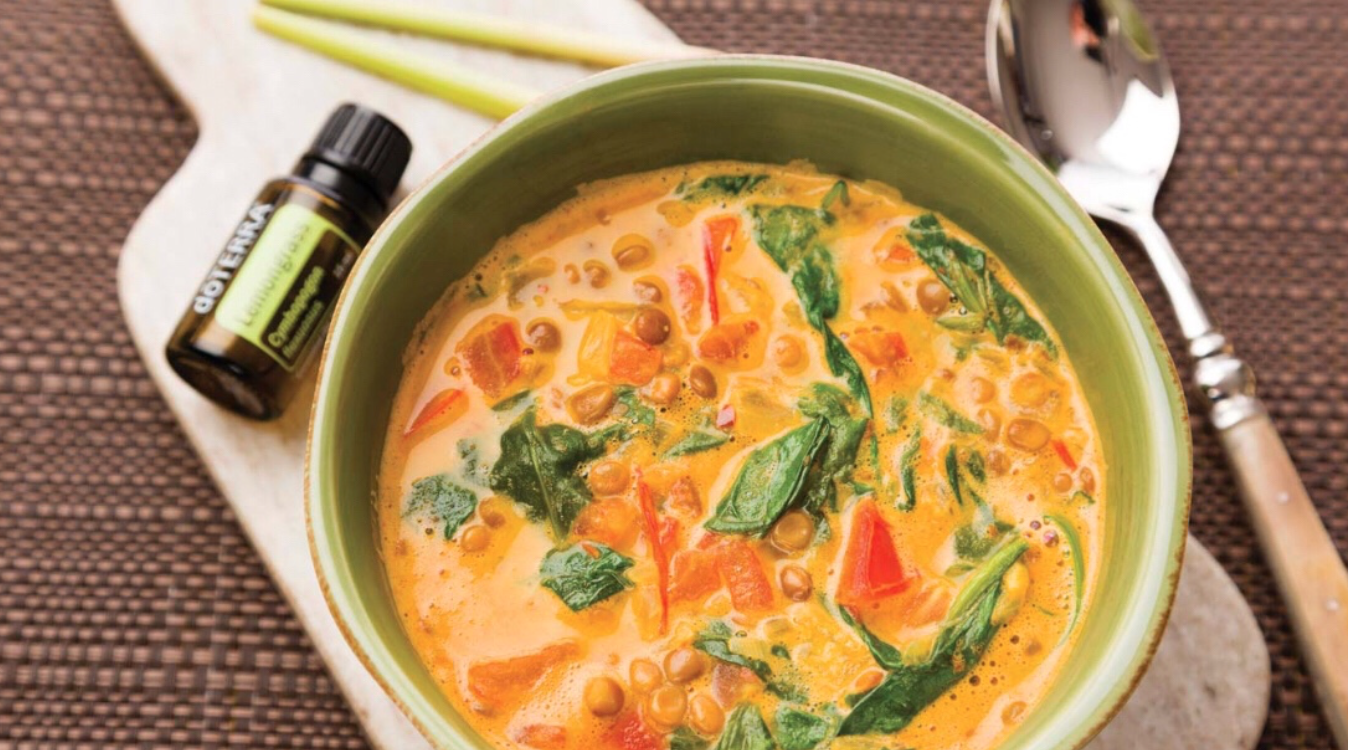
Coconut Curry Lemongrass Soup

Are you all starting to feel the yearning for fall and all that comes with it? Sweaters, leaves, pumpkin everything and cooler days??

I think since we here in Colorado have had a cooler-ish August, I have been rushing the coming of fall. But one of my sweet yoga students reminded me early August that we still have lots of summer left and I why rush it??

I think for many of us, it is our human nature to want to get on to the next thing–whether that is the next bite of food, next task, or even the next fun activity. I have been trying to catch myself going ahead more and more, and I am finding that it is becoming easier and I am more present.

One of my favorite soulful things in the fall and winter is make a big pot of soup and patiently wait for it to simmer. To me, there is nothing quite like the slow cooked flavors coming together…plus then I have something to enjoy all week long.

Check out this awesome recipe using Lemongrass essential oil. This oil is sourced from Southern India and is common in cooking. The primary benefits of Lemongrass include supporting healthy digestion when taken internally, combined with a carrier can be a soothing massage, can give a refreshing feeling. Emotionally, this one is known as the oil of “cleansing”.  Lemongrass is a powerful and effective cleanser of any energies that no longer aids in our expansion.

I am going to make this soup this weekend (even though I am not a big legume eater, I think the red lentils will be amazing). Enjoy the mindful simmering and tasty flavors. Let me know if you make it!

Ingredients
2 tablespoons coconut oil
2 large onions, peeled and chopped
4 cloves garlic finely chopped or pressed
1 tablespoons fresh ginger root, minced
1–2 drops Lemongrass oil
4 tablespoons tomato paste
4 carrots, peeled and chopped
4 tablespoons curry powder
1 teaspoon red pepper flakes
8 cups vegetable broth
2 cans coconut milk
4 cups fresh tomatoes, chopped
3 cups dried red lentils
4–6 handfuls baby spinach
Salt and pepper to taste

Instructions 

  1. Heat coconut oil over medium heat; add onion, garlic, and fresh ginger. Cook until onion is translucent then add carrots and sauté five to seven minutes.
  2. Add tomato paste, curry powder, and red pepper flakes; cook for another one to two minutes stirring constantly until all vegetables are coated and flavors combined.
  3.  Add vegetable broth, coconut milk, diced tomatoes, and lentils. Cover and bring to a boil on medium high heat; reduce to simmer (low heat).
  4. Add Lemongrass essential oil and cook for approx. 30 minutes until lentils are cooked through. Season with salt and pepper to taste.
  5. Add spinach and stir until wilted.
  6. Garnish with one tablespoon fresh chopped cilantro and one tablespoon sour cream.

Tip: Add some brown sugar for a sweeter curry taste.

Go snag this free ebook to learn more ways to use essential oils.

Weight Loss and Essential Oils

Despite all out great intentions with food, we can still struggle with cravings. When I lost all my weight I had some big ‘behavior’ changes that I was intentional about, and many that have remained. I learned that most of my weight was sticking around from mindless eating and bad habits.

Some of the patterns that I broke and the strategies that I began included:

*using small size plates to trick my mind I was eating more
*I taught the kids to do their own dishes so I wasn’t mindlessly grabbing the abandoned chicken nugget
*I put snacks in the cabinet above the fridge so it literally took getting a stool which gave me time to think about if I really needed the crackers
*I measured EVERYTHING I ate
* I logged EVERYTHING that passed through my lips for 2.5 YEARS—this eventually became a leak of joy so I no longer do this
*I put my walking shoes in the doorway leading to house from garage so I would walk before even going in the door
*Rather than going to kitchen when I came home and snacked, I went straight to the bath tub. By the time I was done, it was time to cook dinner and I just saved hundreds of calories
* I chose wine over ice cream
*I decided that I was DONE being heavy and I was worth health

When I started using essential oils, I was so happy to learn that they can also support my physical body. I used oils in the beginning for the good smells, without any idea that they could have a health benefit.

Today, I use lemon daily for internal cleansing. I use grapefruit often for reducing cravings and internal cleansing. I also use a great blend called Slim & Sassy. I put a few drops in water or in a capsule and take internally. BUT, the best way that I use the this blend is a HACK that I learned about a month or so ago.

I purchase a bottle of fractionated coconut oil (FCO) and a bottle of Slim and Sassy and I empty the entire bottle of EO into the FCO and everyday I apply the oil to my stomach and my “trouble areas”. Over the month time, I have noticed that my skin is is tighter and I am slimmer. I have heard about people actually losing weight and inches doing this! I get the internal benefit as the oils are absorbed and the external benefit of better looking skin! Double win!

Check out and bookmark this handy little ebook  on the basic uses and safety of essential oils.  There are so many uses for your entire life…and the greatest thing is you being to eliminate some of the less healthy things in your life, too.

Screen Shot 2021-10-10 at 12.22.59 PM

No Shame Oatmeal

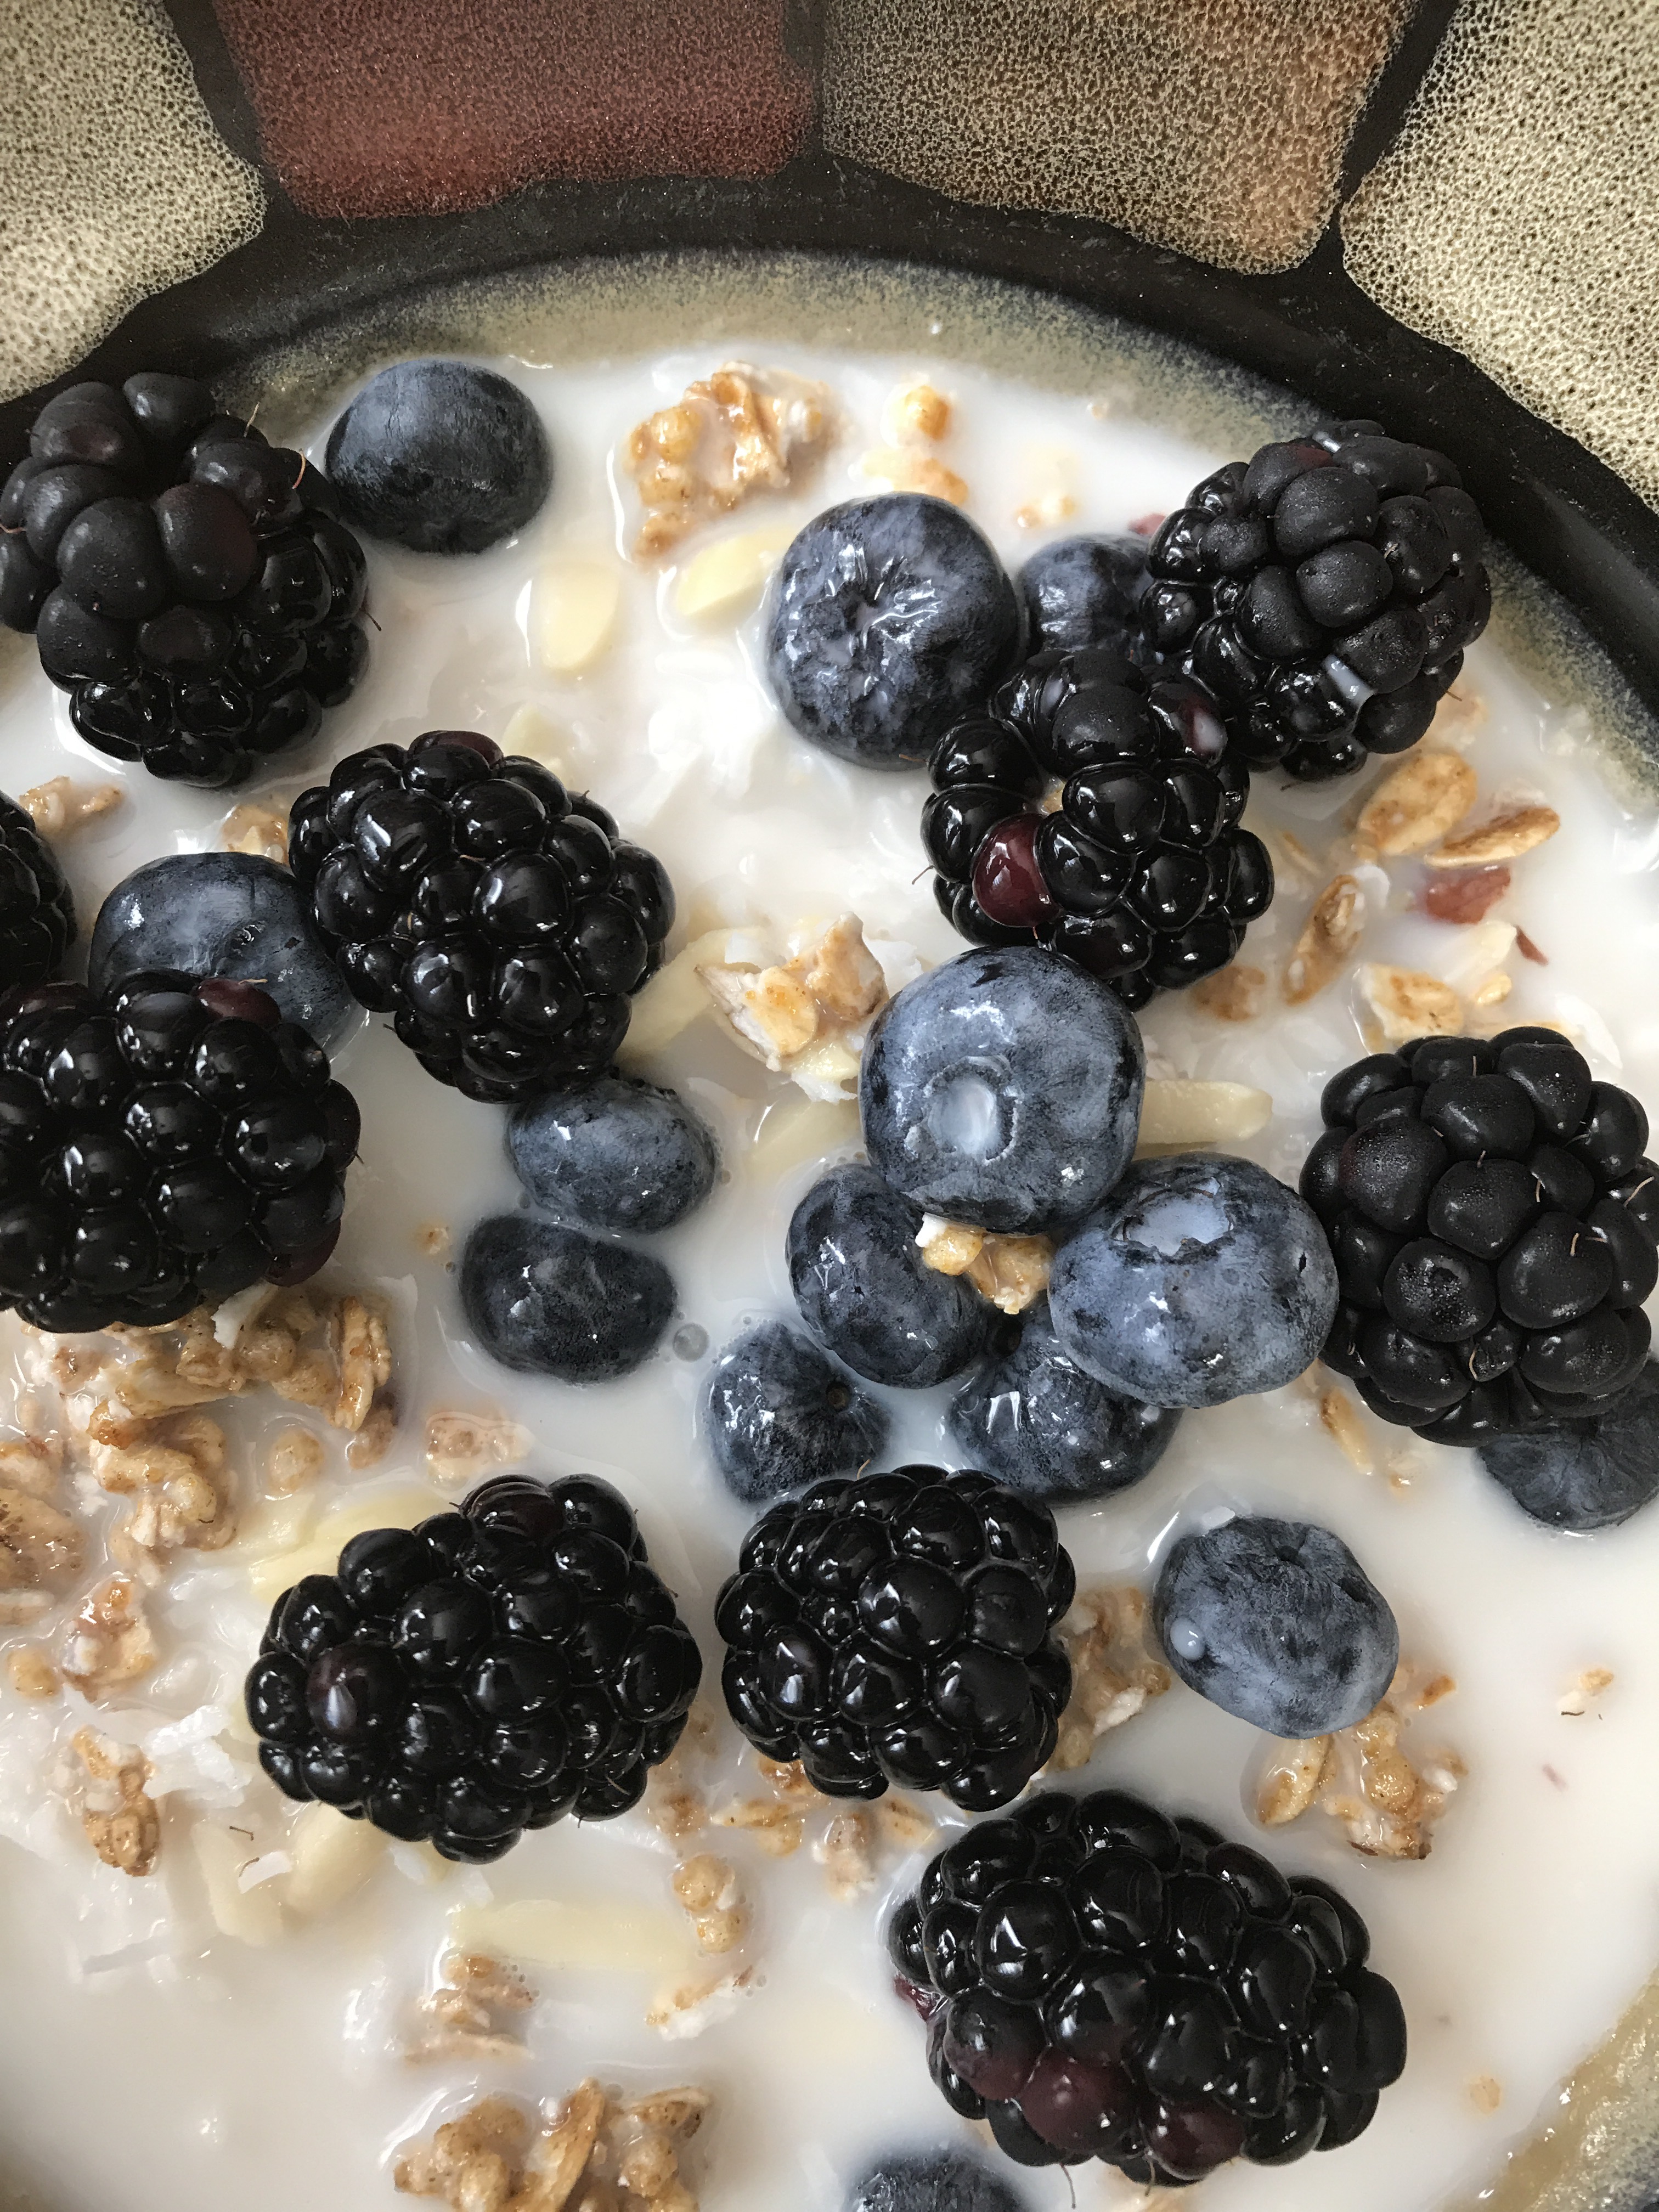
I’m not really an oatmeal girl but my body was craving it today. Add in some slivered almonds, unsweetened shaved coconut, fresh blackberries and blueberries, a drop of lemon essential oil and voila! Yumminess in a bowl! 
I used to obsess about eating certain foods especially grains when I changed my way of eating to a more paleo style. However, in my process of listening to myself and my intuition, I have come to realize that my relationship with food shouldn’t be so stressful and really shouldn’t be punishing or shaming.  I learned that it really is okay to eat what my body is craving. Because I eat so clean, I rarely crave anything “bad” like sugar or super carby foods. 

But, today my belly said oatmeal and berries. And that is exactly what it got. And it is okay. 

No Shame Oatmeal: 

  • Steel cut oats cooked as directed
  • 1/4 cup unsweetened shaved coconut 
  • 1/4 slivered almonds 
  • Handful of berries 
  • 1/4 cup unsweetened almond milk 
  • Drop of lemon essential oil 

Interested in learning more about incorporating essential oils into your lifestyle? Or how to shift out of the shaming around food? 

 I am here to help!