While I love a good ol’ classic cake I decided to try my hand at making red velvet cake into bite-sized treats for Valentines Day! An added punch of Wild Orange essential oil gives these an extra decadent flavor. If you have never added essential oils to food you’re missing out! Check out this free ebook download that explains many ways to use essential oils, including in food! Be sure to always check that your oils are tested for purity, though!
Okay, back to decadent chocolate goodness! These are so pretty and taste amazing!

How to Make Red Velvet Cake Balls
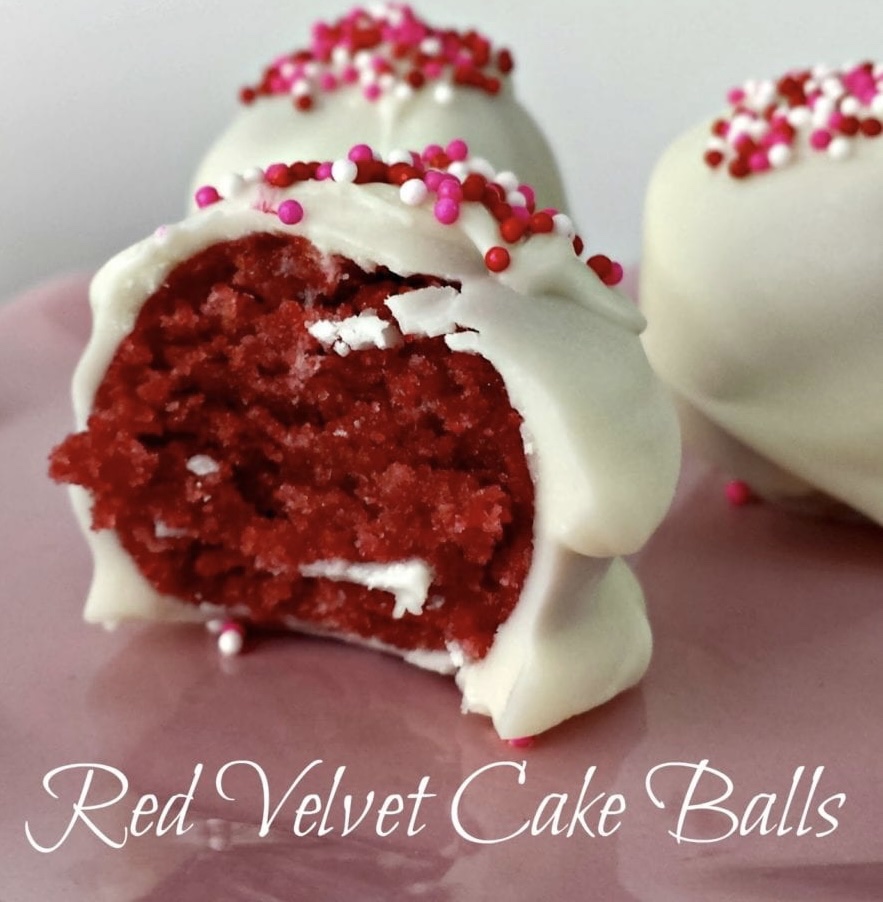
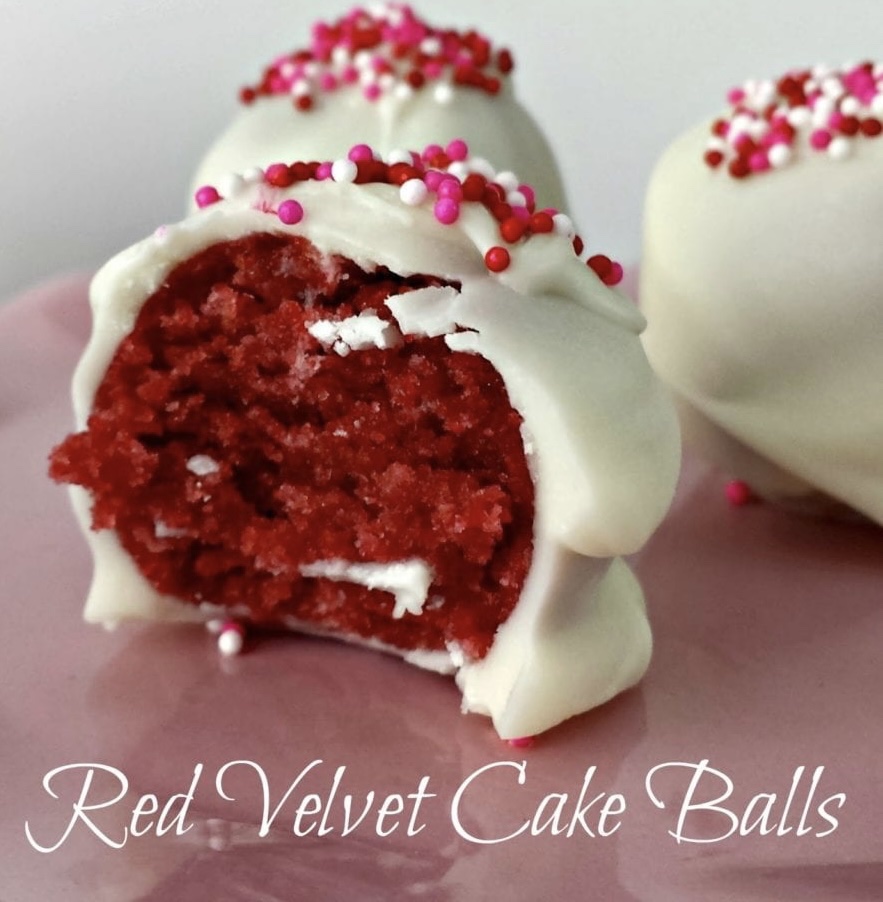
This tasty creation is made out of red velvet cake that is bonded together with homemade cream cheese frosting and coated in white chocolate. For an extra decadent finish, white chocolate and dusted the top with sprinkles for a stunning polish.

Make sure to add sprinkles before the chocolate dries to ensure that they firmly stick. We chose red and white for a color theme, but you could use sprinkles and sanding sugars in any array of colors to match a party theme, team uniforms, or holiday.
Ingredients
- 1 (15.25-oz.) pkg. red velvet cake mix
- 1 cup whole milk
- ? cup (2 2/3 oz.) salted butter, melted
- 3 teaspoons vanilla extract, divided
- Nonstick spray
- 1 (8-oz.) pkg. cream cheese, softened
- ½ cup (4 oz.) salted butter, softened
- 4 cups (about 16 oz.) powdered sugar
- 3 (10-oz.) pkg. white chocolate chips
- 2 drops wild orange essential oil
- Red and white sprinkles and sanding sugars
Directions
- Preheat oven to 350°F. Beat cake mix, milk, melted butter, and 1 teaspoon of the vanilla in bowl of a heavy-duty stand mixer fitted with paddle attachment on low speed until well blended, about 1 minute. Increase speed to medium, and beat 2 minutes. Pour batter into 13- x 9-inch baking pan that has been sprayed.
- Bake in preheated oven until a wooden pick inserted in center comes out clean, 24 to 28 minutes. Cool in pan on a wire rack 15 minutes. Turn cake out onto wire rack, and let cool completely, about 2 hours.
- Meanwhile, beat cream cheese and softened butter with heavy-duty stand mixer fitted paddle attachment on medium speed until creamy. Reduce speed to low, and gradually add powdered sugar and remaining 2 teaspoons vanilla, beating until blended. Increase speed to medium-high, and beat until fluffy, 1 to 2 minutes.
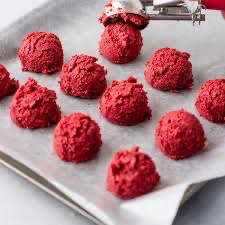
- Crumble cooled cake into a large bowl. Stir in 2 cups of cream cheese frosting. (Reserve any remaining frosting for another use.) Roll cake mixture into 48 balls, about 1-inch in diameter. Place balls on baking sheets, and cover with plastic wrap. Chill 8 hours or overnight.
- Melt 1 package of the white chocolate chips in a medium-size microwavable bowl in microwave according to package directions. Stir in two drops of wild orange essential oil. Start with 16 cake balls (continue to chill remaining 32 cake balls). Using a fork and working with 1 cake ball at a time, dip ball into melted wafers, allowing excess to drip back into bowl. Place ball on a parchment paper-lined baking sheet, and immediately sprinkle with desired amount of sprinkles or sanding sugars. Repeat with remaining 15 cake balls and melted wafers in bowl, cleaning fork between each dip. Wipe bowl clean, and repeat 2 more times with remaining chilled cake balls and 2 packages of melting wafers, and desired amount of sprinkles. Chill until ready to serve.

Follow me for more goodness!

