Easy and Fun Chokecherry Jelly

Ever since I started gardening a few years ago I have gotten a huge thrill out of watching something grow from a tiny seeds into something that sustains me. Nothing beats fresh produce right out of your own garden. I love the constant growth and it is such a good reminder to me of having patience, providing loving presence and attention to something and enjoying the abundance that always comes.

Trying new things has always been one of my strengths. I rarely shy away from learning new skills and when it comes to trying FUN new things, I am all in. I have two really large chokecherry bushes along my back fence and for the last three or four years I have muttered to myself that I should try making chokecherry jelly. Somehow each year that thought remained just a thought.

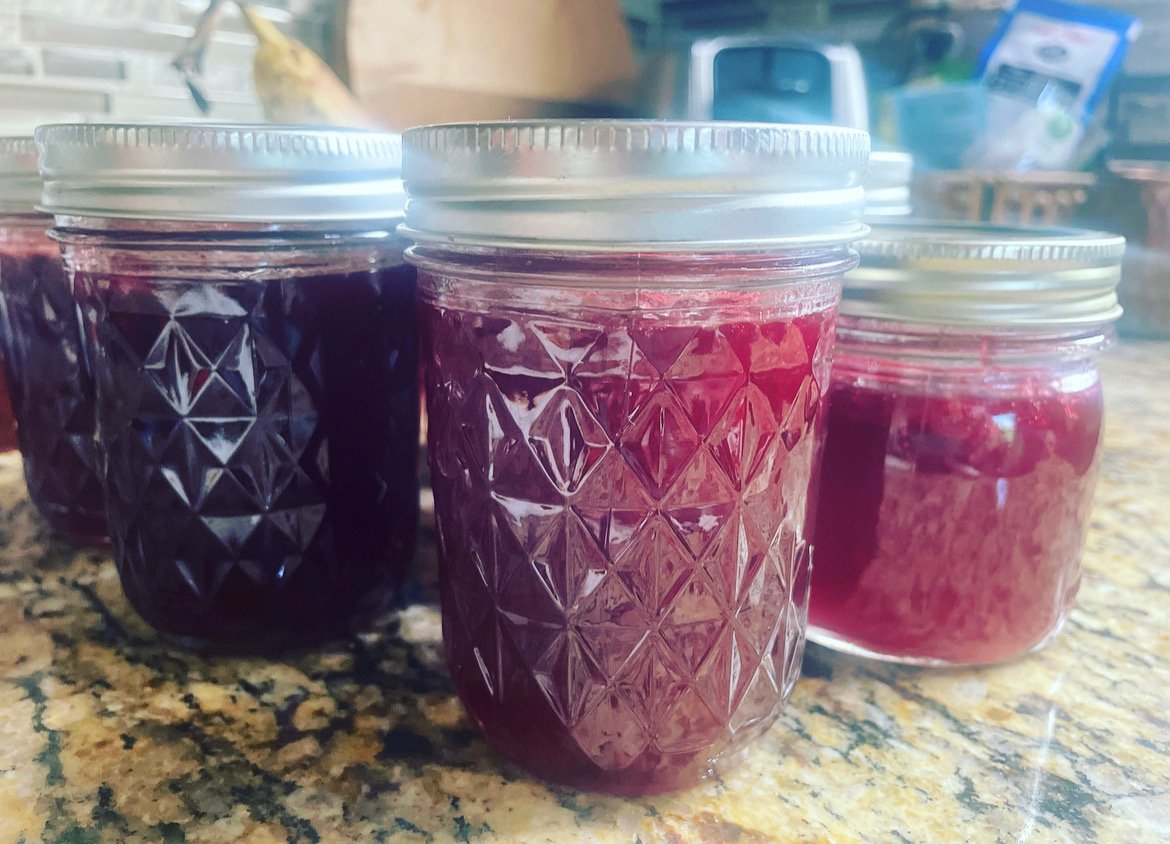
Until this year. Last night I grabbed a bowl and off I went to pick. A great memory I have is my sweet grandmother talking about making chokecherry jelly. While I was picking I felt her spirit as my hands got sticky and red. I had no idea how many cherries I needed to pick to get enough for jelly, but I kept picking. I ended up picking three pint size mason jars and told myself that if it was easy and fun to make jelly, I can always pick more.

Making the jelly was easy and fun. So much so that as soon as my batch was cooling, I took off with a bigger bowl to pick more!
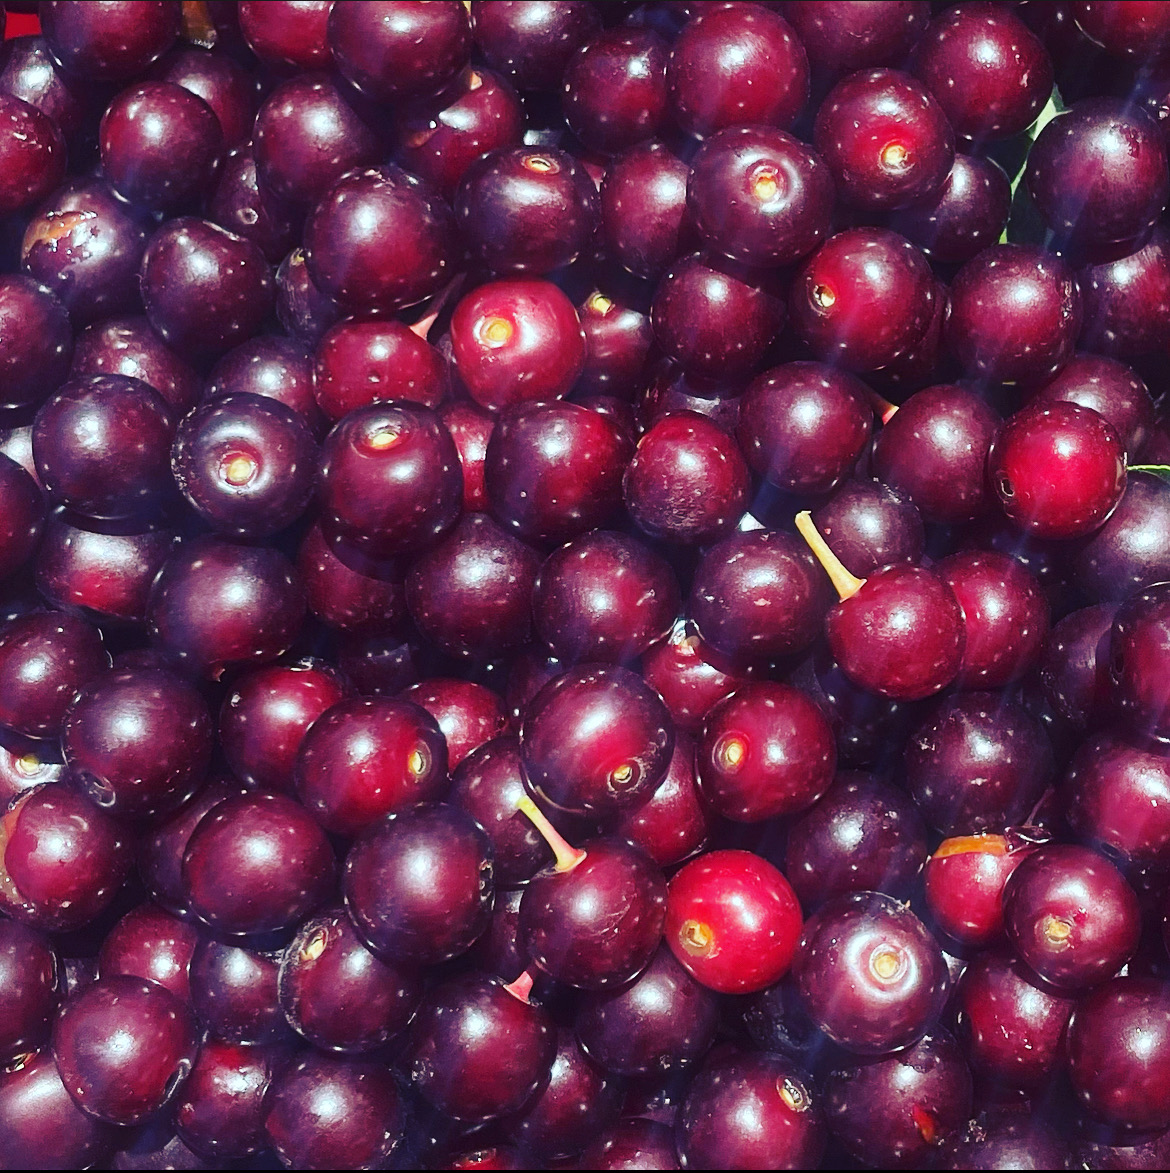
The first thing you do is make the juice. After rinsing and discarding leaves and big stems (don’t worry about the little ones attached to the cherries) cover your cherries with water and boil for 30-35 minutes. You can use this right away for the jelly, or you can freeze it for later. To make the jelly, just follow this simple recipe!

Chokecherry Jelly

Ingredients:

  • 3.5 cups chokecherry juice
  • 1/2 cup fresh lemon juice
  • 1 teaspoon butter or margarine
  • 1 pkg dry pectin 1.75 oz
  • 4 1/2 cups of sugar
  • Optional—I added two drops of wild orange essential oil! Bam!

Instructions:

  1. Pour juices in kettle.
  2. Add pectin, stir.
  3. Bring to a boil, add sugar.
  4. Boil and stir for 2 minutes.
  5. Remove from heat, skim.
  6. Ladle into jars leaving 1/2 inch space. Add the top and the ring, twist just finger tight (not super tight).
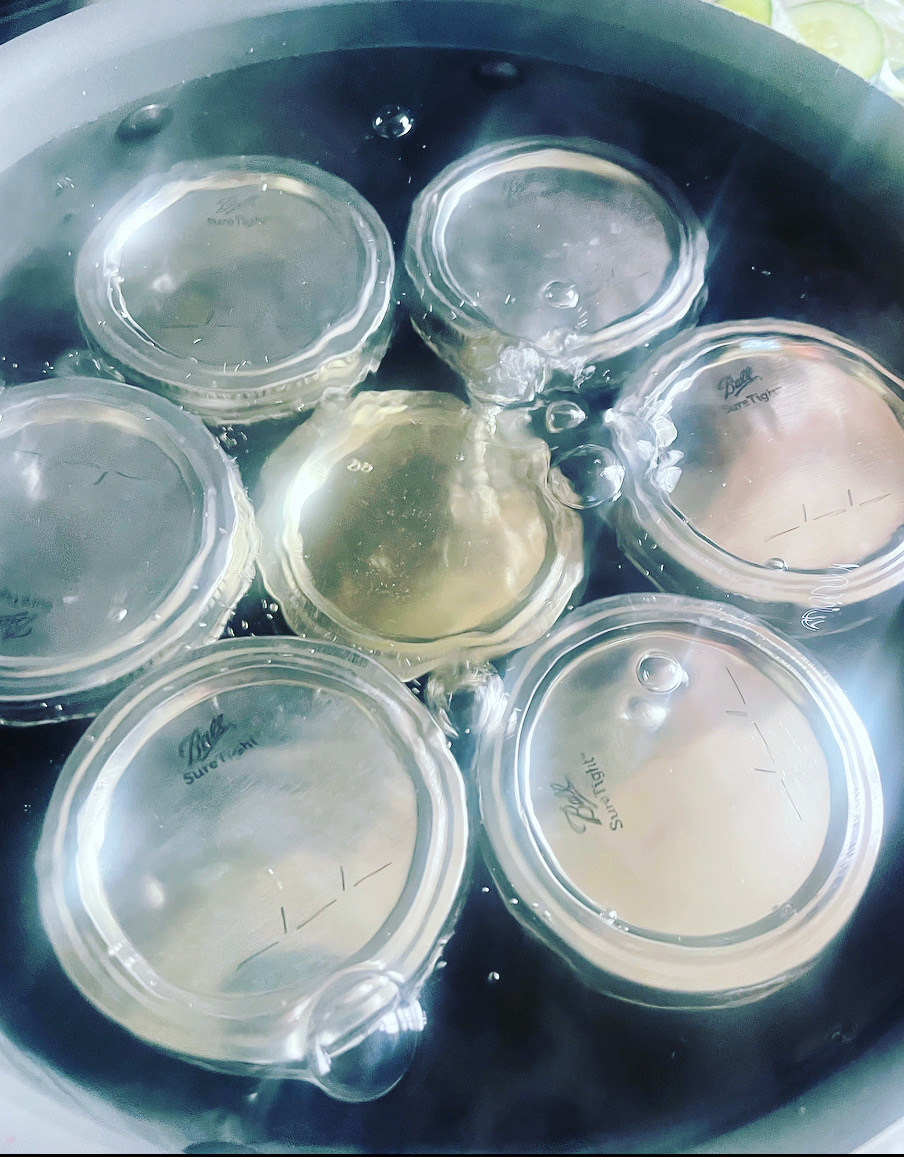
  7. Process in hot water bath for 10 minutes. A hot water bath is when you add filled jars to pot of simmering water that covers the jars.
  8. Remove from bath and cool undisturbed for 24 hours.

Besides being fun and easy it is also gorgeous to look at! I cannot wait for a little toast and jelly with my coffee while sitting on the patio tomorrow morning. There is something SO satisfying about making your own food…and even more fun actually picking the ingredients to feed your people. Plus, how amazing will these little jars be for neighbor gifts come holiday time?

** update to original post. After making this two years in a row, I have some measurements that may help. You’ll need approximately 10 cups of berries to yield 4 cups juice. This recipe that calls for 3.5 cups juice yields 7 jars of jelly.

You can find some of my favorite DIY supplies and follow me for more inspiration below!
Benefits of Cucumbers

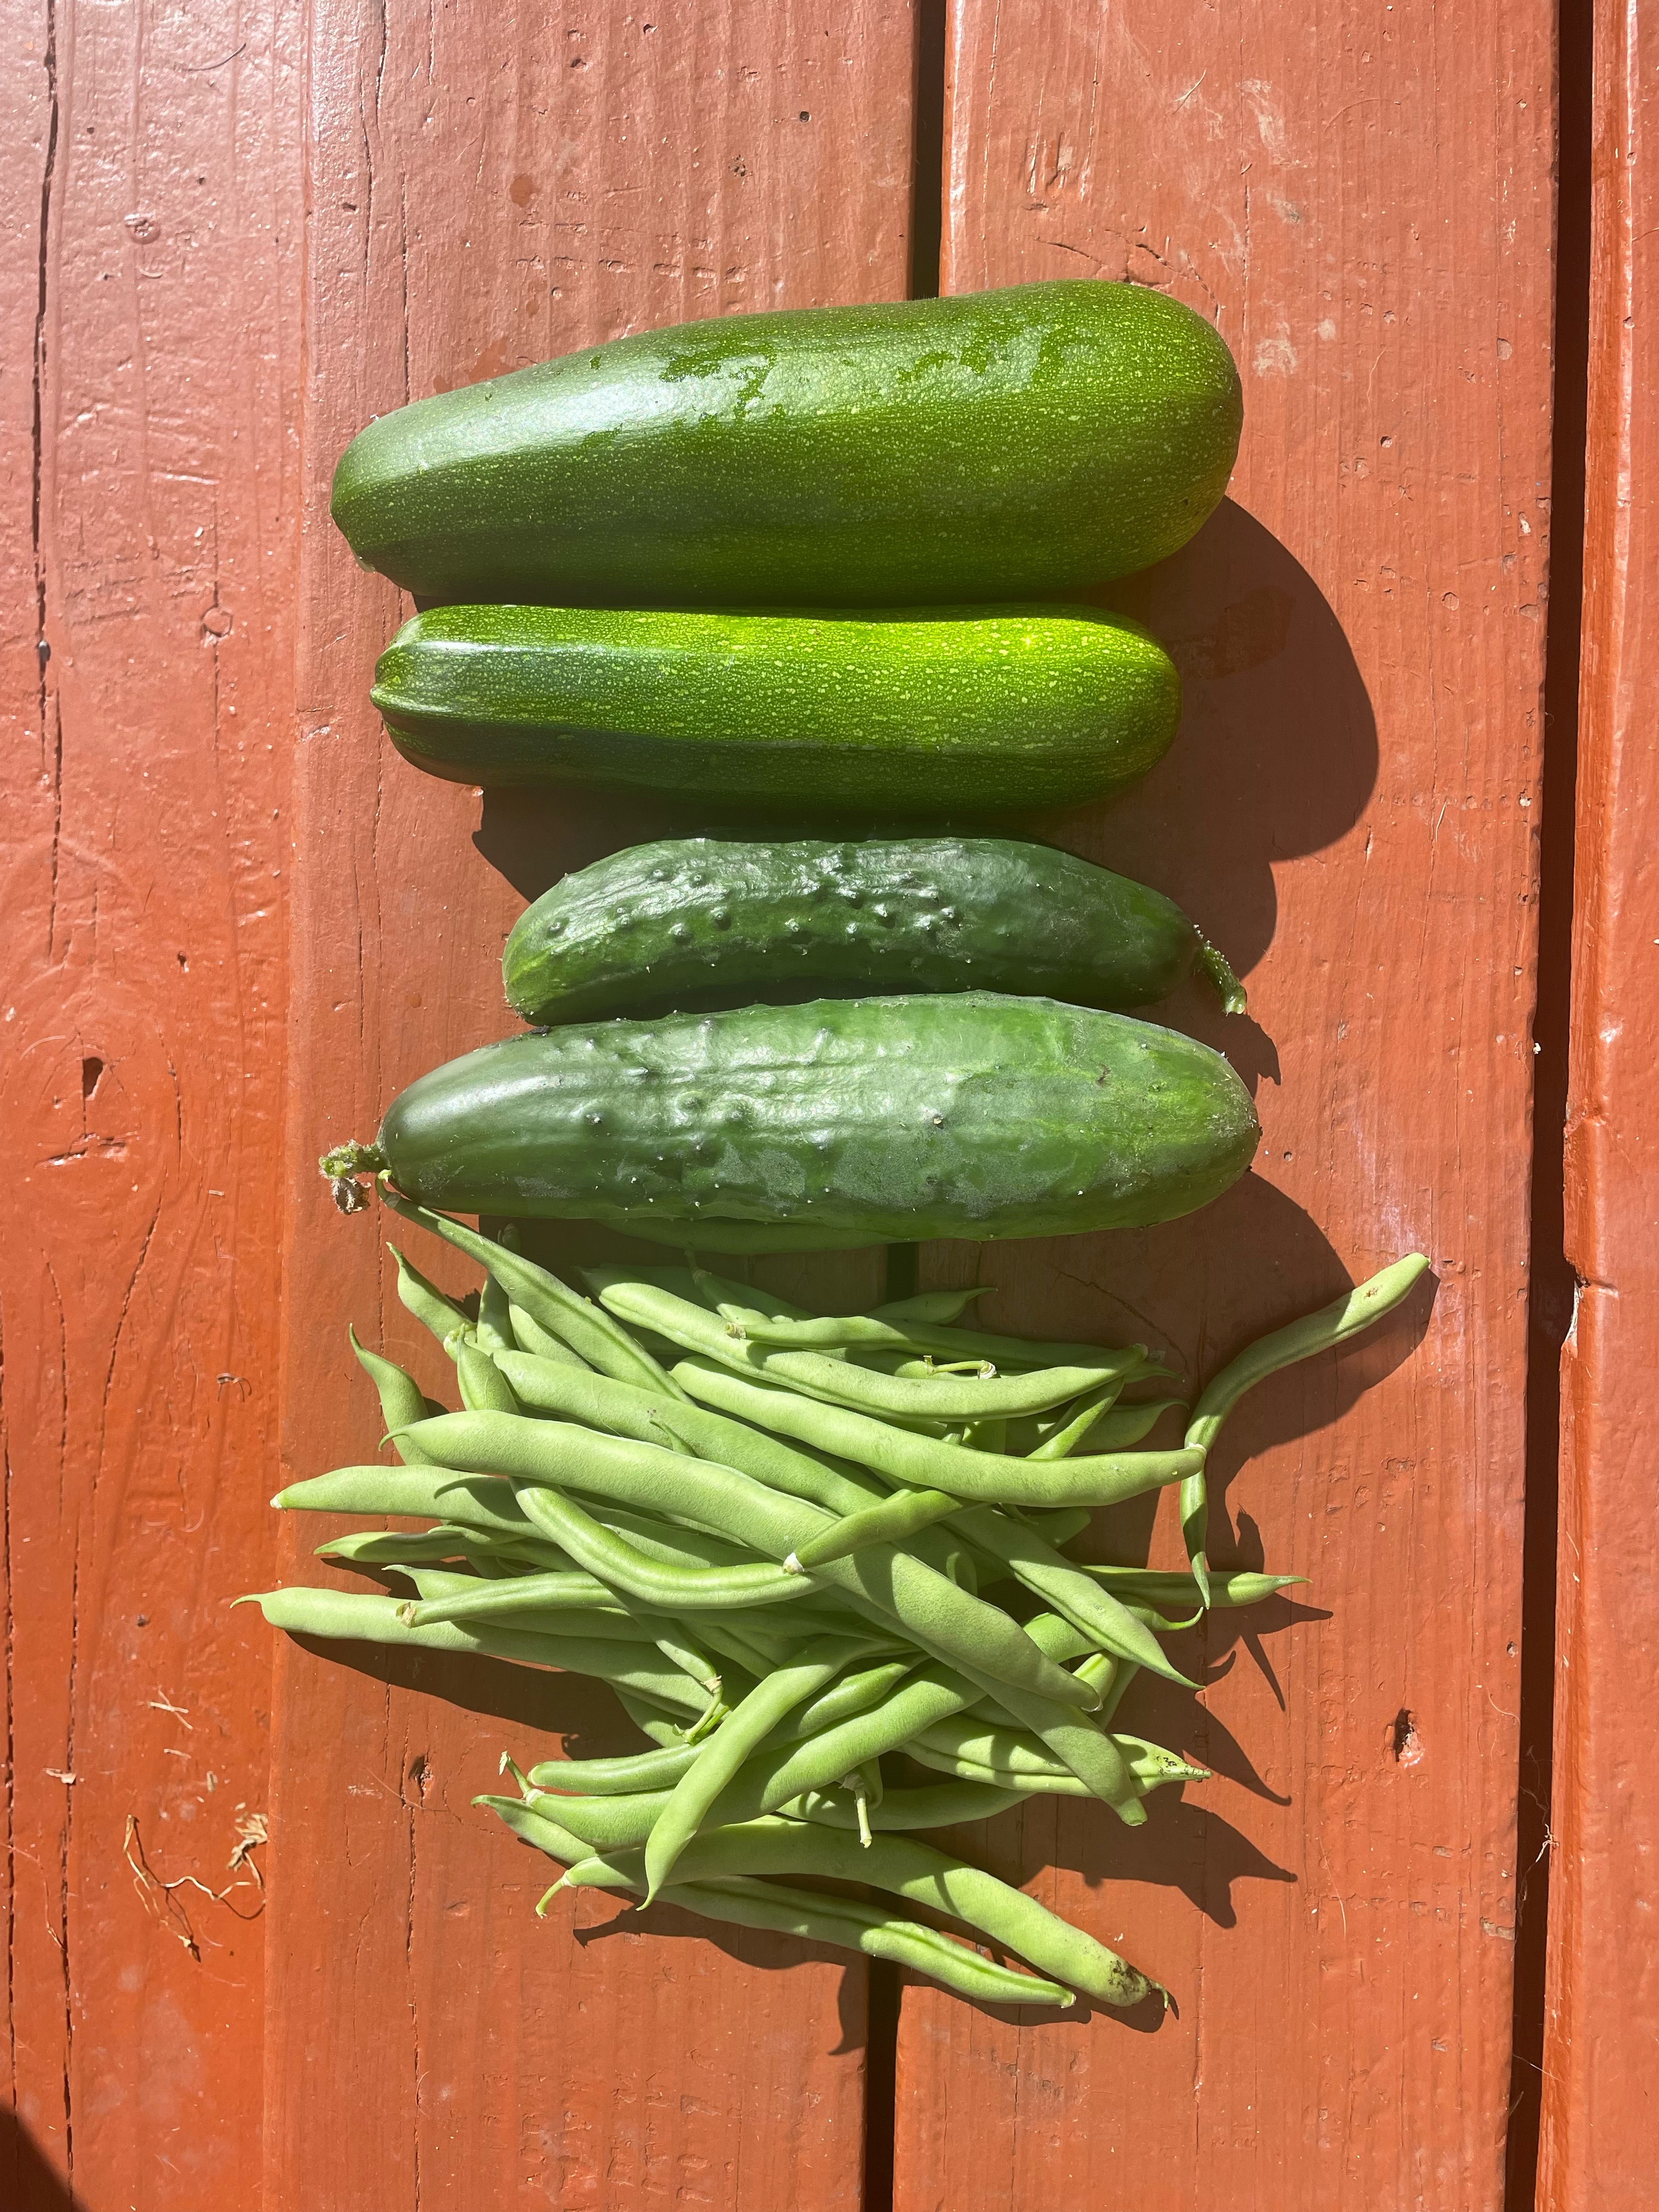
It’s gardening time and I am so excited to get my seeds in the soil! Last year I planted a few cucumber plants hoping I would get a couple cucumbers for salads. My green thumb must have been extra green because I had so many cucumbers that I made jars and jars of pickles. I am so excited to grow these amazing plants again this year.

Cucumbers have so many benefits and uses.

And to think all these years I’ve only been making salads with the cucumbers.

  • Cucumbers contain most of the vitamins you need every day, just one cucumber contains Vitamin B1, Vitamin B2, Vitamin B3, Vitamin B5, Vitamin B6, Folic Acid, Vitamin C, Calcium, Iron, Magnesium, Phosphorus, Potassium and Zinc.
  • Feeling tired in the afternoon, put down the caffeinated soda and pick up a cucumber. Cucumbers are a good source of B vitamins and carbohydrates that can provide that quick pick-me-up that can last for hours.
  • Tired of your bathroom mirror fogging up after a shower? Try rubbing a cucumber slice along the mirror. It will eliminate the fog and provide a soothing, spa-like fragrance.
  • Are grubs and slugs ruining your planting beds? Place a few slices in a small pie tin and your garden will be free of pests all season long. The chemicals in the cucumber react with the aluminum to give off a scent undetectable to humans but drive garden pests crazy and make them flee the area.
  • Looking for a fast and easy way to remove cellulite before going out or to the pool? Try rubbing a slice or two of cucumbers along your problem area for a few minutes. The phytochemicals in the cucumber cause the collagen in your skin to tighten, firming up the outer layer and reducing the visibility of cellulite. Works great on wrinkles too!!!
  • Want to avoid a hangover or terrible headache? Eat a few cucumber slices before going to bed and wake up refreshed and headache free. Cucumbers contain enough sugar, B vitamins and electrolytes to replenish essential nutrients the body lost, keeping everything in equilibrium, avoiding both a hangover and headache!!
  • Looking to fight off that afternoon or evening snacking binge? Cucumbers have been used for centuries and often used by European trappers, traders and explores for quick meals to thwart off starvation.

And more!

  • Have an important meeting or job interview and you realize that you don’t have enough time to polish your shoes? Rub a freshly cut cucumber over the shoe. Its chemicals will provide a quick and durable shine that not only looks great but also repels water.
  • Out of WD 40 and need to fix a squeaky hinge? Take a cucumber slice and rub it along the problematic hinge. Voila, the squeak is gone!
  • Stressed out and don’t have time for massage, facial or visit to the spa? Cut up an entire cucumber and place it in a boiling pot of water. The chemicals and nutrients from the cucumber will react with the boiling water and be released in the steam. This creates a soothing, relaxing aroma that has been shown the reduce stress in new mothers and college students during final exams.
  • Just finish a business lunch and realize you don’t have gum or mints? Take a slice of cucumber and press it to the roof of your mouth with your tongue for 30 seconds to eliminate bad breath. The phytochemicals will kill the bacteria in your mouth responsible for causing bad breath.
  • Looking for a ‘green’ way to clean your taps, sinks or stainless steel? Take a slice of cucumber and rub it on the surface you want to clean. Not only will it remove years of tarnish and bring back the shine, but is won’t leave streaks and won’t harm you fingers or fingernails while you clean.
  • Using a pen and made a mistake? Take the outside of the cucumber and slowly use it to erase the pen writing. This also works great on crayons and markers that the kids have used to decorate the walls!!

Benefits of Gardening

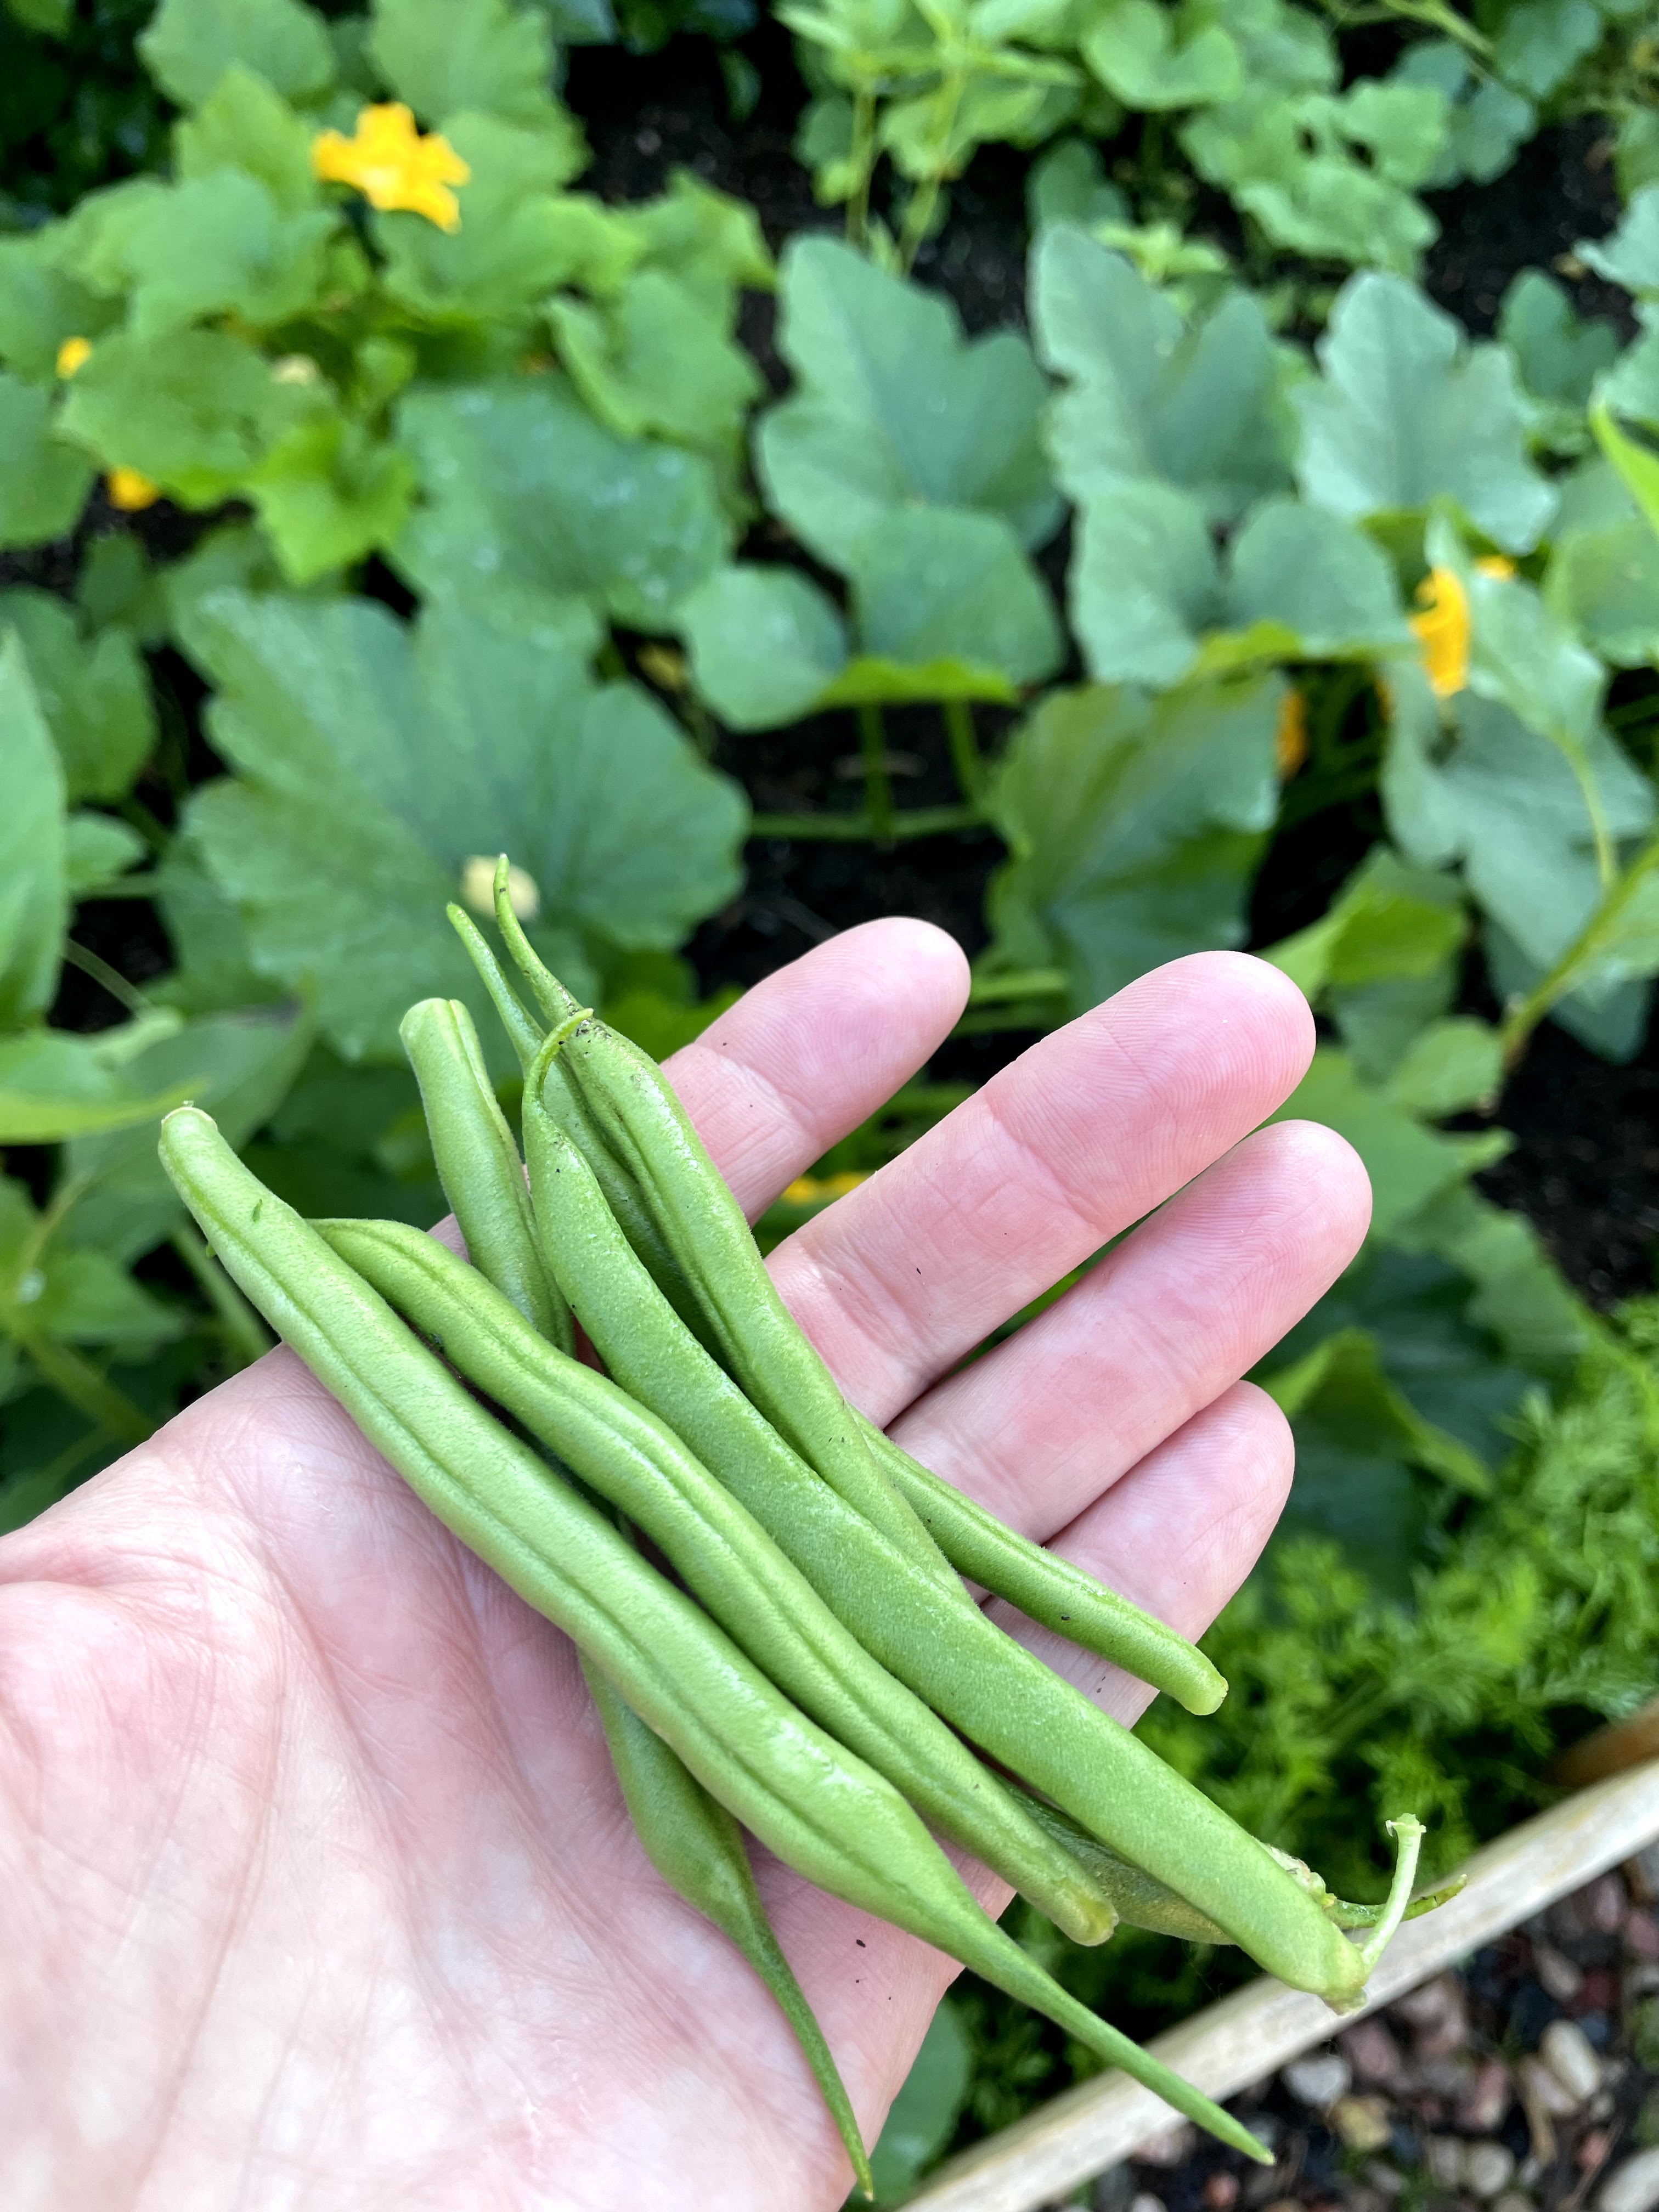
I love to garden.

Beginning my day with an easy stroll through my gardens helps me start my day from a place of quiet groundedness. You might even hear me whisper good wishes to the plants that they have a beautiful day of growth. The first place I go when I am done with work is back to the garden. Being there helps with me unwind after a long day and provides me with a different kind of being productive, but also much needed quiet time.

I have found that not only does spending time with my plants help my stress it also has an array of other benefits.

Planting flowers and vegetables can reap bountiful bouquets and delicious harvests for your dining table. But did you know gardening also can do wonders for your well-being? Here are eight surprising health benefits of gardening. Check this out:

1. Gardening can build self-esteem. 

Maybe you don’t think you were born with a green thumb, but after tilling, planting, nurturing and harvesting plants, you might see a slightly different person in the mirror: a person who can grow things and is a little more in tune with the earth. 

It always feels good to accomplish new tasks, and if you can grow a garden, what can’t you do?

2. Gardening is good for your heart. 

All that digging, planting and weeding burns calories and strengthens your heart. 

“There are physical benefits from doing the manual labor of gardening,” says UNC Health internal medicine physician Robert Hutchins, MD, MPH. “It’s hard work to garden, and it provides some cardiovascular benefit.”

3. Gardening reduces stress.

Gardening can help reduce symptoms of depression and anxiety. 

“Gardening gives you a chance to focus on something and put your mind to work with a goal and a task in mind,” Dr. Hutchins says, “which is helpful especially now with so much illness and death and talk of death, just to see things growing and things thriving.” 

4. Gardening can make you happy. 

Getting dirt under your nails while digging in the ground can make you pretty happy. In fact, inhaling M. vaccae, a healthy bacteria that lives in soil, can increase levels of serotonin and reduce anxiety. 

5. Gardening can improve your hand strength.  

All that digging, planting and pulling does more than produce plants. Gardening also will increase your hand strength. What a great way to keep your hands and fingers as strong as possible for as long as possible.

6. Gardening is good for the whole family.

Gardening can be a solo activity or an opportunity for bonding with your family and friends. The happiness and stress relief that gardening provides is a great thing to share with loved ones. Also, gardening has special benefits for kids. Early exposure to dirt has been linked to numerous health benefits, from reducing allergies to autoimmune diseases. Plus, when they pull a carrot from the ground for the first time you will see pure happiness and awe.

7. Gardening can give you a boost of vitamin D. 

A healthy dose of vitamin D increases your calcium levels, which benefits your bones and immune system. Exposure to sunlight helped older adults achieve adequate amounts of vitamin D. Just don’t forget your sunscreen.

8. Growing your own food can help you eat healthier. 

If you have a vegetable or herb or fruit garden, you’re getting fresh produce that you know hasn’t been treated with pesticides.

“It’s essentially as farm-to-table as it gets,” Dr. Hutchins says, “if you’re eating what you’re growing.”

Are you ready to start planning next seasons garden?

Follow me for more goodness!

Gardener’s Hand Balm

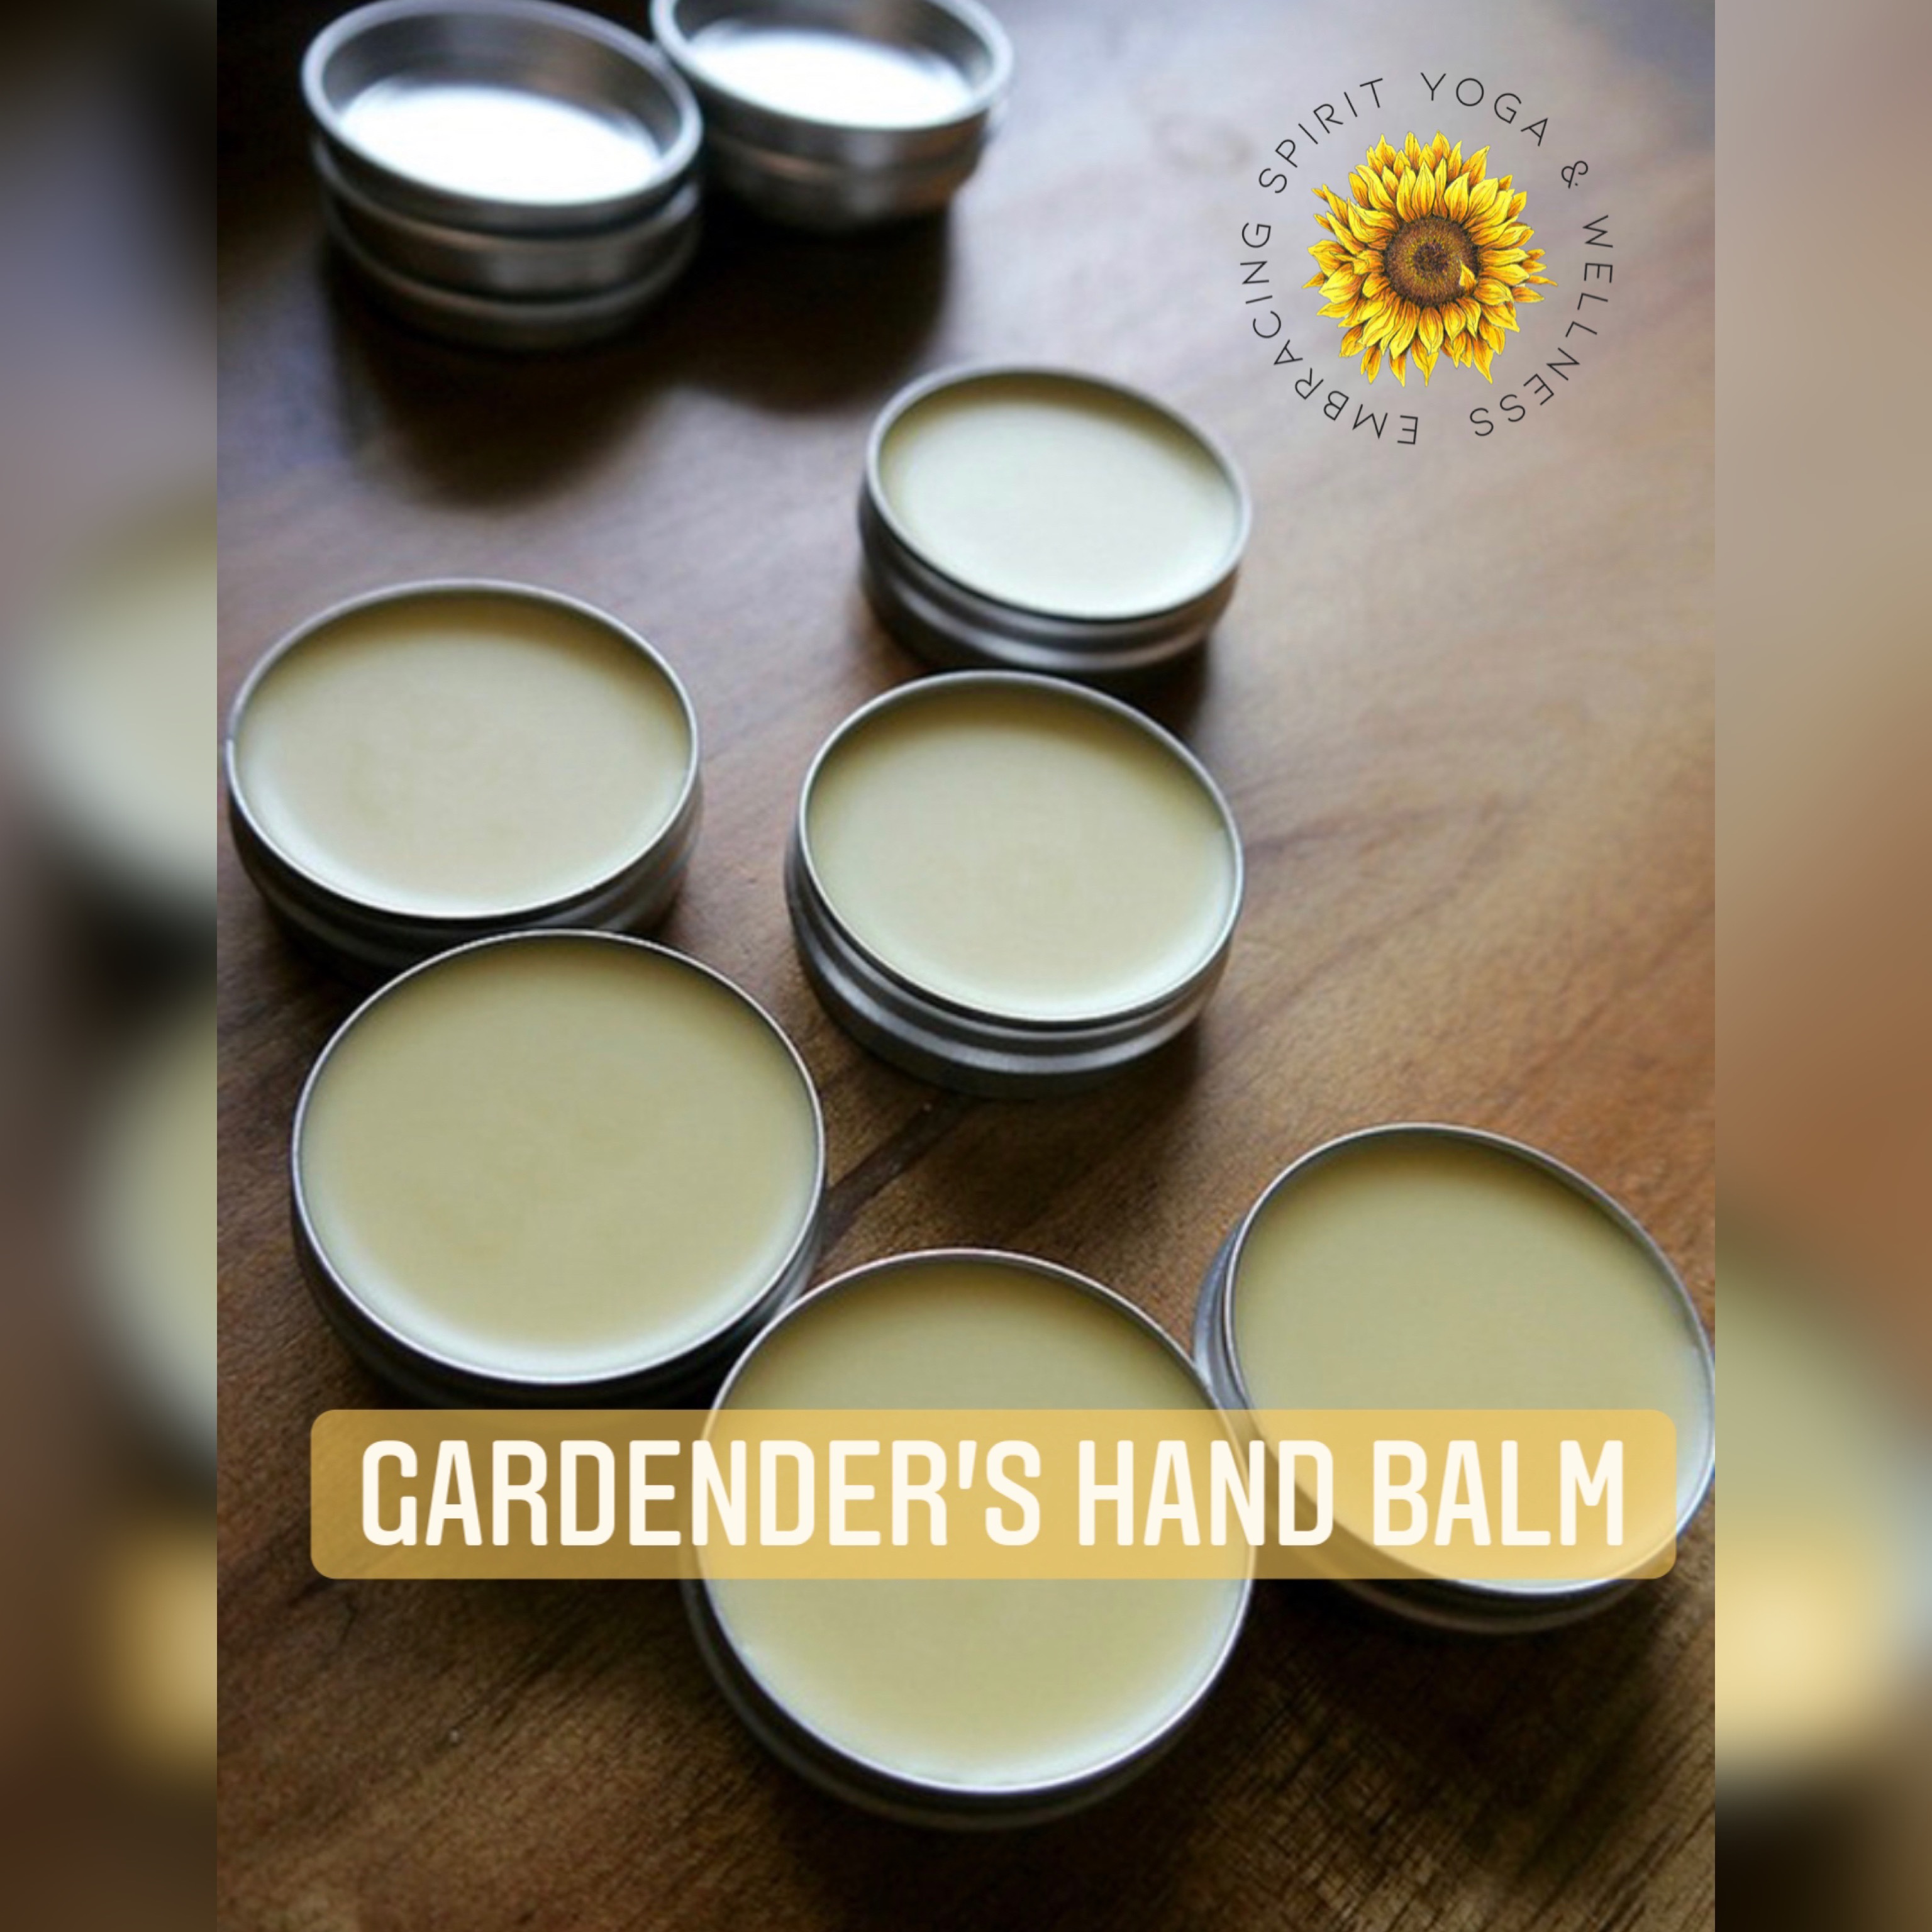
This gardeners hand balm is a traditional balm; it is firm in the jar and will melt into the skin as you rub it in (salves are usually softer in consistency).  If you prefer the consistency of a salve vs a balm, you could lower the amount of beeswax in the recipe.

Gardeners hand balm soothes dryness, heals cracks and generally helps my tired hand (and flaky elbows). If you garden or work outside you know how hard the dirt, sun, sweat, etc can be on your hands. This is a great balm to put on after you get inside. But you’ll find it hard to keep everyone out of the jar because it just feels so good on the skin.

The gardeners hand balm isn’t just for HANDS – elbows, knees, heels; anything that needs a little extra hydration and healing.  It can also be good for those with eczema.

These little jars are great for gifts too – just wrap some raffia or a pretty ribbon around it.

Easy Peasy!

GARDENERS HAND BALM RECIPE WITH HEALING LAVENDER

  • 2.5 oz of Beeswax
    ~Firms the balm and adds a layer of protection to the skin when applied.
  • 2.5 oz of Shea Butter
    ~Healing, protecting, fights aging and deeply moisturizing to the skin
  • 5.5 oz of Coconut Oil
    ~Naturally moisturizing with antibacterial and anti-fungal properties
  • 2.5 oz of Sweet Almond Oil
    ~Filled with Vitamin E, monounsaturated fatty acids, proteins, potassium and zinc
  • 30 – 40 drops of high quality Lavender Essential Oil
    ~Known to clean and soothe cuts. burns and other skin irritations. The scent is also calming to the mind and body.

GARDENERS HAND BALM RECIPE – DIRECTIONS

  1. Prepare your double boiler
  2. Add your Beeswax to the double boiler and melt completely
  3. Add Shea Butter to the Beeswax and allow it to melt completely
  4. Add in Coconut oil, I stir with a fork that I only use for making balms, lotions, etc
  5. Add in Sweet Almond Oil, stir
  6. Once everything look completely meshed together remove from the heat and allow it to cool for 2 – 3 minutes
  7. Add in your essential oil, optional
  8. Pour into your containers—I love these.
  9. Allow it to harden for a few hours – or put it in the refrigerator, like I do, to speed up the process

Your Gardeners Hand Balm is now ready to use.  Keep some for yourself and share as gifts. FYI, I often keep a jar in the fridge because I find it extra soothing in the summer heat.

Enjoy! To learn more about the many uses of essential oils, check out this free gorgeous ebook.

Follow me for more goodness!